


My curtain lengths never match exactly
rvglow
13 years ago
Related Stories
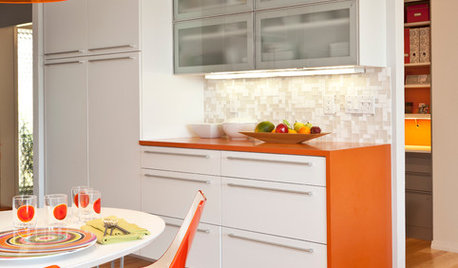
KITCHEN DESIGNCountertop and Backsplash: Making the Perfect Match
Zero in on a kitchen combo you'll love with these strategies and great countertop-backsplash mixes for inspiration
Full Story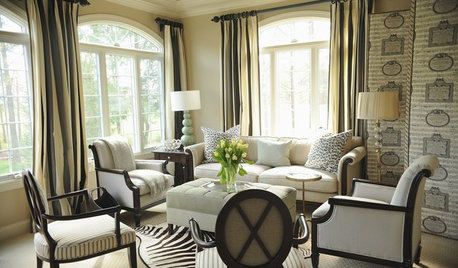
Extend Window Design Solutions With Short Curtain Rods
Full-length curtain rods too bulky for your room? Opt for the abridged version instead
Full Story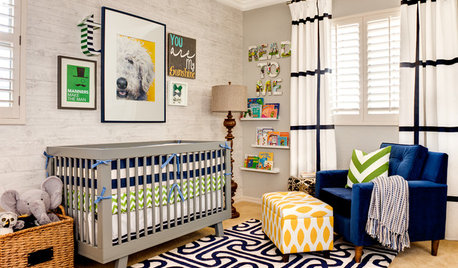
KIDS’ SPACESSee an Arizona Nursery That’ll Never Get Old
Age appropriate but not childish, this baby boy’s room will grow with him without a redesign
Full Story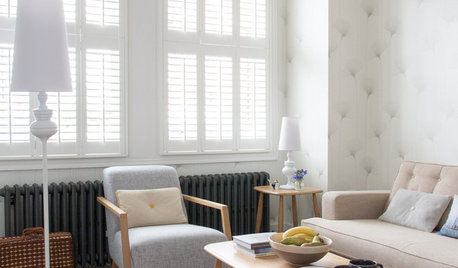
DECORATING GUIDESLiving Room Features That Never Go Out of Style
These key pieces will help your living room keep its good looks, no matter what's in fashion
Full Story
ARTBring In a View Like You’ve Never Imagined
See how art photographers turn a plain white wall into a magical window with a centuries-old camera technique — and how you could try it too
Full Story
MOST POPULARSo You Say: 30 Design Mistakes You Should Never Make
Drop the paint can, step away from the brick and read this remodeling advice from people who’ve been there
Full Story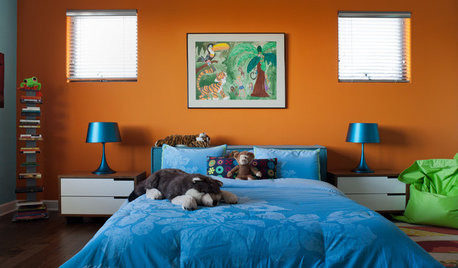
COLOR10 Color Combos You Never Thought Would Work
Orange and blue? Purple and green? Yes and yes. Unlikely pairings can look great if you do them right
Full Story
DECORATING GUIDESHow to Match Colors From Photos to Real Life
Differences in lighting and device screens can drastically change how a color looks. Here's how to correct for it
Full Story
COLOR11 Terrific Paint Color Matches for Wood Details
Pair your wood trim and cabinets with the right shade of wall paint to bring out the beauty in both
Full Story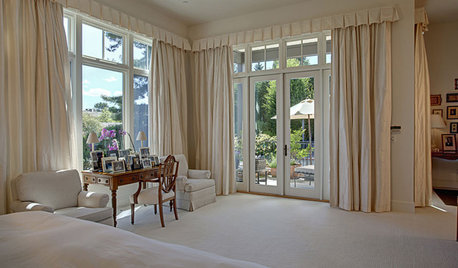
WINDOW TREATMENTSHow Low Should Your Drapes Go?
Hover, brush the floor or pool like Scarlett O'Hara's tears — we give you the lowdown on curtain length options
Full StoryMore Discussions
oilpainter
rvglowOriginal Author
Related Professionals
Charleston Furniture & Accessories · Huntersville Furniture & Accessories · Indianapolis Furniture & Accessories · North Bergen Furniture & Accessories · Los Gatos Furniture & Accessories · Urbandale Furniture & Accessories · Potomac Furniture & Accessories · Topeka Furniture & Accessories · Washington Furniture & Accessories · Aliso Viejo Furniture & Accessories · Alpharetta Furniture & Accessories · Lake Arrowhead Furniture & Accessories · Berkley Staircases & Railings · Orange County Staircases & Railings · Stanton Staircases & Railings