


Budster & Others: question re: pockets on apron (Simplicity 5201)
bayareafrancy
15 years ago
Related Stories
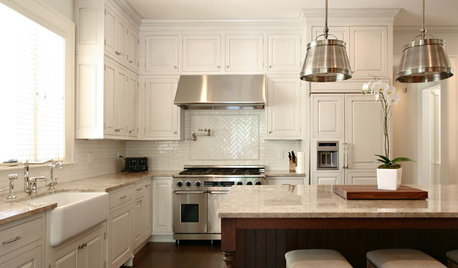
KITCHEN CABINETSYour Guide to Choosing Kitchen Cabinets
Updating your kitchen? See designers' top choices for kitchen cabinet styles, hardware choices, colors, finishes and more
Full Story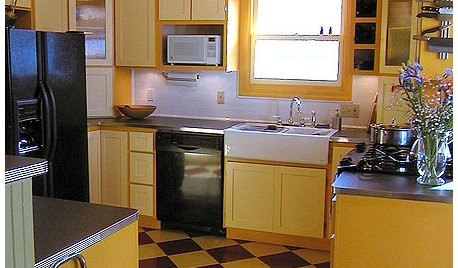
KITCHEN DESIGNKitchen Remodel Costs: 3 Budgets, 3 Kitchens
What you can expect from a kitchen remodel with a budget from $20,000 to $100,000
Full Story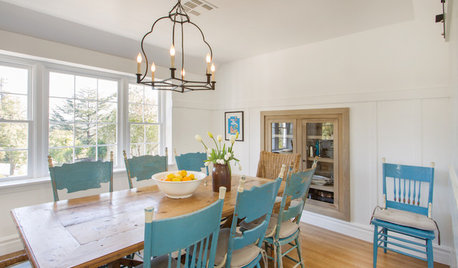
DINING ROOMS12 Touches to Add Farmhouse Style to Your Dining Room
A farm table, a salvaged-wood wall or a simple barn light can bring casual, homey comfort to any space
Full Story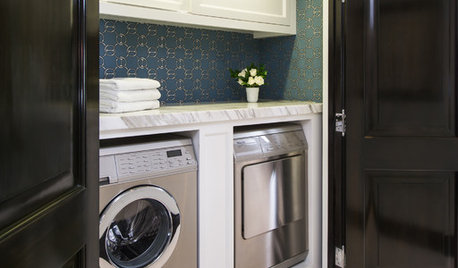
LAUNDRY ROOMSHouzz Call: Show Us Your Wonderfully Efficient Laundry Room
Got a drying rack, a folding table or clever storage in your laundry room? We want to see it!
Full Story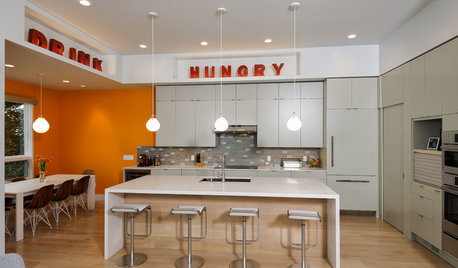
HOUZZ CALLShow Us the Best Kitchen in the Land
The Hardworking Home: We want to see why the kitchen is the heart of the home
Full Story
KITCHEN DESIGN10 Creative Kitchen Backsplashes
Patterns, bold colors, natural wood, beveled mirror — even a favorite photo — sub for standard white behind the counter
Full Story
MOST POPULARHouzz Tour: Going Off the Grid in 140 Square Feet
WIth $40,000 and a vision of living more simply, a California designer builds her ‘forever’ home — a tiny house on wheels
Full Story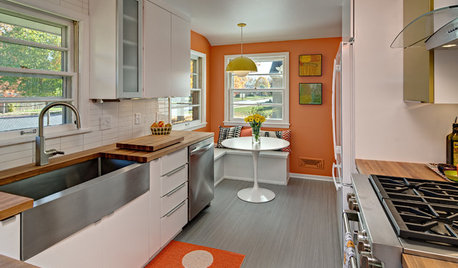
KITCHEN OF THE WEEKKitchen of the Week: Midcentury Meets Sweden in Minneapolis
A fun, retro-style makeover gives an aging galley kitchen a fresh look with a nod to the past
Full Story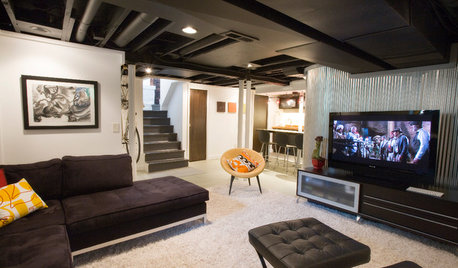
LIVING ROOMSBelow My Houzz: An Inviting Basement With Industrial Edge
Reconfiguring a cramped, damp basement opens up a new world of sleek, functional spaces
Full Story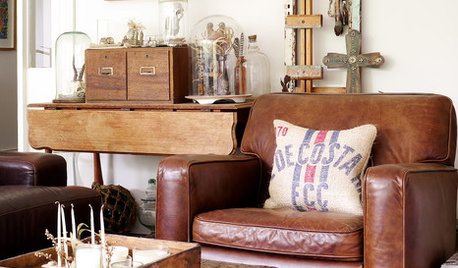
VINTAGE STYLEMy Houzz: ‘Pavement Pickings’ a Happy Fit in a Period Home
An eclectic array of antiques and vintage items adds to the charm and character of this Melbourne home
Full StoryMore Discussions
budster
bayareafrancyOriginal Author
Related Professionals
Houston Furniture & Accessories · Nashville Furniture & Accessories · Norwalk Furniture & Accessories · Springdale Furniture & Accessories · St. Louis Furniture & Accessories · Northbrook Furniture & Accessories · Pinehurst Furniture & Accessories · Rockland Interior Designers & Decorators · Kearny Furniture & Accessories · Kirkland Furniture & Accessories · North Bergen Furniture & Accessories · Surprise Furniture & Accessories · Richfield Furniture & Accessories · Vail Furniture & Accessories · Wakefield Furniture & Accessoriesbudster
bayareafrancyOriginal Author
soonergrandmom
bayareafrancyOriginal Author
sheesh
budster