


Help me understand this pattern please
dee_can1
14 years ago
Related Stories
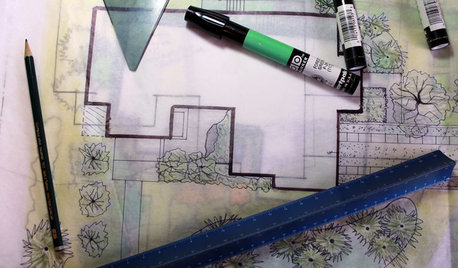
WORKING WITH PROSUnderstand Your Site Plan for a Better Landscape Design
The site plan is critical for the design of a landscape, but most homeowners find it puzzling. This overview can help
Full Story
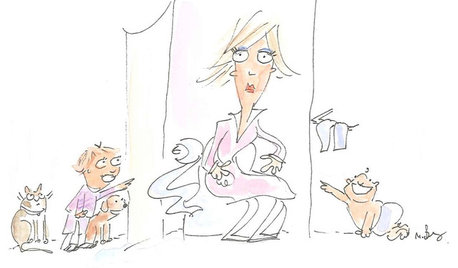
LIFE21 Things Only People Living With Kids Will Understand
Strange smells, crowded beds, ruined furniture — here’s what cohabiting with little monsters really feels like
Full Story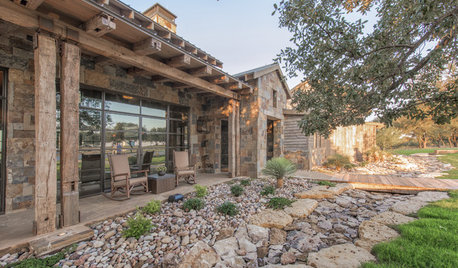
LANDSCAPE DESIGNTo Manage Stormwater Sustainably, Understand Your Site
Follow this guide to learn how water moves through your landscape and how best to manage it
Full Story
DECORATING GUIDES10 Bedroom Design Ideas to Please Him and Her
Blend colors and styles to create a harmonious sanctuary for two, using these examples and tips
Full Story
HOME OFFICESQuiet, Please! How to Cut Noise Pollution at Home
Leaf blowers, trucks or noisy neighbors driving you berserk? These sound-reduction strategies can help you hush things up
Full Story
GARDENING GUIDESGreat Design Plant: Ceanothus Pleases With Nectar and Fragrant Blooms
West Coast natives: The blue flowers of drought-tolerant ceanothus draw the eye and help support local wildlife too
Full Story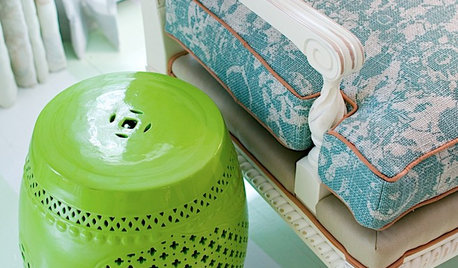
DECORATING GUIDESThe Most Helpful Furniture Piece You May Ever Own
Use it as a table, a seat, a display space, a footrest ... and indoors or out. Meet the ever-versatile Chinese garden stool
Full Story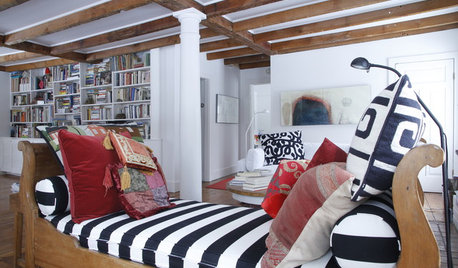
HOUZZ TOURSMy Houzz: 38 Years of Renovations Help Artists Live Their Dream
Twin art studios. Space for every book and model ship. After four decades of remodeling, this farmhouse has two happy homeowners
Full Story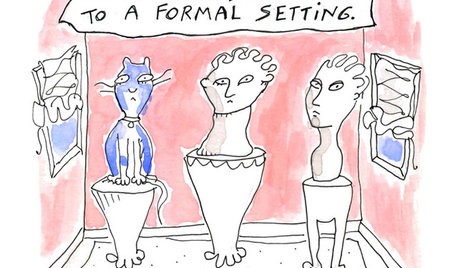
MOST POPULAR7 Ways Cats Help You Decorate
Furry felines add to our decor in so many ways. These just scratch the surface
Full StorySponsored
Industry Leading Interior Designers & Decorators in Franklin County
More Discussions
susie53_gw
oilpainter
Related Professionals
Denver Furniture & Accessories · Norwalk Furniture & Accessories · Lake Arrowhead Furniture & Accessories · Wilmington Furniture & Accessories · Riverton Furniture & Accessories · Arkansas Interior Designers & Decorators · Milwaukee Furniture & Accessories · Carlsbad Furniture & Accessories · Encinitas Furniture & Accessories · Maplewood Furniture & Accessories · Naples Furniture & Accessories · Tucker Furniture & Accessories · Ridgewood Furniture & Accessories · Ocean County Staircases & Railings · San Bruno Staircases & Railingsoilpainter
dee_can1Original Author
oilpainter
Dash2
dee_can1Original Author
clt3
sheesh
susie53_gw
msmarion
oilpainter
sheesh
oilpainter
oilpainter
dee_can1Original Author
susie53_gw
dee_can1Original Author
dee_can1Original Author
sheesh
susie53_gw
dee_can1Original Author
sheesh
susie53_gw
dee_can1Original Author
dee_can1Original Author
trancegemini_wa
sheesh
Dash2
dee_can1Original Author
Chris_in_the_Valley
Marilyn Sue McClintock
dee_can1Original Author