


How to repair drywall???
fletchb
14 years ago
Related Stories
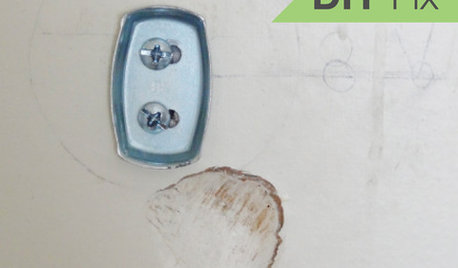
HOUSEKEEPINGQuick Fix: How to Patch a Drywall Hole
Dents and dings disappear, leaving your walls looking brand new, with this fix that even a novice can do
Full Story
MATERIALSRaw Materials Revealed: Drywall Basics
Learn about the different sizes and types of this construction material for walls, plus which kinds work best for which rooms
Full Story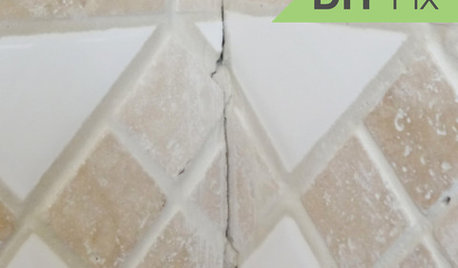
BATHROOM TILEQuick Fix: Repair Cracked Bathroom Grout
Banish an eyesore and safeguard your bathroom from water damage in 30 minutes or less with this DIY repair
Full Story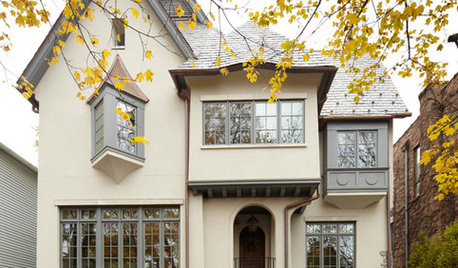
HOUSEKEEPINGHow to Tackle Your Home To-Dos
Make quick work of minor repairs and replacements with this thorough, step-by-step approach
Full Story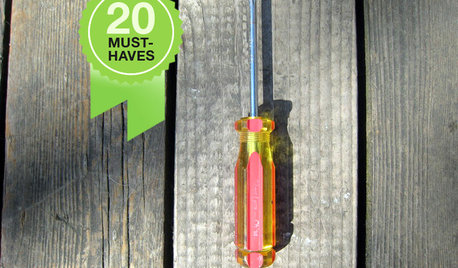
HOUSEKEEPING20 Tools Every Homeowner Should Have
You probably have a hammer, but that's just a start. These 20 tools and devices are superstars for household projects and repairs
Full StoryHOUSEKEEPINGAll Together Now: Tackle Home Projects With a DIY Co-op
You're in good company when you pair up with a pal to clean, organize, repair and replace
Full Story
REMODELING GUIDES8 Lessons on Renovating a House from Someone Who's Living It
So you think DIY remodeling is going to be fun? Here is one homeowner's list of what you may be getting yourself into
Full Story
DISASTER PREP & RECOVERYRemodeling After Water Damage: Tips From a Homeowner Who Did It
Learn the crucial steps and coping mechanisms that can help when flooding strikes your home
Full Story
PAINTINGHow to Hire a Painter to Do Your Interiors
Here’s what to know about hiring a painting contractor and what to expect during the job
Full Story
DECORATING GUIDESColor Guide: How to Use Light Blue
Whether you call it powder, sky or baby blue, this ultratraditional color lends fresh-faced appeal
Full StoryMore Discussions
kudzu9
fletchbOriginal Author
Related Professionals
Hillcrest Heights Handyman · Beach Park Kitchen & Bathroom Remodelers · Cocoa Beach Kitchen & Bathroom Remodelers · Hainesport General Contractors · Cedar Hill General Contractors · Parma General Contractors · Saginaw General Contractors · Summit General Contractors · Crest Hill Painters · Gulfport Painters · Martinez Painters · Perry Hall Painters · Rockville Painters · St. Johns Painters · Homewood Painterskudzu9
brickeyee
fletchbOriginal Author
antique_wardrobe
kudzu9
brickeyee
brusso
kudzu9
brickeyee
fletchbOriginal Author
fletchbOriginal Author
brickeyee
kudzu9
brickeyee
fletchbOriginal Author
kudzu9
diamond3149