


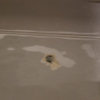
Repairing a hole in old plaster wall (1940's house)
lkblasdel
12 years ago
Related Stories
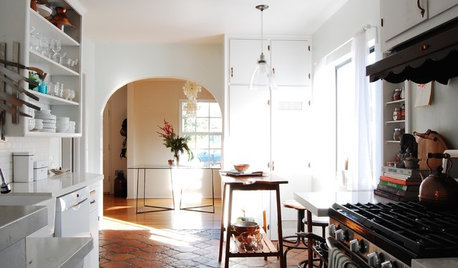
ECLECTIC HOMESMy Houzz: Charming 1940s Home Update Is All in the Family
Heirlooms, handmade furniture and original details take center stage in a couple’s renovated Los Angeles house
Full Story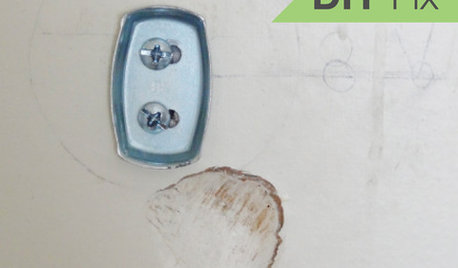
HOUSEKEEPINGQuick Fix: How to Patch a Drywall Hole
Dents and dings disappear, leaving your walls looking brand new, with this fix that even a novice can do
Full Story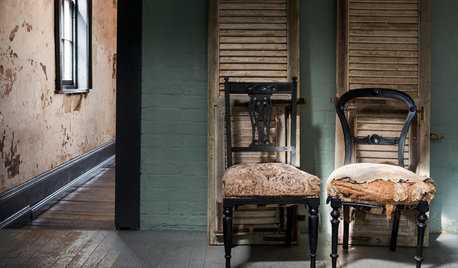
REMODELING GUIDESThe Hidden Problems in Old Houses
Before snatching up an old home, get to know what you’re in for by understanding the potential horrors that lurk below the surface
Full Story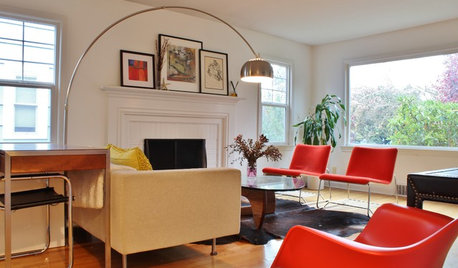
HOUZZ TOURSMy Houzz: Modern Classics in a 1940s Home
Iconic midcentury mod furniture matches the clean lines and simple architecture of this expanded Seattle home
Full Story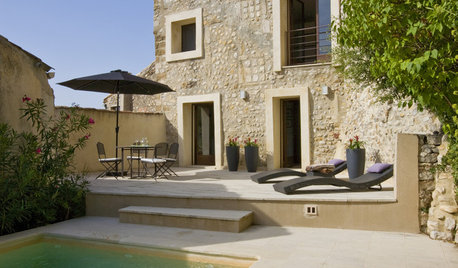
MODERN HOMESHouzz Tour: 800-Year-Old Walls, Modern Interiors in Provence
Old architecture and new additions mix beautifully in a luxurious renovated vacation home
Full Story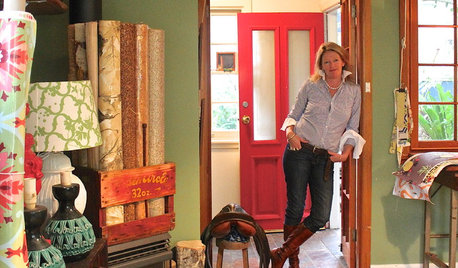
HOUZZ TOURSMy Houzz: Countryside Charm in a 1940s Home
Relaxed but pulled together, a lamp maker’s home in Australia shows her passion for collections and creativity
Full Story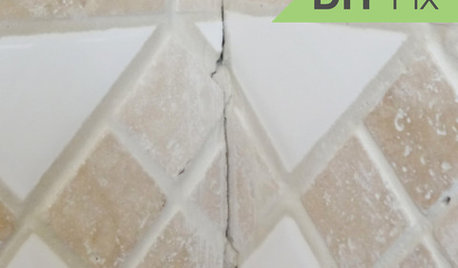
BATHROOM TILEQuick Fix: Repair Cracked Bathroom Grout
Banish an eyesore and safeguard your bathroom from water damage in 30 minutes or less with this DIY repair
Full Story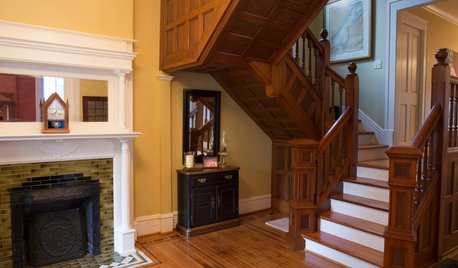
MY HOUZZMy Houzz: Attention to Detail Revives a Century-Old Louisville Home
After 13 years of wishful thinking, a couple complete a 5-year renovation in their historic Highlands neighborhood
Full Story
BATHROOM DESIGNOut With the Old Tile: 8 Steps to Prep for Demolition
This isn't a light DIY project: You'll need heavy-duty tools and plenty of protection for your home and yourself
Full Story
MOST POPULARHow to Reface Your Old Kitchen Cabinets
Find out what’s involved in updating your cabinets by refinishing or replacing doors and drawers
Full StoryMore Discussions
sombreuil_mongrel
brickeyee
Related Professionals
20781 Kitchen & Bathroom Remodelers · Kuna Kitchen & Bathroom Remodelers · South Plainfield Kitchen & Bathroom Remodelers · Goodlettsville General Contractors · Easley General Contractors · Norridge General Contractors · Tuckahoe General Contractors · West Mifflin General Contractors · Westchester General Contractors · Security-Widefield General Contractors · Clearwater Painters · Darien Painters · Pearland Painters · Summit Painters · Red Bank Painterswoodbutcher_ca
brickeyee
woodbutcher_ca
brickeyee
inox
sombreuil_mongrel
inox
brickeyee
inox