


DIY hot asphalt driveway crack repair experience?
rrr1234
12 years ago
Featured Answer
Comments (17)

lbpod
12 years agobrickeyee
12 years agoRelated Professionals
League City Kitchen & Bathroom Remodelers · Tulsa Kitchen & Bathroom Remodelers · Holly Hill General Contractors · Mashpee General Contractors · National City General Contractors · The Hammocks General Contractors · Waldorf General Contractors · Bellevue Painters · Portsmouth Painters · Fridley Painters · Gardena Painters · Pepper Pike Painters · San Marino Painters · Simpsonville Painters · Vermilion Painters
GreenDesigns
12 years agorrr1234
12 years agostinkytiger
12 years agojridge
9 years agocars2275
9 years agojridge
9 years agolingrell
8 years agolast modified: 8 years agojridge
8 years agotonyfriedel
8 years ago
Marcine Nabb
8 years agogyyang
6 years agoHU-250903249
3 years agoHU-831078485
last year
Bob Hornung
last year
Related Stories
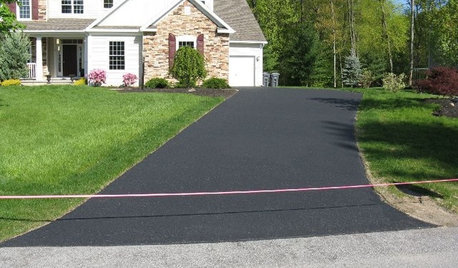
CURB APPEALHow to Reseal Your Asphalt Driveway
Protect your driveway and keep it looking great by applying new sealer every couple of years. Get the details here
Full Story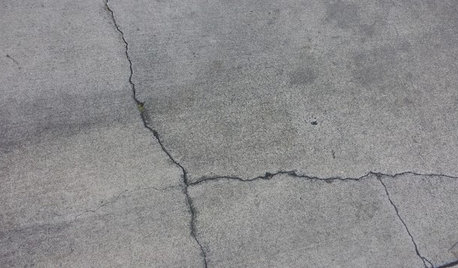
CONCRETEWhy Concrete Wants to Crack
We look at the reasons concrete has a tendency to crack — and what you can do to help control it
Full Story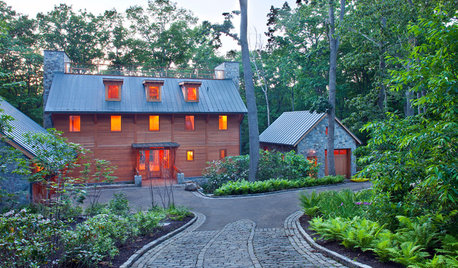
GREAT HOME PROJECTSHow to Give Your Driveway and Front Walk More Curb Appeal
Prevent injuries and tire damage while making a great first impression by replacing or repairing front paths
Full Story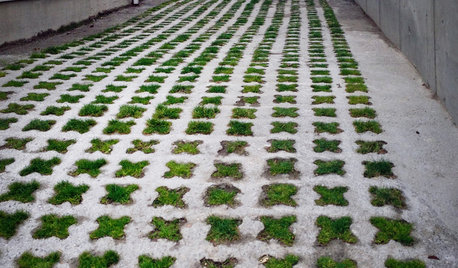
EARTH DAYHow to Build a Greener Driveway
Install a permeable driveway to keep pollutants out of water sources and groundwater levels balanced
Full Story
REMODELING GUIDESGravel Driveways: Crunching the Pros and Cons
If you want to play rough with your driveway, put away the pavers and choose the rocky road
Full Story
REMODELING GUIDESConcrete Driveways: Poring Over the Pros and Cons
Concrete adds smooth polish to driveways and a sleek look to home exteriors, but here are the points to ponder before you re-surface
Full StoryBEFORE AND AFTERSSee a DIY Powder Room Transformation for $1,100
Determination, DIY skill and a stunning tile feature wall helped make this formerly dark and gloomy powder room feel spacious
Full Story
DIY PROJECTS29 Home Projects to Make You a DIY Superstar
Patch up holes, turn trash to treasure, erase stains ... these doable DIY projects will better your home and boost your ego
Full Story
SELLING YOUR HOUSEFix It or Not? What to Know When Prepping Your Home for Sale
Find out whether a repair is worth making before you put your house on the market
Full Story
MATERIALSPrecast Concrete Pavers Make a Versatile Surface in the Garden
You can use concrete pavers in a variety of shapes and colors for your patio, walkway, driveway and more
Full StoryMore Discussions


Don Merkel