


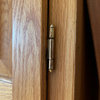
Need to drill a hole through 12' of wood, boring bit gets stuck
spaghetina
14 years ago
Featured Answer
Comments (39)

spaghetina
14 years agomacv
14 years agoRelated Professionals
Home Remodeling · Eureka Kitchen & Bathroom Remodelers · Port Angeles Kitchen & Bathroom Remodelers · Plant City Kitchen & Bathroom Remodelers · Forest Grove General Contractors · Green Bay General Contractors · North Highlands General Contractors · Avenal General Contractors · Norwalk Painters · Glassboro Painters · Bergenfield Painters · Clarksburg Painters · South Valley Painters · Tampa Painters · Yonkers Paintersalphonse
14 years agojoed
14 years agobrickeyee
14 years agorandy427
14 years agokudzu9
14 years agospaghetina
14 years agospaghetina
14 years agoorourke
14 years agokudzu9
14 years agospaghetina
14 years agobrickeyee
14 years ago
live_wire_oak
14 years agospaghetina
14 years agobingopin
14 years agokudzu9
14 years agospaghetina
14 years agokudzu9
14 years agospaghetina
14 years agosierraeast
14 years agokudzu9
14 years agoUser
8 years agoUser
8 years agokudzu9
8 years agoUser
8 years agolast modified: 8 years agokudzu9
8 years agoUser
8 years agosdello
8 years agoUser
8 years agoJeremy
8 years agokudzu9
8 years agoJeremy
8 years ago
greg_2015
8 years ago
Pete Callamaras
5 years agotoxcrusadr
5 years agoMule Meat
5 years agolast modified: 5 years agoPete Callamaras
5 years ago

Related Stories
BUDGET DECORATING12 Ways to Get the Industrial Look for Less
Shop surplus, raid the hardware store and press black paint into service. Your budget will warm to these ideas for cool industrial style
Full Story
DIY PROJECTSPocket Hole Joinery, the Beginning Woodworker's Best Friend
Make a wide range of sturdy wooden pieces with just this little bit of know-how
Full Story
BATHROOM DESIGNHow to Pick a Shower Niche That's Not Stuck in a Rut
Forget "standard." When you're designing a niche, the shelves and spacing have to work for your individual needs
Full Story
BATHROOM WORKBOOK12 Ways to Get a Luxe Bathroom Look for Less
Your budget bathroom can have a high-end feel with the right tile, stone, vanity and accessories
Full Story
REMODELING GUIDES10 Terrific Pass-Throughs Widen Your Kitchen Options
Can't get behind a fully closed or open-concept kitchen? Pass-throughs offer a bit of both
Full Story
PRODUCT PICKSGuest Picks: Household Basics That Don't Do Boring
You'll never look at can openers, filing cabinets, key holders and more the same way again
Full Story
BATHROOM DESIGNExpert Talk: Frameless Showers Get Show of Support
Professional designers explain how frameless shower doors boosted the look or function of 12 bathrooms
Full Story
KITCHEN DESIGNGet a Grip on Kitchen Cabinets With the Right Knobs and Pulls
Here's how to pair the right style, type and finish of cabinet hardware with your kitchen style
Full Story
KITCHEN CABINETSGet the Look of Wood Cabinets for Less
No need to snub plastic laminate as wood’s inferior cousin. Today’s options are stylish and durable — not to mention money saving
Full Story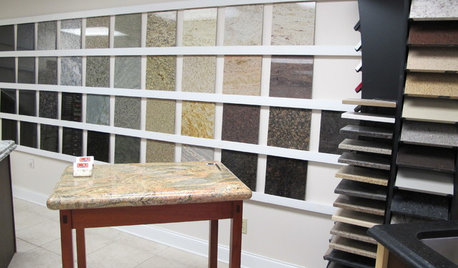
KITCHEN COUNTERTOPSWalk Through a Granite Countertop Installation — Showroom to Finish
Learn exactly what to expect during a granite installation and how to maximize your investment
Full StoryMore Discussions
kudzu9