


Nailing into a plaster wall to attach shelf supports?
talley_sue_nyc
9 years ago
Featured Answer
Sort by:Oldest
Comments (15)

geoffrey_b
9 years agotalley_sue_nyc
9 years agoRelated Professionals
Glen Allen Kitchen & Bathroom Remodelers · Rochester Kitchen & Bathroom Remodelers · Amarillo General Contractors · Bell General Contractors · Manalapan General Contractors · Mountain View General Contractors · Seguin General Contractors · Boulder Painters · Columbus Painters · Galveston Painters · Healdsburg Painters · Palos Verdes Peninsula Painters · San Juan Capistrano Painters · South Pasadena Painters · Walnut Creek Painters
millworkman
9 years agotalley_sue_nyc
9 years agomillworkman
9 years agoklem1
9 years agomillworkman
9 years agotalley_sue_nyc
9 years agogeoffrey_b
9 years agotalley_sue_nyc
9 years agogeoffrey_b
9 years agotalley_sue_nyc
9 years agogeoffrey_b
9 years agogeoffrey_b
9 years ago

Related Stories
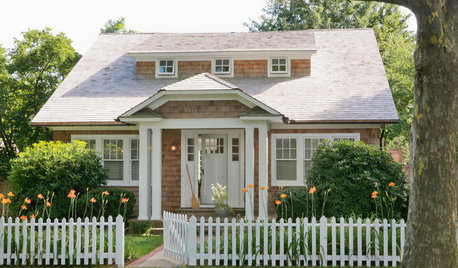
CURB APPEALNail Your Curb Appeal: Cottage Style
This traditional style has charm aplenty. You can make the most of your cottage home by emphasizing certain features
Full Story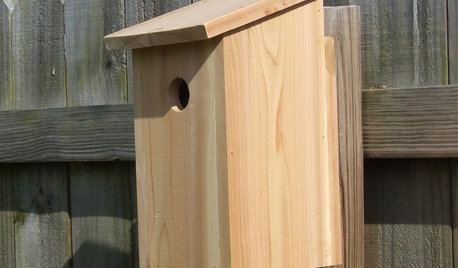
DIY PROJECTSHelpful Hangers: French Cleats Support Projects Big and Small
From cabinets to birdhouses, French cleats hold projects securely in place
Full Story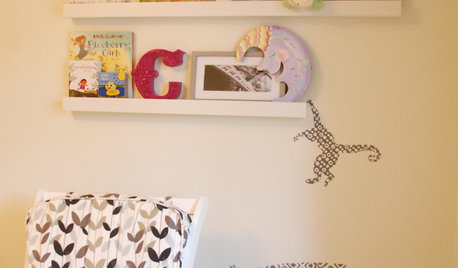
SHELVESFloating Shelves: Minimal Design, Maximum Flexibility
Spare your walls with a shelf that holds an ever-changing collection of the stuff you love
Full Story
DECORATING GUIDES10 Look-at-Me Ways to Show Off Your Collectibles
Give your prized objects center stage with a dramatic whole-wall display or a creative shelf arrangement
Full Story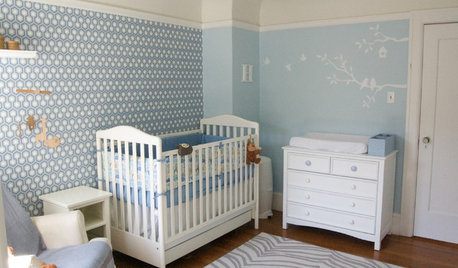
DESIGN DICTIONARYPicture Rail
This trim little design element can be used to do the heavy lifting of supporting artwork or simply be decorative
Full Story
DECORATING GUIDESQuick Fix: Find Wall Studs Without an Expensive Stud Finder
See how to find hidden wall studs with this ridiculously easy trick
Full Story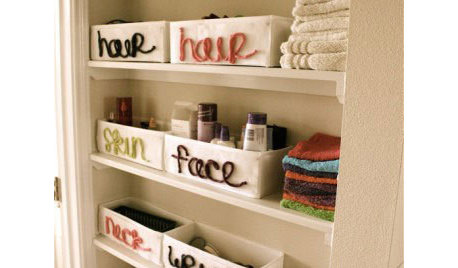
ORGANIZING8 Incredibly Clever Organizing Tricks
A tension rod under the sink; wire and nails in the closet ... these storage and organizing ideas are budget friendly to the max
Full Story
REMODELING GUIDESOne Guy Found a $175,000 Comic in His Wall. What Has Your Home Hidden?
Have you found a treasure, large or small, when remodeling your house? We want to see it!
Full Story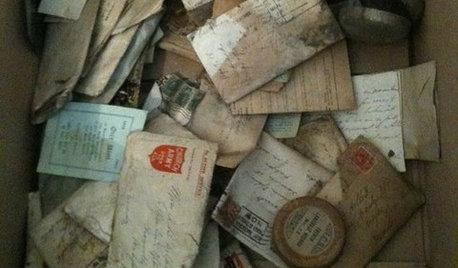
REMODELING GUIDESYou Won't Believe What These Homeowners Found in Their Walls
From the banal to the downright bizarre, these uncovered artifacts may get you wondering what may be hidden in your own home
Full Story
MATERIALSRaw Materials Revealed: Drywall Basics
Learn about the different sizes and types of this construction material for walls, plus which kinds work best for which rooms
Full Story

talley_sue_nycOriginal Author