


How to address water damage ? (pics)
orourke
14 years ago
Sort by:Oldest
Comments (9)
Related Stories
DISASTER PREP & RECOVERYRemodeling After Water Damage: Tips From a Homeowner Who Did It
Learn the crucial steps and coping mechanisms that can help when flooding strikes your home
Full Story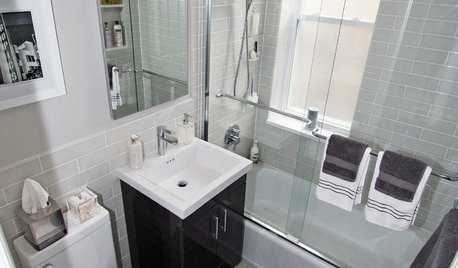
BATHROOM DESIGNWater Damage Spawns a Space-Saving Bathroom Remodel
A game of inches saved this small New York City bathroom from becoming too cramped and limited
Full Story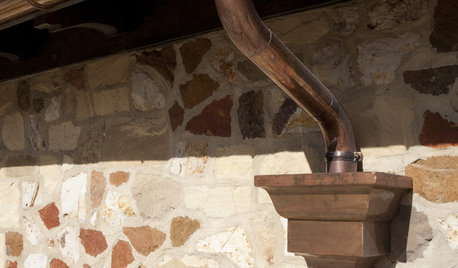
HOUSEKEEPINGProtect Your House From Winter Water Damage
Avoid costly repairs by learning to spot potential problem areas before water damage is done
Full Story
GARDENING GUIDESGot Frost-Damaged Plants? How It Happens, and When and How to Prune
Crispy brown leaves are a sure sign that Jack Frost has been to your neighborhood
Full Story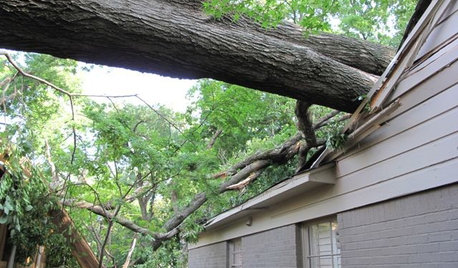
HOUZZ TOURSMy Houzz: Twister Damage Sparks a Whole Ranch Remodel
A Dallas couple transforms their traditional rambler into a bright, family-centered haven after a tornado
Full Story
SAVING WATER11 Ways to Save Water at Home
Whether you live in a drought-stricken area or just want to help preserve a precious resource, here are things you can do to use less water
Full Story
HOUSEKEEPINGDon't Touch Another Stain Before You Read This
Even an innocent swipe with water may cause permanent damage. Here's what to know about how rugs and fabrics react
Full Story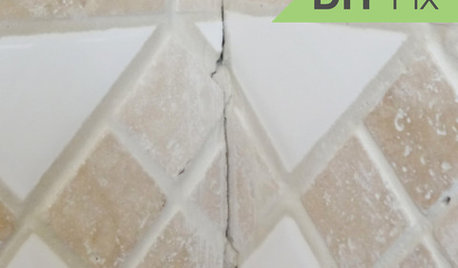
BATHROOM TILEQuick Fix: Repair Cracked Bathroom Grout
Banish an eyesore and safeguard your bathroom from water damage in 30 minutes or less with this DIY repair
Full Story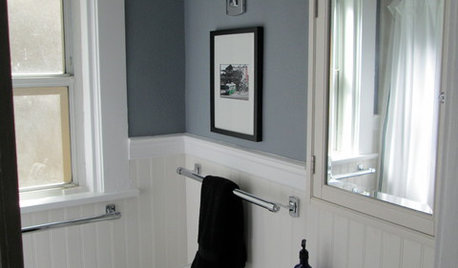
BATHROOM DESIGNMakeover Magic: Period Style for an All-New 1920s Bathroom
Leaky fixtures and water damage got the heave-ho, while the entire bathroom got a crisp new look in line with the home's style
Full Story
DISASTER PREP & RECOVERYHow to Combat Mold in a Flooded House
Before you rebuild or restore your water-damaged home, take these steps to keep mold at bay
Full StoryMore Discussions


zl700
orourkeOriginal Author
Related Professionals
Arlington Handyman · Wood River Kitchen & Bathroom Remodelers · Elk Grove Village Kitchen & Bathroom Remodelers · Linton Hall Kitchen & Bathroom Remodelers · Port Charlotte Kitchen & Bathroom Remodelers · Cibolo General Contractors · Bowling Green General Contractors · Brownsville General Contractors · Plano General Contractors · Leesburg Painters · Murfreesboro Painters · Azusa Painters · Wareham Painters · Woodridge Painters · Castaic Paintersbrickeyee
orourkeOriginal Author
orourkeOriginal Author
orourkeOriginal Author
orourkeOriginal Author
brickeyee
orourkeOriginal Author