


Door will not close, what do I check next?
williamsem
11 years ago
Related Stories
REMODELING GUIDESFinish Your Remodel Right: 10 Tasks to Check Off
Nail down these key details to ensure that everything works properly and you’re all set for the future
Full Story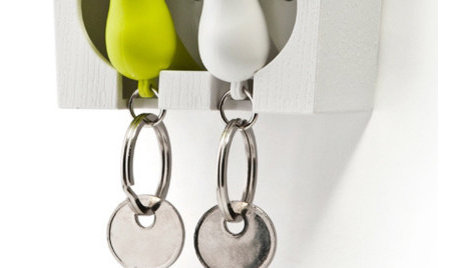
Unlock the Secret to Keeping Keys in Check
Say goodbye to frenetic searching with key storage that suits your needs and matches your home's style
Full Story
GARDENING GUIDESSand Wasps Keep True Bugs in Check and Help Pollinate Summer Flowers
Look for these solitary wasps nesting in sandy sites and foraging on flowers in July and August
Full Story
HOUZZ TOURSMy Houzz: Check Out a 'Project Runway' Winner's Brooklyn Studio
Does success in clothing design translate to a fashionable apartment? See for yourself in Gretchen Jones' New York City rental
Full Story
REMODELING GUIDESCheck Out Our Sweepstakes Winners' 2-Room Makeover
The laundry room's organization needed ironing out. The guest bath didn't make a splash. See the makeovers a Kentucky couple won
Full Story
FLOORSChecks, Please! 13 Choices for Checkered Floors
Checkerboard Patterns Go From Casual to Ritzy, From Marble to Grass
Full Story
FURNITUREMust-Know Furniture: Get Close With a Tête-à-Tête
This classic French seat solves furniture configuration dilemmas — and is perfect for conversation
Full Story
KITCHEN DESIGNHave Your Open Kitchen and Close It Off Too
Get the best of both worlds with a kitchen that can hide or be in plain sight, thanks to doors, curtains and savvy design
Full Story
KITCHEN DESIGNOpen vs. Closed Kitchens — Which Style Works Best for You?
Get the kitchen layout that's right for you with this advice from 3 experts
Full Story
HOUZZ TOURSHouzz Tour: When MoMA is Your Next Door Neighbor
Modern Icons and Family Furniture Inspire Eclectic Manhattan Apartment Design
Full StoryMore Discussions
woodbutcher_ca
williamsemOriginal Author
Related Professionals
Fort Washington Kitchen & Bathroom Remodelers · Bartlesville General Contractors · Bryn Mawr-Skyway General Contractors · Clarksville General Contractors · Milford Mill General Contractors · National City General Contractors · Rancho Santa Margarita General Contractors · Cumberland Painters · Framingham Painters · Woodstock Painters · Apple Valley Painters · Eastvale Painters · Hull Painters · The Villages Painters · Venice PaintersUser
annzgw
williamsemOriginal Author
User
housefairy
williamsemOriginal Author
williamsemOriginal Author
housefairy
housefairy
marcolo
sombreuil_mongrel
mike_kaiser_gw
lbpod
woodbutcher_ca
Moshie143
williamsemOriginal Author
steve_fl
williamsemOriginal Author