


Drywall - Nail Pop Repair
Vertise
10 years ago
Sort by:Oldest
Comments (19)
Related Stories

CRAFTSDIY Project: Home Improvement Store Pop Art
Turn Drywall Mud and Paint Into a Minimalist Conversation Piece
Full Story
MATERIALSRaw Materials Revealed: Drywall Basics
Learn about the different sizes and types of this construction material for walls, plus which kinds work best for which rooms
Full Story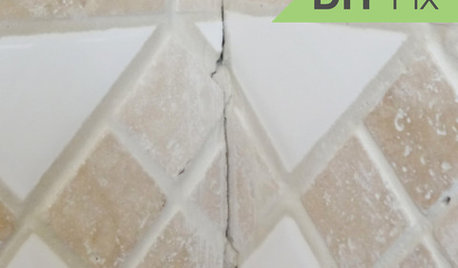
BATHROOM TILEQuick Fix: Repair Cracked Bathroom Grout
Banish an eyesore and safeguard your bathroom from water damage in 30 minutes or less with this DIY repair
Full Story
DECORATING GUIDESPop Culture Watch: 12 Home Trends from the '80s Are Back
Hold on to your hat (over your humongous hair); interior design elements of the 1980s have shot forward to today, in updated fashion
Full Story
HOUSEKEEPINGHow to Tackle Your Home To-Dos
Make quick work of minor repairs and replacements with this thorough, step-by-step approach
Full Story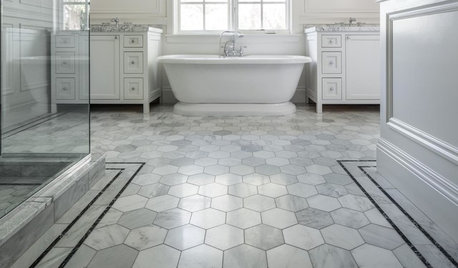
TILEWhy Bathroom Floors Need to Move
Want to prevent popped-up tiles and unsightly cracks? Get a grip on the principles of expansion and contraction
Full Story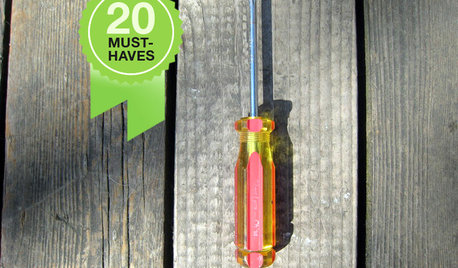
HOUSEKEEPING20 Tools Every Homeowner Should Have
You probably have a hammer, but that's just a start. These 20 tools and devices are superstars for household projects and repairs
Full Story
SELLING YOUR HOUSEFix It or Not? What to Know When Prepping Your Home for Sale
Find out whether a repair is worth making before you put your house on the market
Full Story
REMODELING GUIDESFinish Your Remodel Right: 10 Tasks to Check Off
Nail down these key details to ensure that everything works properly and you’re all set for the future
Full Story
FLOORSHow to Paint Your Hardwood Floors
Know how to apply nail polish? Then you can give your wooden floors a brand-new look
Full Story

kudzu9
VertiseOriginal Author
Related Professionals
Champlin Kitchen & Bathroom Remodelers · Durham Kitchen & Bathroom Remodelers · Binghamton General Contractors · Casas Adobes General Contractors · Ken Caryl General Contractors · Oxon Hill General Contractors · Glassboro Painters · Anaheim Painters · Bay Point Painters · Brighton Painters · Glen Rock Painters · Miramar Painters · Northglenn Painters · Rossmoor Painters · Rohnert Park Painterskudzu9
VertiseOriginal Author
kudzu9
VertiseOriginal Author
brickeyee
sombreuil_mongrel
kudzu9
brickeyee
VertiseOriginal Author
VertiseOriginal Author
VertiseOriginal Author
VertiseOriginal Author
brickeyee
VertiseOriginal Author
VertiseOriginal Author
VertiseOriginal Author
VertiseOriginal Author