


Odd Sized Joists
syd81
11 years ago
Related Stories
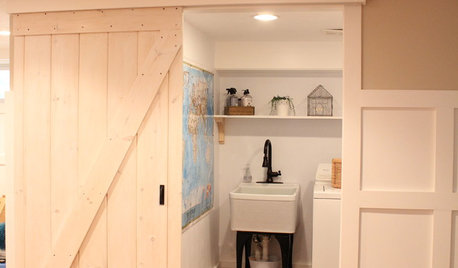
DIY PROJECTSMake Your Own Barn-Style Door — in Any Size You Need
Low ceilings or odd-size doorways are no problem when you fashion a barn door from exterior siding and a closet track
Full Story
GARDENING AND LANDSCAPINGDesign Solutions for Oddly Shaped Backyards
Is your backyard narrow, sloped or boxy? Try these landscaping ideas on for size
Full Story
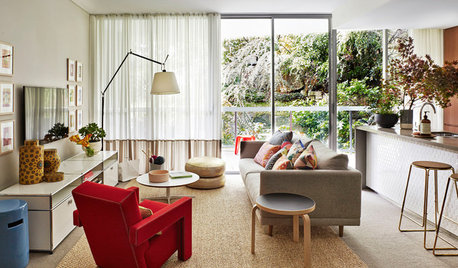
DECORATING GUIDESSize Up the Right Area Rug for Your Room
The size of a rug can make an important difference to the feel of a room. Here are some tips to help you make the right choice
Full Story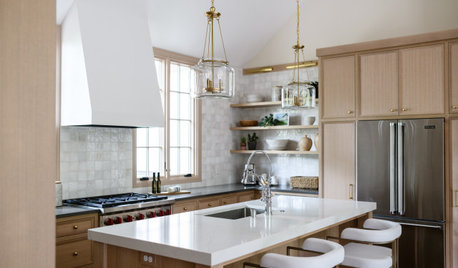
KITCHEN DESIGNHow to Choose a Kitchen Sink Size
Bigger isn’t necessarily better. Here’s how to pick the right size sink for your kitchen, needs and budget
Full Story
REMODELING GUIDESHow to Size Interior Trim for a Finished Look
There's an art to striking an appealing balance of sizes for baseboards, crown moldings and other millwork. An architect shares his secrets
Full Story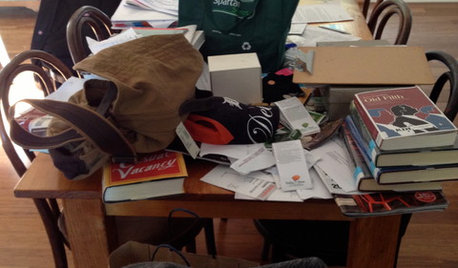
LIFEAnatomy of a Family-Size Mess
Study your home’s dumping grounds to figure out what organizational systems will work — then let yourself experiment
Full Story
MOVINGHouse Hunting: Find Your Just-Right Size Home
Learn the reasons to go bigger or smaller and how to decide how much space you’ll really need in your next home
Full Story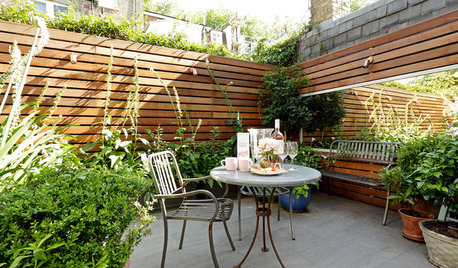
CONTAINER GARDENSPocket Gardens, Pint-Size Patios and Urban Backyards
A compact outdoor space can be a beautiful garden room with the right mix of plantings, furniture and creativity
Full Story
DECORATING GUIDES15 Bite-Size Home Projects You Can Tackle in No Time
See how getting little decorating, cleaning and organizing tasks done can add up to a big sense of accomplishment
Full Story

brickeyee
zagut
Related Professionals
Feasterville Trevose Kitchen & Bathroom Remodelers · Andover Kitchen & Bathroom Remodelers · Brentwood Kitchen & Bathroom Remodelers · Southampton Kitchen & Bathroom Remodelers · Palestine Kitchen & Bathroom Remodelers · Alabaster General Contractors · Jackson General Contractors · View Park-Windsor Hills General Contractors · Bridgewater Painters · Glassboro Painters · Carmichael Painters · Grayslake Painters · Sarasota Painters · West Chester Painters · Westchase Painterssyd81Original Author
bus_driver
brickeyee
syd81Original Author
bus_driver
brickeyee
Agarwal
brickeyee