


Crown Molding For Cosmetic Truss Uplift Fix
gardenz
16 years ago
Featured Answer
Sort by:Oldest
Comments (12)

User
16 years agoRelated Professionals
Shamong Kitchen & Bathroom Remodelers · Sunrise Manor Kitchen & Bathroom Remodelers · Andover Kitchen & Bathroom Remodelers · Skokie Kitchen & Bathroom Remodelers · De Pere General Contractors · Monroe General Contractors · New Milford General Contractors · Owosso General Contractors · Sulphur General Contractors · Culpeper Painters · Oklahoma City Painters · Philadelphia Painters · Revere Painters · Rockville Painters · Sarasota Paintersgreen-zeus
16 years agogardenz
16 years agolsst
16 years agolsst
16 years agogreen-zeus
16 years agogardenz
16 years agomrmichaeljmoore
16 years agomrmichaeljmoore
16 years ago- PRO
webuser_80920381
last year 
millworkman
last year


Related Stories
LIFEHouzz Call: Show Us Your Nutty Home Fixes
If you've masterminded a solution — silly or ingenious — to a home issue, we want to know
Full Story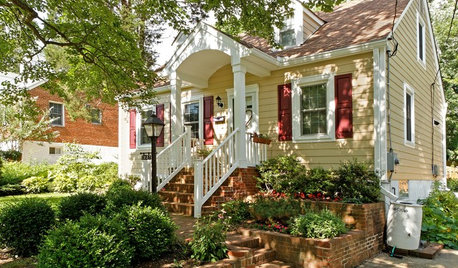
ARCHITECTURERoots of Style: Do You Live in a Minimalist Traditional House?
Cottages, bungalows, farmhouses ... whatever you call them, houses in this style share several characteristics. See how many your house has
Full Story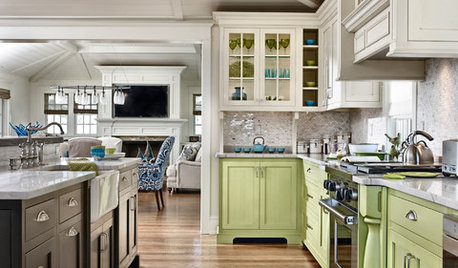
KITCHEN DESIGN11 Ways to Update Your Kitchen Without a Sledgehammer
Give your kitchen a new look by making small improvements that have big impact
Full Story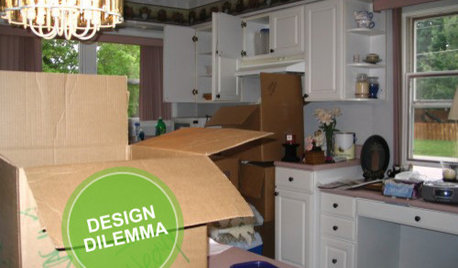
KITCHEN DESIGNDesign Dilemma: My Kitchen Needs Help!
See how you can update a kitchen with new countertops, light fixtures, paint and hardware
Full Story
REMODELING GUIDESCan You Handle That Fixer-Upper?
Learn from homeowners who bought into major renovation projects to see if one is right for you
Full Story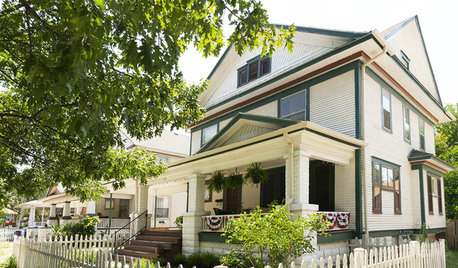
HOUZZ TOURSHouzz Tour: A Fixer-Upper Becomes a Labor of Love
A thrifty spirit and endless vision enable a hardworking Kansas couple to create a charming home on a small budget
Full Story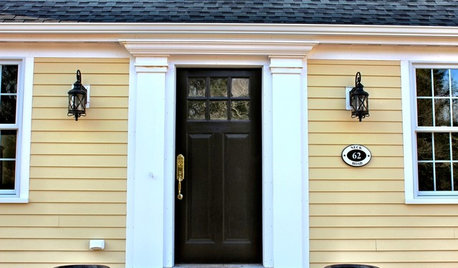
LIFE7 Things to Do Before You Move Into a New House
Get life in a new house off to a great start with fresh paint and switch plates, new locks, a deep cleaning — and something on those windows
Full Story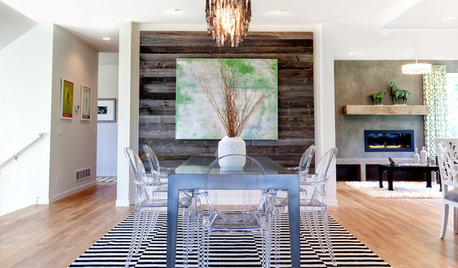
GREAT HOME PROJECTSWhat to Know About Adding a Reclaimed-Wood Wall
Here’s advice on where to put it, how to find and select wood, what it might cost and how to get it done
Full Story
REMODELING GUIDESThe Hidden Problems in Old Houses
Before snatching up an old home, get to know what you’re in for by understanding the potential horrors that lurk below the surface
Full Story
BATHROOM DESIGN7 Striking Paint Colors for Your Powder Room
Whether you opt for a little or a lot, see why the petite bathroom is the perfect place for a fun hue
Full StoryMore Discussions

lsst