


DIY Plans for Custom Range Hood?
ironjawedwoman
18 years ago
Featured Answer
Comments (13)

live_wire_oak
18 years agolast modified: 9 years ago
ironjawedwoman
18 years agolast modified: 9 years agoRelated Professionals
Corcoran Kitchen & Bathroom Designers · Bloomington Kitchen & Bathroom Designers · Ocala Kitchen & Bathroom Designers · Reedley Kitchen & Bathroom Designers · Deerfield Beach Kitchen & Bathroom Remodelers · Rolling Hills Estates Kitchen & Bathroom Remodelers · Waukegan Kitchen & Bathroom Remodelers · Centereach General Contractors · Enumclaw General Contractors · Erie General Contractors · Florham Park General Contractors · Nashua General Contractors · Noblesville General Contractors · Rancho Cordova General Contractors · Palm River-Clair Mel General Contractorsmewton
17 years agolast modified: 9 years agofreedee
17 years agolast modified: 9 years agosweeby
17 years agolast modified: 9 years agobrickeyee
17 years agolast modified: 9 years agomewton
17 years agolast modified: 9 years agopjb999
17 years agolast modified: 9 years agobrickeyee
17 years agolast modified: 9 years agopjb999
17 years agolast modified: 9 years agodjm3311_aol_com
16 years agolast modified: 9 years agoAcd34411_aol_com
12 years agolast modified: 9 years ago
Related Stories
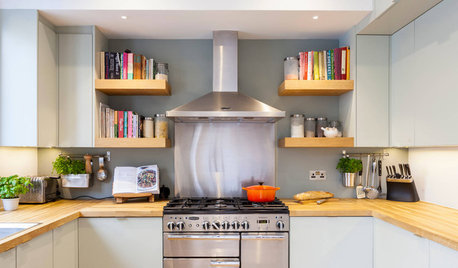
KITCHEN APPLIANCESWhat to Consider When Adding a Range Hood
Get to know the types, styles and why you may want to skip a hood altogether
Full Story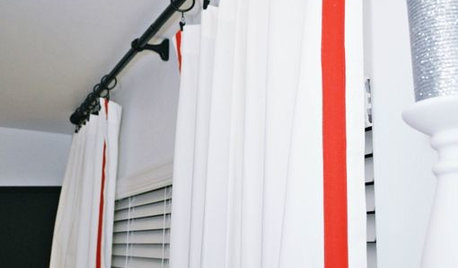
WINDOW TREATMENTSEmbellishing Tricks for Cost-Effective Custom Curtains
Get curtains that look high end — even if you don't sew — with just a little trim here or a little banding there
Full Story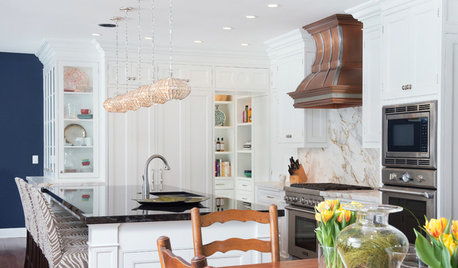
KITCHEN DESIGNWhat to Know When Choosing a Range Hood
Find out the types of kitchen range hoods available and the options for customized units
Full Story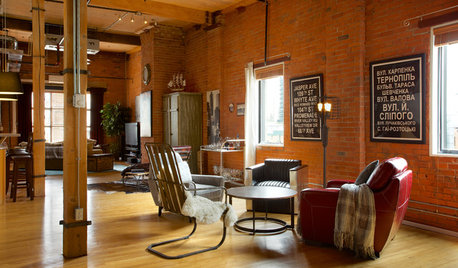
LOFTSDIY Spirit Reinvents an Industrial Home
Armed with a detailed plan from a designer, this homeowner rolled up his sleeves and transformed his Edmonton loft space
Full Story
KITCHEN WORKBOOKNew Ways to Plan Your Kitchen’s Work Zones
The classic work triangle of range, fridge and sink is the best layout for kitchens, right? Not necessarily
Full Story
KITCHEN DESIGNShow Us Your Fabulous DIY Kitchen
Did you do a great job when you did it yourself? We want to see and hear about it
Full Story
DECORATING GUIDES8 Reasons to Jump Off the DIY Bandwagon
You heard right. Stop beating yourself up for not making stuff yourself, and start seeing the bright side of buying from others
Full Story
SMALL KITCHENSThe 100-Square-Foot Kitchen: One Woman’s $4,500 DIY Crusade
Teaching herself how to remodel, Allison Macdonald adds function, smarter storage and snazzier materials
Full Story
KITCHEN DESIGNHome Above the Range: Smart Uses for Cooktop Space
With pot fillers, shelves, racks and more, you can get the most function out of the space above your kitchen range
Full Story
KITCHEN DESIGNHow to Choose the Right Hood Fan for Your Kitchen
Keep your kitchen clean and your home's air fresh by understanding all the options for ventilating via a hood fan
Full StoryMore Discussions


mike_in_kc