


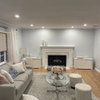
Finished Walls; Thanks Brickeyee! Picture Saturated :)
enduring
11 years ago
Related Stories
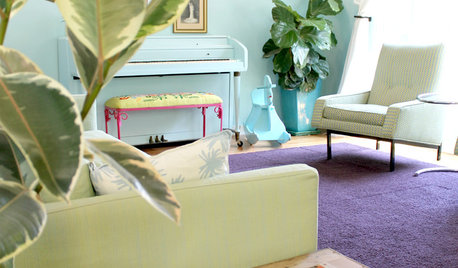
HOUZZ TOURSMy Houzz: Saturated Colors Help a 1920s Fixer-Upper Flourish
Bright paint and cheerful patterns give this Spanish-style Los Angeles home a thriving new personality
Full Story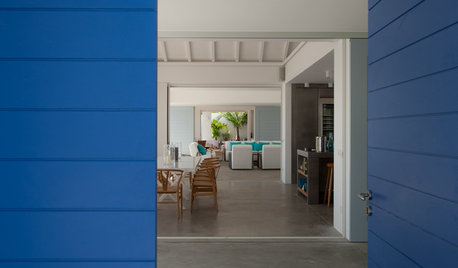
COLORBest Uses for the Saturated Blue Color of 2015
Kelly-Moore’s selection is a classic shade of blue worthy of chunky accents around the home
Full Story
BLUESaturated Color: Peacock Blues
Call it Teal or Aquamarine, Either Way This Color is a Hit
Full Story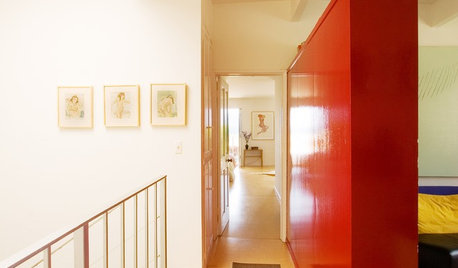
WALL TREATMENTSPick the Right Paint Finish to Fit Your Style
The question of finish may be as crucial as color. See which of these 9 varieties suits your space — and budget
Full Story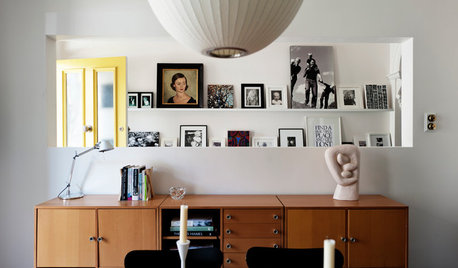
DECORATING GUIDESConquer That Blank Wall With a Versatile Picture Ledge
Turn a dull spot into your own personal art gallery with shallow shelves displaying artwork you can swap out on a whim
Full Story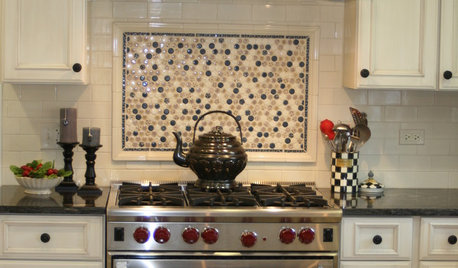
KITCHEN DESIGNKitchen Design: A Picture Frame for Your Backsplash
Frame a tile pattern for a piece of built-in wall art for your kitchen
Full Story
LIFEDecorate With Intention: Finish That Room!
Got a half-finished space begging for a polished look? These solutions can motivate you to take some essential decorating action
Full Story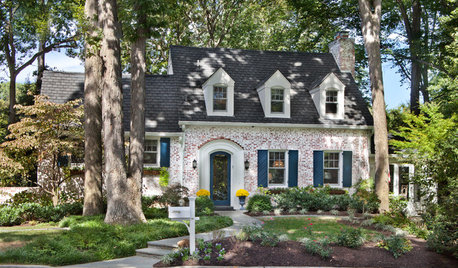
REMODELING GUIDESFinish Your Remodel Right: 10 Tasks to Check Off
Nail down these key details to ensure that everything works properly and you’re all set for the future
Full Story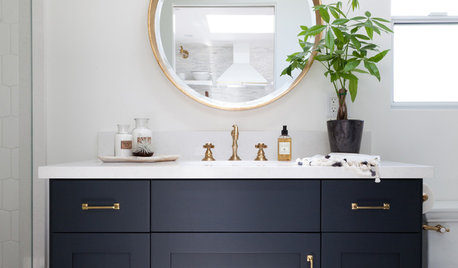
BATHROOM DESIGNA Crash Course in Bathroom Faucet Finishes
Learn the pros and cons of 9 popular faucet finishes
Full Story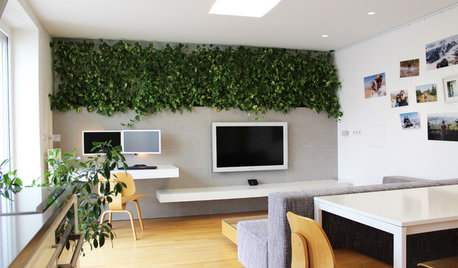
HOUZZ TOURSMy Houzz: LEDs and a Living Wall Color a Minimalist Slovakian Home
Thanks to a modern overhaul, this small Central European apartment is now a testament to efficiency and thoughtful design
Full Story
enduringOriginal Author
brickeyee
Related Professionals
Fox Lake Kitchen & Bathroom Designers · South Barrington Kitchen & Bathroom Designers · Holden Kitchen & Bathroom Remodelers · Wood River Kitchen & Bathroom Remodelers · Bay Shore Kitchen & Bathroom Remodelers · Fort Washington Kitchen & Bathroom Remodelers · Gibsonton Kitchen & Bathroom Remodelers · Chillicothe General Contractors · DeSoto General Contractors · Kilgore General Contractors · Leominster General Contractors · Meadville General Contractors · Muskogee General Contractors · Redding General Contractors · Sun Prairie General ContractorsFori
enduringOriginal Author
barbcollins
enduringOriginal Author
schoolhouse_gw
enduringOriginal Author
SparklingWater
kai615
enduringOriginal Author