


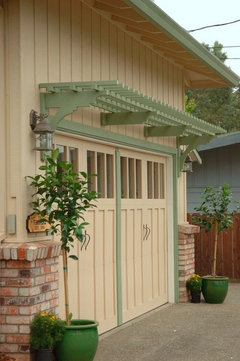
Difficulty Mounting Wood Bracket to Stone Wall
bobby1973
9 years ago
Featured Answer
Sort by:Oldest
Comments (22)

bobby1973
9 years ago PRO
PROJoseph Corlett, LLC
9 years agoRelated Professionals
El Sobrante Kitchen & Bathroom Designers · Oneida Kitchen & Bathroom Designers · Biloxi Kitchen & Bathroom Remodelers · Ogden Kitchen & Bathroom Remodelers · Oklahoma City Kitchen & Bathroom Remodelers · West Palm Beach Kitchen & Bathroom Remodelers · Joppatowne Kitchen & Bathroom Remodelers · Garden City Interior Designers & Decorators · Suisun City Interior Designers & Decorators · New Bern General Contractors · Avon Lake General Contractors · Fort Lee General Contractors · Kettering General Contractors · New Carrollton General Contractors · Renton General Contractorsbobby1973
9 years ago- PRO
Joseph Corlett, LLC
9 years ago - PRO
Joseph Corlett, LLC
9 years ago bobby1973
9 years agobobby1973
9 years ago
NHBabs z4b-5a NH
9 years ago
millworkman
9 years agobobby1973
9 years ago- PRO
Joseph Corlett, LLC
9 years ago User
9 years agobobby1973
9 years agosombreuil_mongrel
9 years agobobby1973
9 years ago- PRO
Joseph Corlett, LLC
9 years ago 
grubby_AZ Tucson Z9
9 years agobobby1973
9 years agobobby1973
9 years ago
live_wire_oak
9 years ago- PRO
Joseph Corlett, LLC
9 years ago
Related Stories
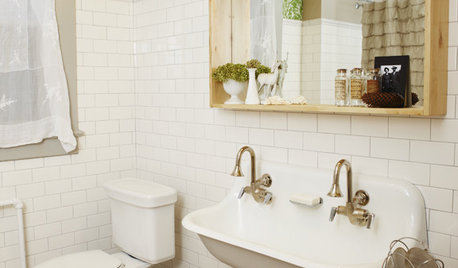
BATHROOM DESIGNSmall-Bathroom Secret: Free Up Space With a Wall-Mounted Sink
Make a tiny bath or powder room feel more spacious by swapping a clunky vanity for a pared-down basin off the floor
Full Story
GARDENING AND LANDSCAPINGGarden Tour: Edith Wharton's The Mount
Inspired by The Grand Tour, the Author Designed Her Own Formal Gardens
Full Story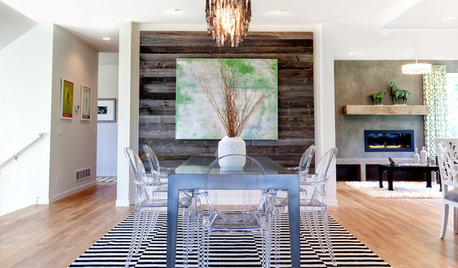
GREAT HOME PROJECTSWhat to Know About Adding a Reclaimed-Wood Wall
Here’s advice on where to put it, how to find and select wood, what it might cost and how to get it done
Full Story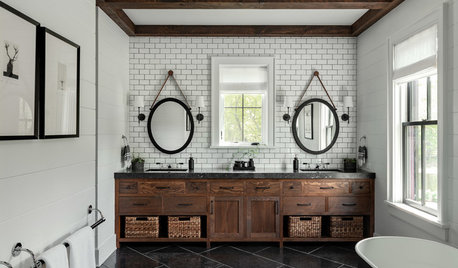
BATHROOM DESIGNBathroom Workbook: 7 Natural Stones With Enduring Beauty
Not everyone wants a marble bath. Bring organic warmth to counters, walls or floors with these hard-wearing alternatives
Full Story
BATHROOM DESIGNShould You Install a Urinal at Home?
Wall-mounted pit stops are handy in more than just man caves — and they can look better than you might think
Full Story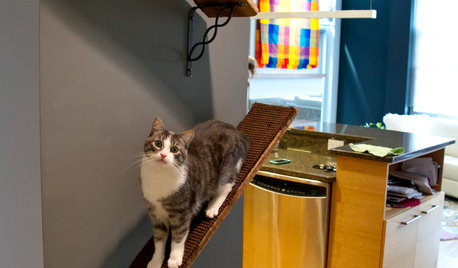
PETSUpload of the Day: Catwalks Keep Pets Happy in a Candy-Colored Condo
Shelves and wall-mounted boxes keep 2 cats active and entertained while their guardian is at work making jelly beans
Full Story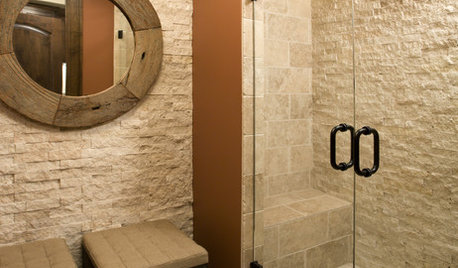
TILEBathroom Tile: Loving the Look of Ledgestone
Stacked-stone tile looks amazing in a bathroom, especially when washed with light. Here's what to think about before you buy
Full Story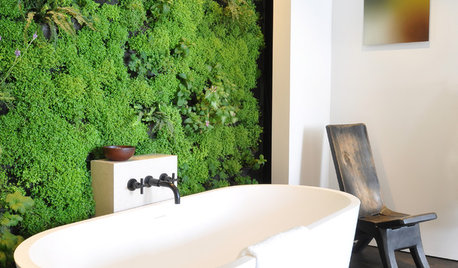
WALL TREATMENTSHouzz Call: Show Us Your Feature Wall
Have you used bold paint, reclaimed wood, living plants or something else to jazz up a wall in your home? We want to see it
Full Story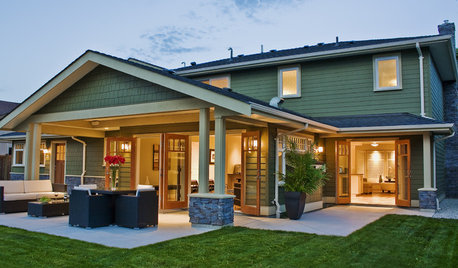
GARDENING AND LANDSCAPING6 Ways to Rethink Your Patio Floor
Figure out the right material for your spring patio makeover with this mini guide to concrete, wood, brick and stone
Full Story
REMODELING GUIDES20 Great Examples of Transitions in Flooring
Wood in One Room, Tile or Stone in Another? Here's How to Make Them Work Together
Full Story


sombreuil_mongrel