


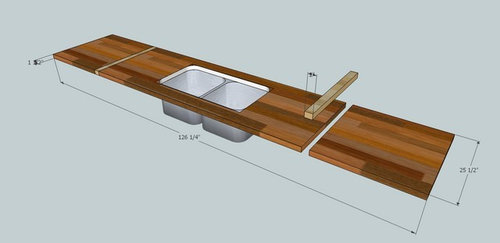
joining sections of butcher block
sardaukar
11 years ago
Featured Answer
Comments (15)

renovator8
11 years agosardaukar
11 years agoRelated Professionals
Normal Kitchen & Bathroom Remodelers · Ewa Beach Kitchen & Bathroom Remodelers · Wilmington Kitchen & Bathroom Remodelers · Tahoe City Interior Designers & Decorators · Salem General Contractors · Auburn General Contractors · Cedar Hill General Contractors · Coatesville General Contractors · Evans General Contractors · Lake Forest Park General Contractors · New River General Contractors · North Tustin General Contractors · Port Washington General Contractors · Westminster General Contractors · Wheaton General ContractorsJumpilotmdm
11 years agohandymac
11 years agobrickeyee
11 years agosardaukar
11 years agobrickeyee
11 years agowi-sailorgirl
11 years agobrickeyee
11 years agokudzu9
11 years agosardaukar
11 years agokudzu9
11 years agonorthcarolina
11 years agosardaukar
11 years ago
Related Stories
KITCHEN DESIGNButcher Block Makes the Cut for Holiday Kitchen Prep
Countertops and cutting boards will likely take a beating over the holidays. These butcher blocks have the chops to perform under pressure
Full Story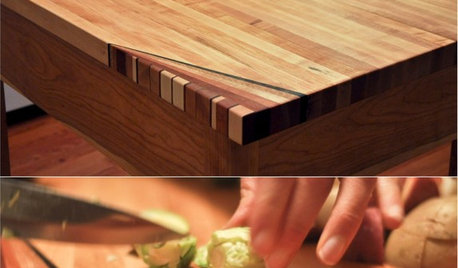
WOODWORKINGHow to Clean and Care for Your Butcher Block
Keep butcher block counters and boards looking sharp as a knife — and sanitized for safe food prep — with this advice from a pro woodworker
Full Story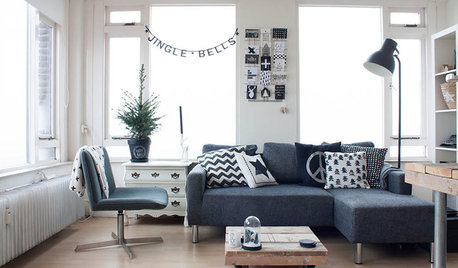
FURNITUREWhat to Know Before You Buy a Sectional
Learn about sizes, arm setups, seat types and more to get the right sectional for your space
Full Story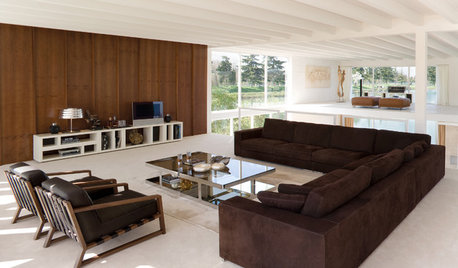
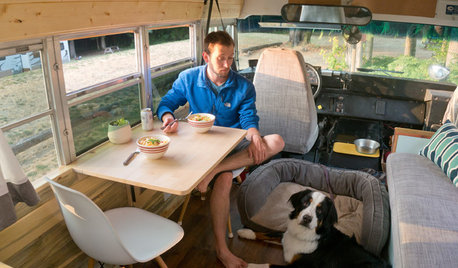
TINY HOUSESAdventure Seekers Hit the Road in a Cozy School Bus Home
Wood floors, butcher block countertops, custom furnishings and LED lights make life on the road feel like just another stylish day at home
Full Story
HOUZZ TVHouzz TV: A Famed ‘Painted Lady’ Gets a Gorgeous Update
Join us as we walk with the homeowners through one of San Francisco's landmark Victorians, lovingly restored
Full Story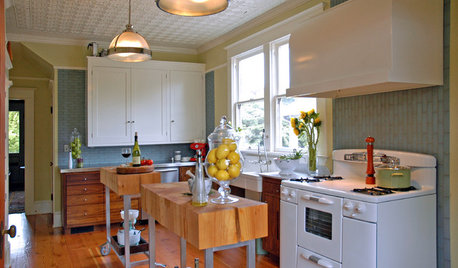
VINTAGE STYLEKitchen of the Week: Preservation Instincts Create Vintage Modern Style
Original features in this 1908 kitchen join new custom accents for a look that bridges the years
Full Story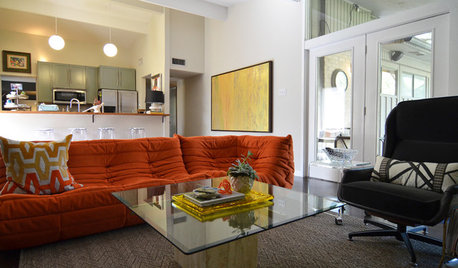
HOUZZ TOURSMy Houzz: Vintage Flair for a Lovingly Maintained Midcentury Gem
Antiques join luxe textiles and rich wallpapers to give a Dallas home by Ju-Nel sophistication and warmth
Full Story
THE ART OF ARCHITECTUREToys to Inspire Budding Architects and Designers
Frank Lloyd Wright’s blocks, cards by Eames and more toys from around the globe tap into kids’ imaginations and build skills
Full Story
HOUZZ CALLShow Us the Best Kitchen in the Land
The Hardworking Home: We want to see why the kitchen is the heart of the home
Full Story


writersblock (9b/10a)