


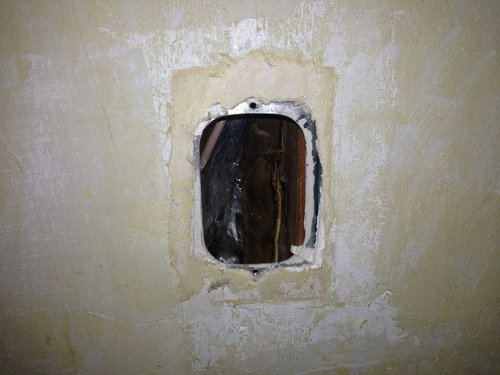
How drywall over such a box?
uvascanyon
10 years ago
Sort by:Oldest
Comments (18)
Related Stories

MATERIALSRaw Materials Revealed: Drywall Basics
Learn about the different sizes and types of this construction material for walls, plus which kinds work best for which rooms
Full Story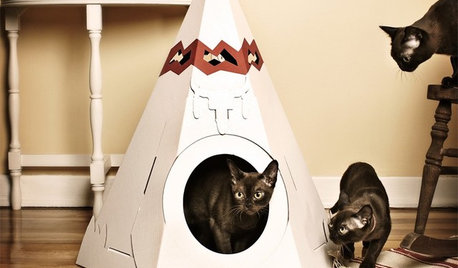
LIFEGet the Scoop on High-Design Litter Boxes
Unavoidable doesn't have to mean unpleasant; cats and guardians alike will purr over these terrific design solutions for the litter box
Full Story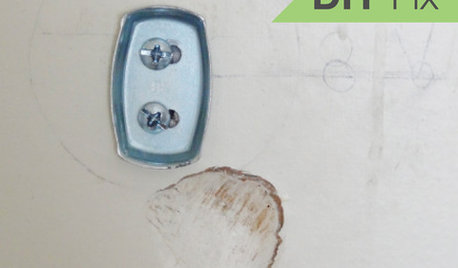
HOUSEKEEPINGQuick Fix: How to Patch a Drywall Hole
Dents and dings disappear, leaving your walls looking brand new, with this fix that even a novice can do
Full Story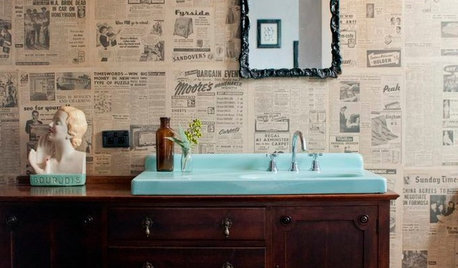
DECORATING GUIDESSo Your Style Is: Black, White and Read All Over
Make headlines at home with newsworthy decor
Full Story
GARDENING GUIDESGarden Myths to Debunk as You Dig This Fall and Rest Over Winter
Termites hate wood mulch, don’t amend soil for trees, avoid gravel in planters — and more nuggets of garden wisdom
Full Story
DIY PROJECTS10 Home Projects to Work On Over Your Holiday Weekend
Make the most of your time windfall by accomplishing one of your back-burner tasks
Full Story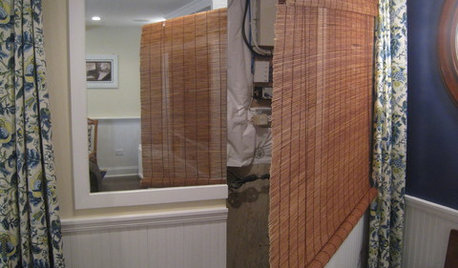
MORE ROOMSFuse Box Takes Cover
Her basement under siege from an unsightly fuse box, one Houzz user fought back with a clever camouflage
Full Story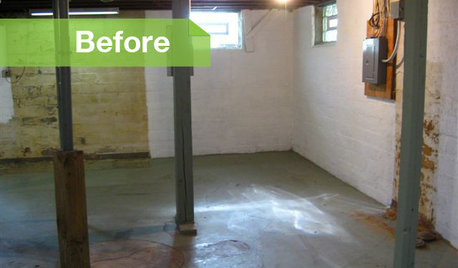
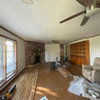
BASEMENTSBasement of the Week: Modern Style Converts an Empty Concrete Box
From raw wasteland to fab living, sleeping and storage space, this snazzy basement now covers all the angles
Full Story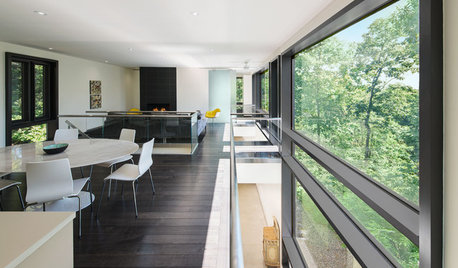
MODERN HOMESHouzz Tour: Complexity Hides Inside a Concrete Box
Don't be fooled by the monolithic exterior. This Canadian home is more open, light and multifaceted than it may seem
Full Story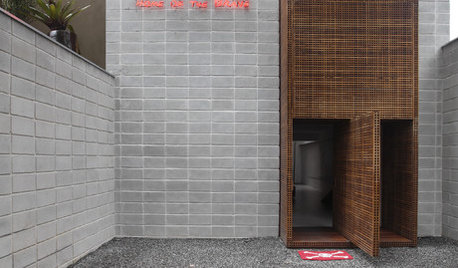
HOUZZ TOURSHouzz Tour: Minimalist Modern Box House in São Paulo
An architect and tastemaker transforms a building with a creative pedigree with his stark interior and funky, cool decor
Full StoryMore Discussions


User
User
Related Professionals
Bonita Kitchen & Bathroom Designers · Carson Kitchen & Bathroom Designers · Four Corners Kitchen & Bathroom Designers · Manchester Kitchen & Bathroom Designers · Ocala Kitchen & Bathroom Designers · Everett General Contractors · Hayward General Contractors · Hermitage General Contractors · Klamath Falls General Contractors · Modesto General Contractors · Montclair General Contractors · Seguin General Contractors · Sterling General Contractors · Stoughton General Contractors · Tuckahoe General ContractorsuvascanyonOriginal Author
Pines Everywhere
Pines Everywhere
Pines Everywhere
Pines Everywhere
uvascanyonOriginal Author
hendricus
sloyder
uvascanyonOriginal Author
Pines Everywhere
uvascanyonOriginal Author
Pines Everywhere
uvascanyonOriginal Author
uvascanyonOriginal Author
Pines Everywhere
uvascanyonOriginal Author