


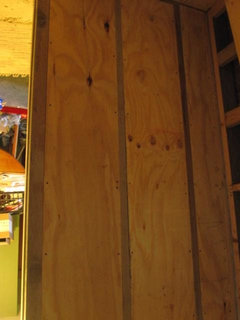
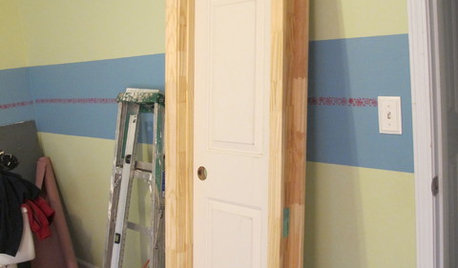
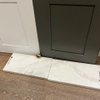
Pocket door assembly needs stiffing for tile installation.
enduring
10 years ago

Featured Answer
Comments (8)

snoonyb
10 years ago
enduring
10 years agoRelated Professionals
Newington Kitchen & Bathroom Designers · Garden Grove Kitchen & Bathroom Remodelers · North Arlington Kitchen & Bathroom Remodelers · Port Orange Kitchen & Bathroom Remodelers · Fredonia General Contractors · Jamestown General Contractors · Kilgore General Contractors · Lakeside General Contractors · Nashua General Contractors · Norwell General Contractors · Solon General Contractors · Watertown General Contractors · Wheaton General Contractors · Williamstown General Contractors · Wolf Trap General Contractorshomebound
10 years agoaidan_m
10 years agoenduring
10 years agoaidan_m
10 years agoenduring
10 years ago


Related Stories
REMODELING GUIDESDIY: How to Install a Door
Homeowners who aren't afraid of nail guns can tackle their own pre-hung door project in a couple of hours
Full Story
DOORSContractor Tips: Choosing and Installing Doors
Picking a door involves more than just visual appeal. Here's what you need to know to make sure your doors and hardware last
Full Story
BATHROOM DESIGNShould You Install a Urinal at Home?
Wall-mounted pit stops are handy in more than just man caves — and they can look better than you might think
Full Story
MATERIALSThe Most Popular Roofing Material is Affordable and Easy to Install
Asphalt shingles, the most widely used roof material in the U.S. are reliable and efficient, and may be right for you
Full Story
REMODELING GUIDESPocket Doors and Sliding Walls for a More Flexible Space
Large sliding doors allow you to divide open areas or close off rooms when you want to block sound, hide a mess or create privacy
Full Story
DOORS5 Questions to Ask Before Installing a Barn Door
Find out whether that barn door you love is the right solution for your space
Full Story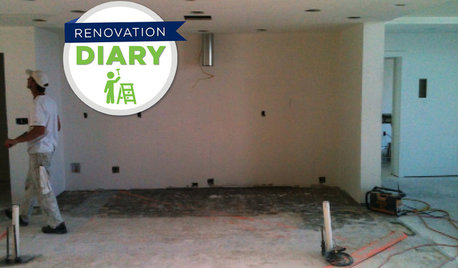
REMODELING GUIDESRanch House Remodel: Installing the Interior Finishes
Renovation Diary, Part 5: Check in on a Florida remodel as the bamboo flooring is laid, the bathroom tiles are set and more
Full Story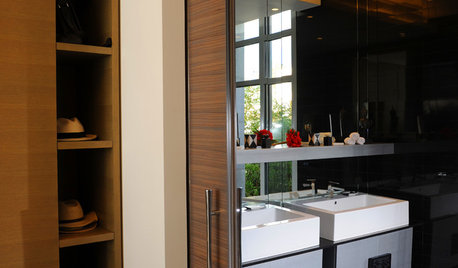
DOORSDiscover the Ins and Outs of Pocket Doors
Get both sides of the pocket door story to figure out if it's the right space separator for your house
Full Story
MOVING10 Rooms That Show You Don’t Need to Move to Get More Space
Daydreaming about moving or expanding but not sure if it’s practical right now? Consider these alternatives
Full Story
KITCHEN DESIGNKitchen of the Week: Taking Over a Hallway to Add Needed Space
A renovated kitchen’s functional new design is light, bright and full of industrial elements the homeowners love
Full StoryMore Discussions

snoonyb