


how to install crown moulding???
jaansu
12 years ago
Featured Answer
Sort by:Oldest
Comments (8)

brickeyee
12 years agojaansu
12 years agoRelated Professionals
La Verne Kitchen & Bathroom Designers · Owasso Kitchen & Bathroom Designers · White House Kitchen & Bathroom Designers · Citrus Park Kitchen & Bathroom Remodelers · Fort Smith Interior Designers & Decorators · Eagan General Contractors · Artesia General Contractors · Groveton General Contractors · Lakeside General Contractors · Lighthouse Point General Contractors · Maple Heights General Contractors · Spencer General Contractors · Texas City General Contractors · Troy General Contractors · Travilah General ContractorsUser
12 years agobill_g_web
12 years agojaansu
12 years agosombreuil_mongrel
12 years agobrickeyee
12 years ago
Related Stories
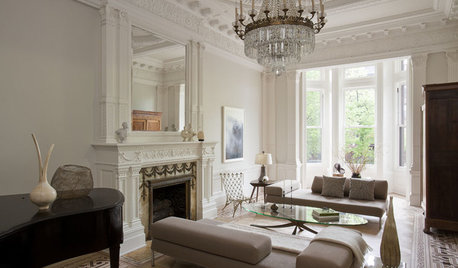
REMODELING GUIDESCrown Molding: Is It Right for Your Home?
See how to find the right trim for the height of your ceilings and style of your room
Full Story
KITCHEN BACKSPLASHESHow to Install a Tile Backsplash
If you've got a steady hand, a few easy-to-find supplies and patience, you can install a tile backsplash in a kitchen or bathroom
Full Story
FENCES AND GATESHow to Install a Wood Fence
Gain privacy and separate areas with one of the most economical fencing choices: stained, painted or untreated wood
Full Story
GREAT HOME PROJECTSHow to Install Energy-Efficient Windows
Learn what Energy Star ratings mean, what special license your contractor should have, whether permits are required and more
Full Story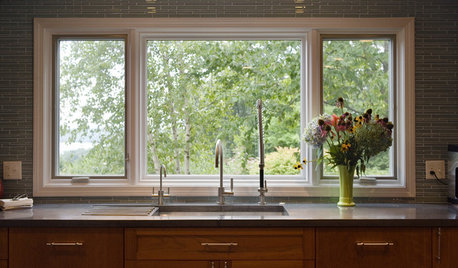
WINDOWSContractor Tips: How to Choose and Install Windows
5 factors to consider when picking and placing windows throughout your home
Full Story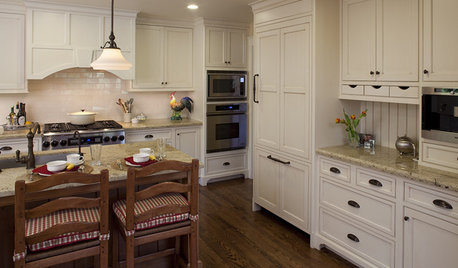
KITCHEN DESIGN9 Molding Types to Raise the Bar on Your Kitchen Cabinetry
Customize your kitchen cabinets the affordable way with crown, edge or other kinds of molding
Full Story
ARTWitness a Fantastic Chihuly Glass Sculpture Installation
Ever wonder what goes into a design that includes a major — and highly breakable — artwork? Here's your chance to find out
Full Story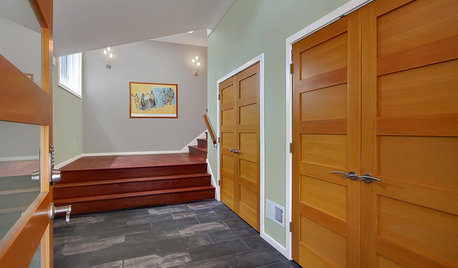
DOORSContractor Tips: Choosing and Installing Doors
Picking a door involves more than just visual appeal. Here's what you need to know to make sure your doors and hardware last
Full Story
REMODELING GUIDESHow to Size Interior Trim for a Finished Look
There's an art to striking an appealing balance of sizes for baseboards, crown moldings and other millwork. An architect shares his secrets
Full Story
REMODELING GUIDESDesign Details: Moldings — or Not?
16 new and unusual ways to trim your doors, floors and ceilings
Full Story


sierraeast