


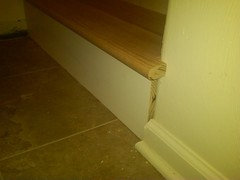
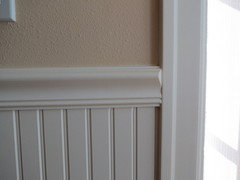
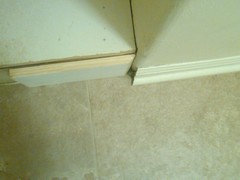
Adding a bullnose edge?
User
11 years ago

Featured Answer
Sort by:Oldest
Comments (14)

Suzi AKA DesertDance So CA Zone 9b
11 years ago
annzgw
11 years agoRelated Professionals
Highland Kitchen & Bathroom Designers · Rancho Mirage Kitchen & Bathroom Designers · Citrus Park Kitchen & Bathroom Remodelers · Clovis Kitchen & Bathroom Remodelers · Kettering Kitchen & Bathroom Remodelers · Skokie Kitchen & Bathroom Remodelers · Toms River Kitchen & Bathroom Remodelers · Lawndale Kitchen & Bathroom Remodelers · Washington Interior Designers & Decorators · Bell General Contractors · Dover General Contractors · Erlanger General Contractors · Rohnert Park General Contractors · Shaker Heights General Contractors · West Mifflin General ContractorsUser
11 years agodon92
11 years agoUser
11 years agoannzgw
11 years agoUser
11 years agoannzgw
11 years agoUser
11 years agoannzgw
11 years agobrickeyee
11 years agoUser
11 years agobrickeyee
11 years ago

Related Stories
KITCHEN DESIGNKitchen Details: The Right Edge for Your Countertop
Square, Mitered, Waterfall or Bullnose? See What Counter-Edge Style Looks Best to You
Full Story
ARCHITECTURERounded Forms Smooth Modern Architecture’s Edges
A simple curve or fluid line can soften and add interest to the look of your house, inside and out
Full Story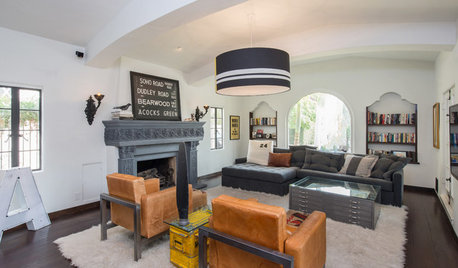
ECLECTIC HOMESHouzz Tour: Classic Spanish Style Gets a Modern Edge
Rounded curves, modern furniture and vintage ads mingle beautifully in a 1930s Los Angeles home
Full Story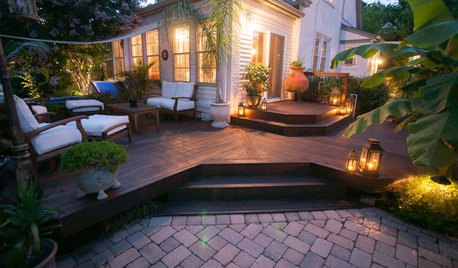
MOST POPULARWhat to Know About Adding a Deck
Want to increase your living space outside? Learn the requirements, costs and other considerations for building a deck
Full Story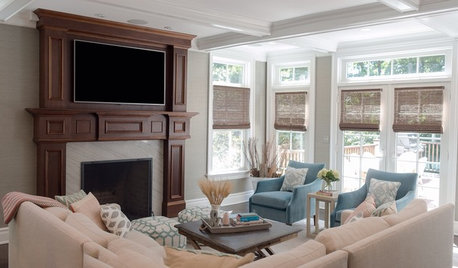
DECORATING GUIDESRoom of the Day: Adding Comfort and Style to a New Jersey Family Room
Layers of natural textures and pops of color help create a welcoming and cozy space for a couple and their baby
Full Story
GREAT HOME PROJECTSWhat to Know About Adding a Reclaimed-Wood Wall
Here’s advice on where to put it, how to find and select wood, what it might cost and how to get it done
Full Story
MOST POPULARThe 25 Most Popular Photos Added to Houzz in 2013
See the newly uploaded images of kitchens, bathrooms, bedrooms and more that Houzz users really fell for this year
Full Story
KITCHEN APPLIANCESWhat to Consider When Adding a Range Hood
Get to know the types, styles and why you may want to skip a hood altogether
Full Story
MODERN HOMESHouzz TV: Seattle Family Almost Doubles Its Space Without Adding On
See how 2 work-from-home architects design and build an adaptable space for their family and business
Full Story
HOUZZ TOURSMy Houzz: Added Space and Style for a 1960s Split Level
With a new second story and downstairs suite, custom touches and midcentury pieces, this Portland family home suits 3 generations
Full Story

UserOriginal Author