


Another knock-down texture thread
the_dude
18 years ago
Sort by:Oldest
Comments (8)
Related Stories
LANDSCAPE DESIGNUnify Your Garden With a Common Thread
Bring the areas of your garden together to give it a unique sense of place
Full Story
HOUZZ TOURSMy Houzz: Stripping Down Uncovers a 1910 Bungalow's Beauty
A first-time homeowner brings out the charm and coziness in her Utah home through determination and patience
Full Story
REMODELING GUIDESWhat to Know Before You Tear Down That Wall
Great Home Projects: Opening up a room? Learn who to hire, what it’ll cost and how long it will take
Full Story
GREAT HOME PROJECTSHow to Tear Down That Concrete Patio
Clear the path for plantings or a more modern patio design by demolishing all or part of the concrete in your yard
Full Story
LIVING ROOMSRoom of the Day: Paring Down to Style Up
A designer helps a San Francisco couple bring better order to their living room to highlight their eclectic style
Full Story
ECLECTIC STYLEHouzz Tour: Eclectic Down-Home Style in Texas
A Texas family goes for comfortable, colorful furnishings and crisp white walls for a look they call ‘Southern Americana’
Full Story
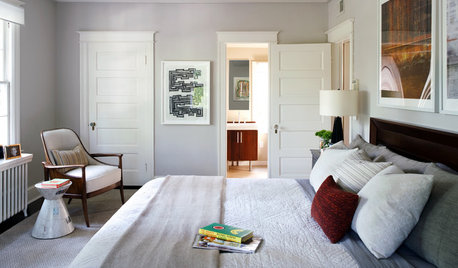
BEDROOMSBed Down in a Cocoon of Beautiful Textiles
Make your bedroom a real haven with a bed draped in sheets, blankets and pillows that speak to your dreams
Full Story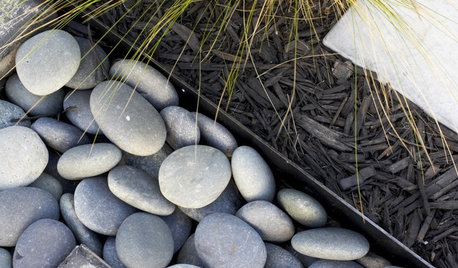
BEDROOMSHow to Choose the Perfect Bedsheets
Don't lose any shut-eye over scratchy or ill-fitting sheets; our mini guide to materials, thread count and fit will help you sleep tight
Full Story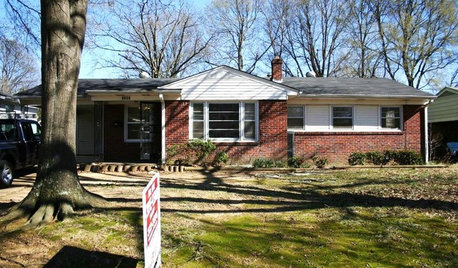
REMODELING GUIDES5 Ways to Protect Yourself When Buying a Fixer-Upper
Hidden hazards can derail your dream of scoring a great deal. Before you plunk down any cash, sit down with this
Full Story


jrice
the_dudeOriginal Author
Related Professionals
Bloomington Kitchen & Bathroom Designers · Newington Kitchen & Bathroom Designers · Ojus Kitchen & Bathroom Designers · Cloverly Kitchen & Bathroom Remodelers · Prairie Village Kitchen & Bathroom Remodelers · Washington Interior Designers & Decorators · Bay Shore General Contractors · Cedar Hill General Contractors · Citrus Heights General Contractors · Fargo General Contractors · Hermitage General Contractors · Jamestown General Contractors · Jeffersonville General Contractors · Ken Caryl General Contractors · Rossmoor General Contractorsjrice
ttugrad95
randymeyer
cal_dreamer
the_dudeOriginal Author
davey28