


Custom bookcases or trim out mass produced modular ones?
linnea56 (zone 5b Chicago)
15 years ago
Related Stories
GREAT HOME PROJECTSHow to Bring Out Your Home’s Character With Trim
New project for a new year: Add moldings and baseboards to enhance architectural style and create visual interest
Full Story
WORKING WITH PROSWhat to Know About Working With a Custom Cabinetmaker
Learn the benefits of going custom, along with possible projects, cabinetmakers’ pricing structures and more
Full Story
DECORATING GUIDES6 Cost-Effective Ways to Go Custom Made
Get a look that’s totally you — and possibly for a lower cost than you might think
Full Story
FURNITUREHolding Out for Quality
Cheap furniture has its place, but more shoppers are waiting to invest for the long haul
Full Story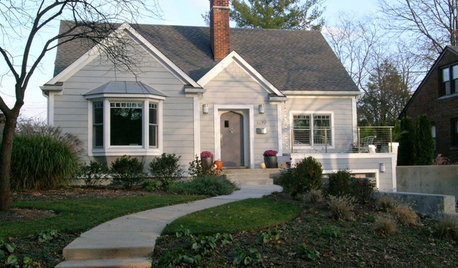
REMODELING GUIDESOne Big Happy Expansion for Michigan Grandparents
No more crowding around the Christmas tree. Friends and extended family now have all the elbow room they need, thanks to a smart addition
Full StoryKITCHEN DESIGN12 Great Kitchen Styles — Which One’s for You?
Sometimes you can be surprised by the kitchen style that really calls to you. The proof is in the pictures
Full Story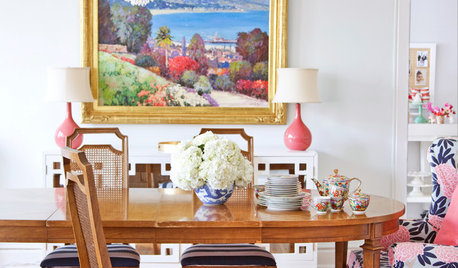
DECORATING GUIDESWhere to Embrace Custom Furnishings in Your Home
Upholstery, draperies, rugs and mirrors are a few of the items for which it makes sense to consider a custom option
Full Story
FARM YOUR YARDIf You Have Room for Only One Fruit Tree ...
Juice up a small garden with one of these easier-care or worth-the-effort fruit trees for a mild climate
Full Story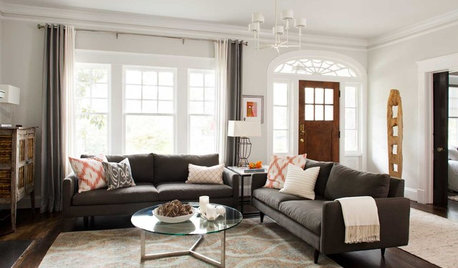
ENTRYWAYSNo Entryway? Create the Illusion of One
Create the feeling of an entry hall even when your door opens straight into the living room. Here are 12 tricks to try
Full Story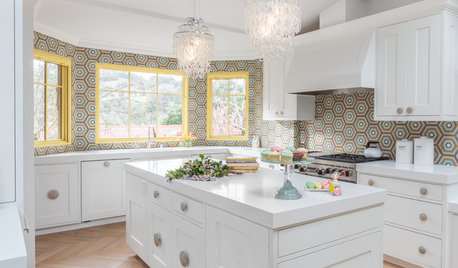
ROOM OF THE DAYRoom of the Day: A California Kitchen Boots Out Beige
A down-and-out kitchen catches the joy wave and turns up the fun for a social family of 5
Full Story


homebound
ron6519
Related Professionals
Greensboro Kitchen & Bathroom Designers · Henderson Kitchen & Bathroom Designers · Martinsburg Kitchen & Bathroom Designers · Oneida Kitchen & Bathroom Designers · Biloxi Kitchen & Bathroom Remodelers · Bloomingdale Kitchen & Bathroom Remodelers · Eureka Kitchen & Bathroom Remodelers · Oxon Hill Kitchen & Bathroom Remodelers · Wanaque Interior Designers & Decorators · Cibolo General Contractors · Galveston General Contractors · Groton General Contractors · Mashpee General Contractors · Milford Mill General Contractors · Welleby Park General Contractorsbrickeyee
hendricus
linnea56 (zone 5b Chicago)Original Author
MongoCT
ttfweb
linnea56 (zone 5b Chicago)Original Author
MongoCT
brickeyee
MongoCT
chris8796
chris8796
linnea56 (zone 5b Chicago)Original Author
pjb999
robmurphy
MongoCT
robmurphy
linnea56 (zone 5b Chicago)Original Author
msjay2u
MongoCT
msjay2u