


Tube quilt blocks
rosajoe_gw
14 years ago
Sort by:Oldest
Comments (37)
Related Stories

DECORATING GUIDESCelebrating the Great American Quilt
They speak of family, history and beauty. Is it any wonder quilts transcend design styles?
Full Story
ARTSee Winning Modern Quilts on Display at QuiltCon 2015
Top quilts have been chosen from among hundreds at the international show in Austin through February 22. View them and others here
Full Story
GREAT HOME PROJECTSHow to Add a Skylight or Light Tube
New project for a new year: Increase daylight and maybe even your home’s energy efficiency by opening a room to the sky
Full Story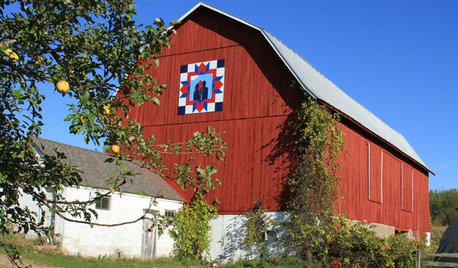
ARTBarn Quilts Piece Together a Community
One man with one beautiful idea transforms Wisconsin’s Shawano County
Full Story
ARTShow News: Rare Quilts Get Museum Time
See 6 intricate designs from a California exhibition and get tips for building your own quilt collection
Full Story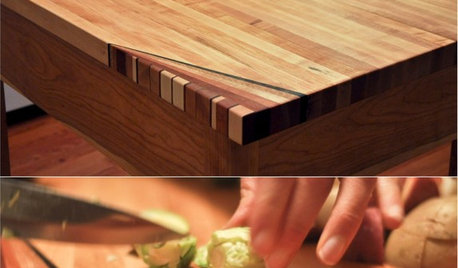
WOODWORKINGHow to Clean and Care for Your Butcher Block
Keep butcher block counters and boards looking sharp as a knife — and sanitized for safe food prep — with this advice from a pro woodworker
Full Story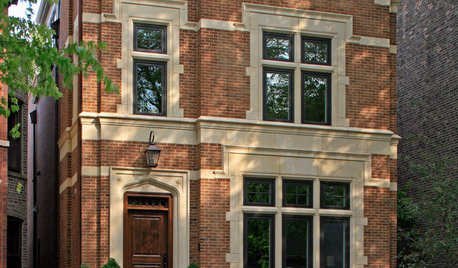
MATERIALSRaw Materials Revealed: Brick, Block and Stone Help Homes Last
Learn about durable masonry essentials for houses and landscapes, and why some weighty-looking pieces are lighter than they look
Full Story
WINDOW TREATMENTSEasy Green: 9 Low-Cost Ways to Insulate Windows and Doors
Block drafts to boost both warmth and energy savings with these inexpensive but effective insulating strategies
Full Story
GREEN BUILDINGLook to the Sun for More of Your Home's Lighting
Manage sunlight with design-savvy windows, solar tubes and skylights to save energy and show your home's beauty
Full Story
ARCHITECTUREThe Bay Window Goes Modern
Square tubes, cantilevered cubes, mixed glass ... new plays on bay windows are boldly branching out in modern architecture
Full Story
magothyrivergirl
rosajoe_gwOriginal Author
Related Professionals
Hilton Head Island Furniture & Accessories · Wilmington Furniture & Accessories · Urbandale Furniture & Accessories · Garden Acres Interior Designers & Decorators · Fall River Flooring Contractors · Fort Myers Flooring Contractors · Germantown Flooring Contractors · Homestead Flooring Contractors · Livonia Flooring Contractors · Miami Flooring Contractors · Raleigh Flooring Contractors · Temecula Flooring Contractors · Whitman Flooring Contractors · Reno Furniture & Accessories · Wakefield Furniture & Accessoriescalliope
magothyrivergirl
calliope
fran1523
nana24
rosajoe_gwOriginal Author
pirate_girl
jck1210
nana24
magothyrivergirl
pirate_girl
nana24
nana24
grammyp
lola99
calliope
rosajoe_gwOriginal Author
nana24
pirate_girl
nana24
rosajoe_gwOriginal Author
calliope
kathi_mdgd
day2day
nana24
geezerfolks_SharonG_FL
magothyrivergirl
fran1523
rosajoe_gwOriginal Author
grammyp
nana24
sandlapper_rose
calliope
nanajayne
nana24