


How To Make Your Own Quilted Fabric
stitcheasy2003
13 years ago
Sort by:Oldest
Comments (8)
Related Stories
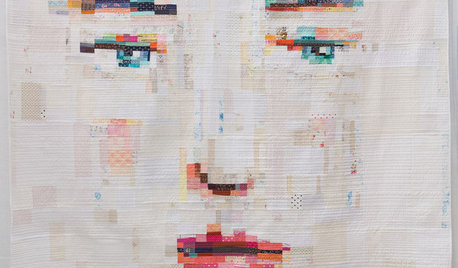
ARTSee Winning Modern Quilts on Display at QuiltCon 2015
Top quilts have been chosen from among hundreds at the international show in Austin through February 22. View them and others here
Full Story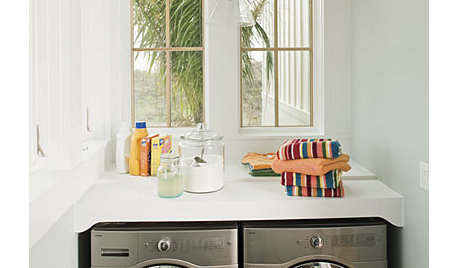
LAUNDRY ROOMSLaundry Makes a Clean Break With Its Own Room
Laundry rooms are often a luxury nowadays, but a washer-dryer nook in a kitchen, office or hallway will help you sort things out
Full Story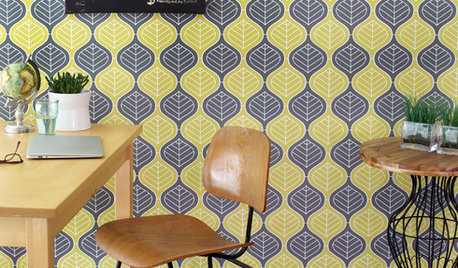
WALL TREATMENTSCan't Find the Right Wallpaper? Make Your Own
For one-of-a-kind walls, just use your imagination. Custom wallpaper is easier and less expensive than you might expect
Full Story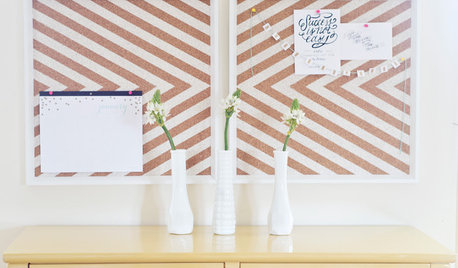
DIY PROJECTSGet Organized: Make Your Own Stylish Corkboard
New project for a new year: Craft an inexpensive custom pin board to keep papers, photos and more neatly at hand
Full Story
HOUZZ TOURSMy Houzz: Northwest Couple Make a Rural Homestead Their Own
Country life agrees with these first-time homeowners, who have decorated their farmhouse in a rustic, low-key style
Full Story
MOST POPULARHoliday DIY: 25 Ideas for Make-Your-Own Decor and Gifts
We show you how to create cute and clever Christmas and Hanukkah gifts, ornaments, wreaths and more
Full Story
DIY PROJECTSMake Your Own Barn-Style Door — in Any Size You Need
Low ceilings or odd-size doorways are no problem when you fashion a barn door from exterior siding and a closet track
Full Story
DECORATING GUIDESPersonal Spaces: Ideas for Making a Rental Your Own
Think creatively — and kiss your landlord if he or she allows you to paint those bare walls
Full Story
ARTShow News: Rare Quilts Get Museum Time
See 6 intricate designs from a California exhibition and get tips for building your own quilt collection
Full Story
UPHOLSTERYFabric Focus: Make Your Interiors More Durable With Outdoor Fabric
Indoor-outdoor fabric is strong and beautiful, whether in the backyard or the living room
Full StoryMore Discussions
jennifer_in_va
teresa_nc7
Related Professionals
Atlanta Furniture & Accessories · Kearny Furniture & Accessories · Port Chester Furniture & Accessories · Tamalpais-Homestead Valley Furniture & Accessories · Damascus Flooring Contractors · Hastings Flooring Contractors · Little Falls Flooring Contractors · Melrose Flooring Contractors · Mill Valley Flooring Contractors · South Lake Tahoe Flooring Contractors · South Pasadena Flooring Contractors · Stoneham Flooring Contractors · Thibodaux Flooring Contractors · Carlsbad Furniture & Accessories · Wilmington Furniture & Accessoriesimrainey
imrainey
carolnv
teresa_nc7
imrainey
murphy_zone7