


skull quilt ideas?
vacuumfreak
11 years ago

Sort by:Oldest
Comments (7)
Related Stories
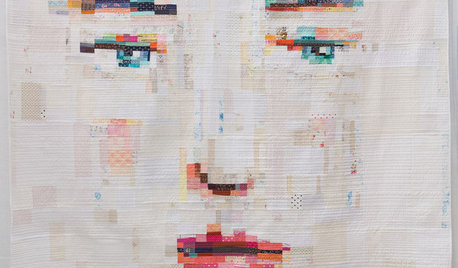
ARTSee Winning Modern Quilts on Display at QuiltCon 2015
Top quilts have been chosen from among hundreds at the international show in Austin through February 22. View them and others here
Full Story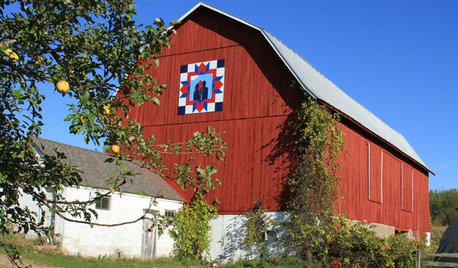
ARTBarn Quilts Piece Together a Community
One man with one beautiful idea transforms Wisconsin’s Shawano County
Full Story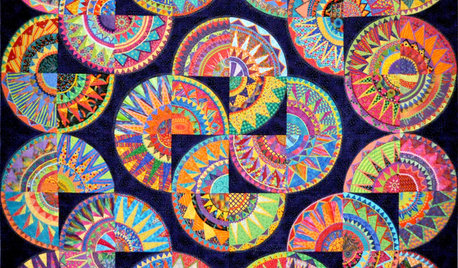
ARTShow News: Rare Quilts Get Museum Time
See 6 intricate designs from a California exhibition and get tips for building your own quilt collection
Full Story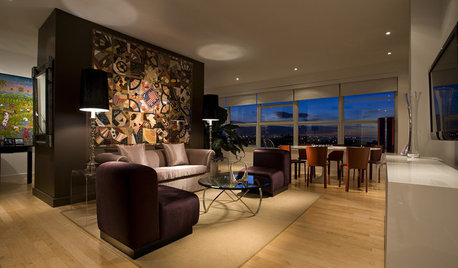
DECORATING GUIDESCelebrating the Great American Quilt
They speak of family, history and beauty. Is it any wonder quilts transcend design styles?
Full Story
COLLECTIONS15 Reasons to Get Addicted to Kantha Quilts
You can use kantha quilts, made from old saris, throughout your home — on beds, as upholstery and as wall hangings
Full Story
DECORATING GUIDESWeekend Decorating: Playing with Blankets, Throws, and Quilts
How to Use a Throw in Unique, Decorative Ways
Full Story
BEDROOMSCoverlet, Duvet, Quilt, Comforter: What's the Difference?
Learn the basics of great bedding options and how to use them for great comfort and style
Full Story
FEEL-GOOD HOMESimple Pleasures: Treasuring the Gift of Grandparents
You can enrich your family life by bringing generations together for shared meals, quilting projects, storytelling
Full Story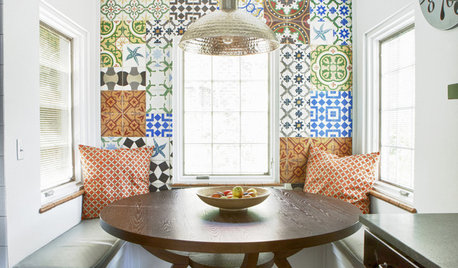
TILEPep Up With Patchwork Tiles
Don't call them crazy — quilt-style tile patterns are bringing energy and playfulness to walls, countertops and even floors
Full Story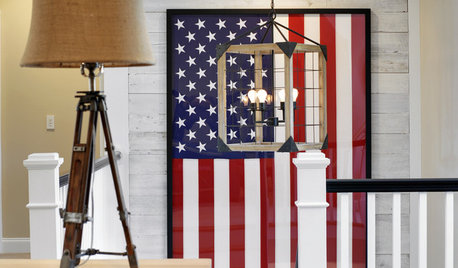
FOURTH OF JULYCelebrate Patriotism All Year With Americana Style
Cozy quilts, folk art, gingham and American flags help proclaim pride in the country even after the Fourth of July
Full StorySponsored
More Discussions

jennifer_in_va
quiltingfox
Related Professionals
Charleston Furniture & Accessories · Scottsdale Furniture & Accessories · Hoboken Furniture & Accessories · Mount Sinai Interior Designers & Decorators · Carlisle Flooring Contractors · Cedar Park Flooring Contractors · Madison Flooring Contractors · Orange Flooring Contractors · Owatonna Flooring Contractors · Roselle Flooring Contractors · Carlsbad Furniture & Accessories · Charleston Furniture & Accessories · Tucson Furniture & Accessories · San Elizario Furniture & Accessories · Robbinsdale Furniture & Accessoriesdan_the_mailman
vacuumfreakOriginal Author
quiltingfox
vacuumfreakOriginal Author
dan_the_mailman