


Free-Motion Stars
geezerfolks_SharonG_FL
10 years ago
Sort by:Oldest
Comments (5)
Related Stories

DECORATING GUIDESArmillary Spheres Set Rooms in Motion
Armi ... what? These classic astronomy models may have an unfamiliar name, but the energy and history they bring to rooms are unmistakable
Full Story
DECORATING GUIDESFeel Free to Break Some Decorating Rules
Ditch the dogma about color, style and matching, and watch your rooms come alive
Full Story
HOUZZ TOURSMy Houzz: Family of 5 Lives (Almost) Clutter Free
Smart decor decisions and multipurpose items help this San Francisco family keep things tidy
Full Story
LIFE10 Ideas for Making Screen-Free Play a Reality
Here's how to tempt your children with activities that will encourage their creativity and keep them away from the TV
Full Story
FALL AND THANKSGIVINGFall Decorating Ideas From a Designer to the Stars
You might think all-out glitz and over-the-top glamour make up Adam Hunter's fall decorations. You'd be wrong
Full Story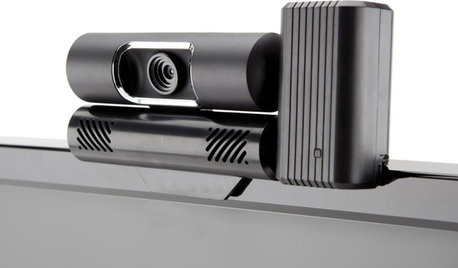
HOME TECHBe a TV Star With Your Video Phone Calls
Tiny screens don't do your video calls justice. For higher-quality video conversations, you've got to turn on the TV
Full Story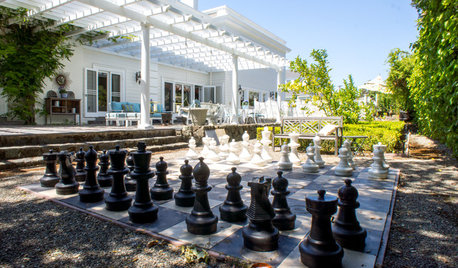
INSPIRING GARDENSChickens, Chess and Swimming Star in a Silicon Valley Yard
Some fowl play is afoot in these outdoor rooms, but the family members and their many guests have a pretty good time too
Full Story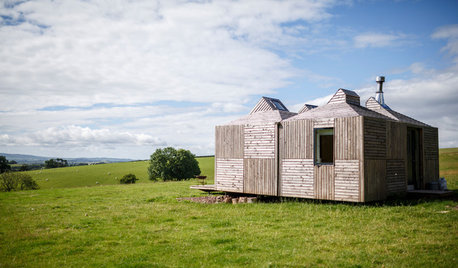
VACATION HOMESHouzz Tour: Scottish Farm Cottage Looks to Sun and Stars
A sheep field is home to a small, energy-efficient house that pulls ideas from mobile home design and raises the style level
Full Story
LANDSCAPE DESIGNMake Your Garden Come Alive With a Sense of Movement
Master the illusion of motion for an exceptional garden that stirs emotions and the imagination
Full Story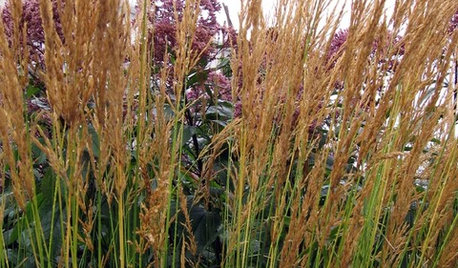
GOLD FOLIAGEGreat Design Plant: Feather Reed Grass
Use this ornamental grass for height, color, texture and motion in your landscape
Full StoryMore Discussions


toolgranny
grammyp
teresa_nc7
geezerfolks_SharonG_FLOriginal Author
littlehelen_gw