


The result...
jennifer_in_va
11 years ago


Related Stories
BOOKSCan Tidying Up Result in Life-Changing Magic?
Organizing phenom Marie Kondo promises big results — if you embrace enormous changes and tough choices
Full Story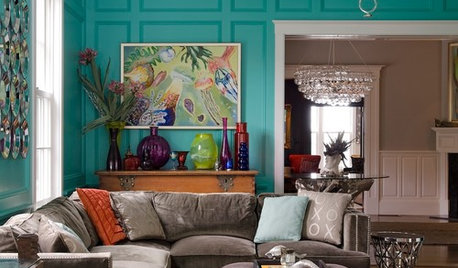
COLORSpeed-Dial Color Selection to Get the Best Result
You’ve belabored your color decisions and are still stuck. Here is how to evaluate your space and make choices that are right for you
Full Story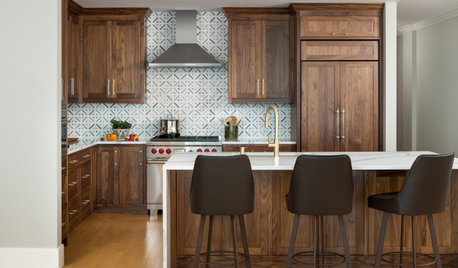
WORKING WITH PROSWant the Best Results? Join Your Design Team
Take a leading role in your home project to help the process go more smoothly and get what you really want
Full Story
KITCHEN DESIGNSurvey Results: Kitchen Trends That Seem Here to Stay
More than a third of respondents in Houzz’s annual kitchen trends report now have the means to remodel. Here’s what else they told us
Full Story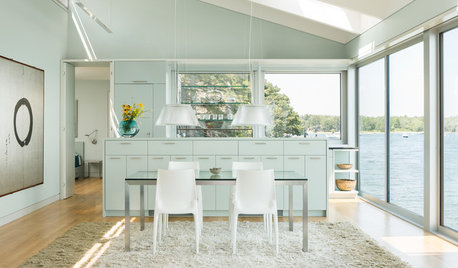
HOUZZ TOURSHouzz Tour: Battling the Tides Results in a Wondrous House on the Water
A complex construction effort pays off big-time with unobstructed views of Blue Hill Bay in Maine
Full Story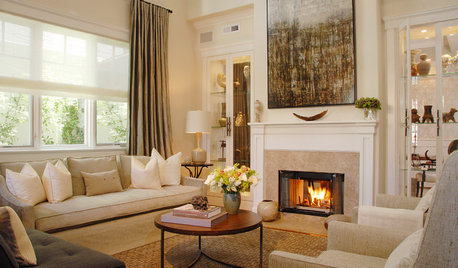
DECORATING GUIDESSmall Ideas for Big Results
8 easy changes that can makeover a room, from clearing off the mantel to choosing a new light
Full Story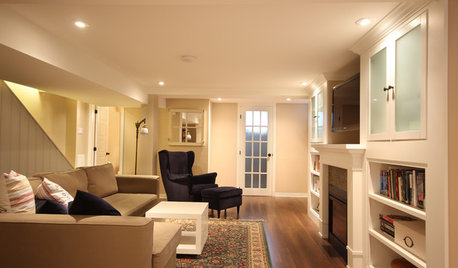
BASEMENTSBasement of the Week: Smart Cost Cutting, Beautiful Results
A stylish multipurpose basement for less than half the usual cost? See the budget-saving tricks that helped this underground space
Full Story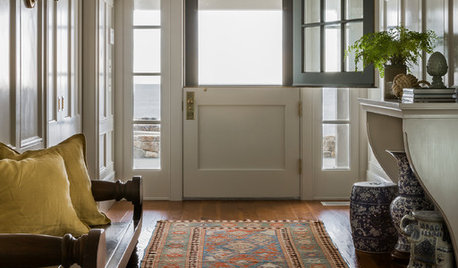
REMODELING GUIDESHouzz Survey Results: Remodeling Likely to Trump Selling in 2014
Most homeowners say they’re staying put for now, and investing in features to help them live better and love their homes more
Full Story
INSIDE HOUZZSee the Results: The Houzz/Lowe’s Dream Kitchen Sweepstakes
An interior designer and products from Lowe’s help this homeowner fulfill a kitchen dream
Full Story
RANCH HOMESHouzz Tour: Ranch House Changes Yield Big Results
An architect helps homeowners add features, including a new kitchen, that make their Minnesota home feel just right
Full StoryMore Discussions

msmeow
jennifer_in_vaOriginal Author
Related Professionals
Scottsdale Furniture & Accessories · Norwalk Furniture & Accessories · Jacinto City Interior Designers & Decorators · Huntington Station Flooring Contractors · Monrovia Flooring Contractors · New Rochelle Flooring Contractors · Oak Park Flooring Contractors · Olympia Flooring Contractors · Smyrna Flooring Contractors · Valencia Flooring Contractors · West Linn Flooring Contractors · Boston Furniture & Accessories · Mesa Furniture & Accessories · Urbandale Furniture & Accessories · Short Hills Furniture & Accessoriesrosajoe_gw
nanajayne
jennifer_in_vaOriginal Author
msmeow
grammyp