


how would you quilt this?
vacuumfreak
11 years ago

Related Stories
ARTSee Winning Modern Quilts on Display at QuiltCon 2015
Top quilts have been chosen from among hundreds at the international show in Austin through February 22. View them and others here
Full Story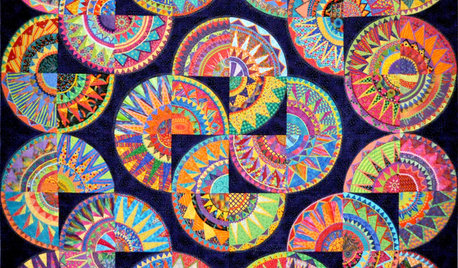
ARTShow News: Rare Quilts Get Museum Time
See 6 intricate designs from a California exhibition and get tips for building your own quilt collection
Full Story
DECORATING GUIDESCelebrating the Great American Quilt
They speak of family, history and beauty. Is it any wonder quilts transcend design styles?
Full Story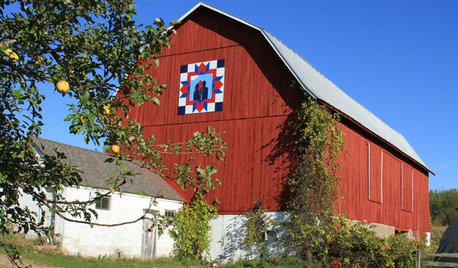
ARTBarn Quilts Piece Together a Community
One man with one beautiful idea transforms Wisconsin’s Shawano County
Full Story
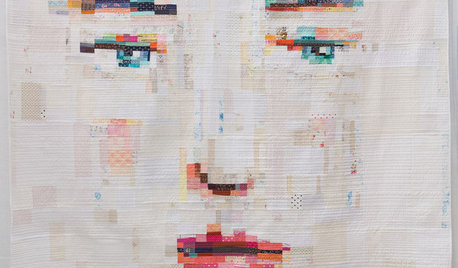
ARTSee the Cream of the Crop From Quilt National ’17
The judges of the international art quilt competition reveal their 12 favorites — and why
Full Story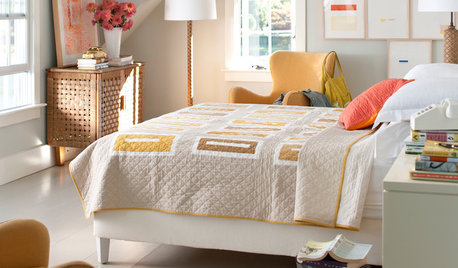
BEDROOMSBedtime Stories: Should You Get a Quilt, Duvet, Coverlet or Bedspread?
In this detailed guide, learn about the choices you have for covering your bed
Full Story
COLLECTIONS15 Reasons to Get Addicted to Kantha Quilts
You can use kantha quilts, made from old saris, throughout your home — on beds, as upholstery and as wall hangings
Full Story
BEDROOMSCoverlet, Duvet, Quilt, Comforter: What's the Difference?
Learn the basics of great bedding options and how to use them for great comfort and style
Full Story
PRODUCT PICKSGuest Picks: 20 Modern Quilts for Kids
Change up the look of your child's bedroom with one of these new quilts
Full Story
DECORATING GUIDESWeekend Decorating: Playing with Blankets, Throws, and Quilts
How to Use a Throw in Unique, Decorative Ways
Full Story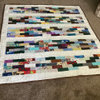


nanajayne
msmeow
Related Professionals
Fayetteville Furniture & Accessories · Surprise Furniture & Accessories · Alpharetta Furniture & Accessories · Annandale Furniture & Accessories · Mill Valley Furniture & Accessories · Linton Hall Interior Designers & Decorators · Morton Grove Interior Designers & Decorators · Cambridge Flooring Contractors · Decatur Flooring Contractors · Garland Flooring Contractors · Mesa Flooring Contractors · Moorhead Flooring Contractors · Panama City Beach Flooring Contractors · Yorba Linda Flooring Contractors · Racine Furniture & Accessorieslola99
lola99
rosajoe_gw
quiltnhen
vacuumfreakOriginal Author
bev2009
jennifer_in_va
vacuumfreakOriginal Author
lola99
toolgranny
littlehelen_gw
nanajayne
vacuumfreakOriginal Author