


paper peicing problem
vacuumfreak
11 years ago
Sort by:Oldest
Comments (8)
Related Stories
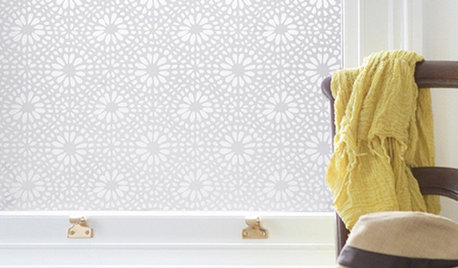
DECORATING GUIDESSolve Privacy Problems With Window Film
Let the light in and keep prying eyes out with an inexpensive and decorative window film you can apply yourself
Full Story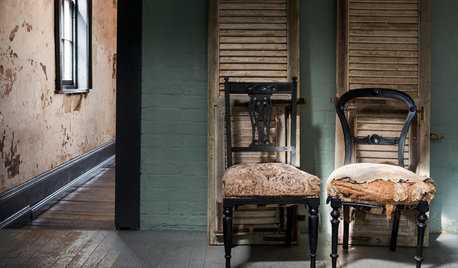
REMODELING GUIDESThe Hidden Problems in Old Houses
Before snatching up an old home, get to know what you’re in for by understanding the potential horrors that lurk below the surface
Full Story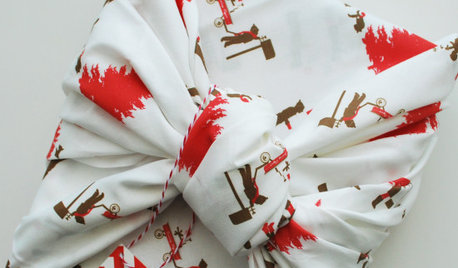
CHRISTMAS10 Quick Solutions for Last-Minute Holiday Problems
Sail right by potential decorating, hosting and gift-giving pitfalls with these invaluable nick-of-time tricks
Full Story
FURNITURESlipcovers: Problem Solvers With Style
9 Great Ways to Change Up Your Look With the Ever-Practical Slipcover
Full Story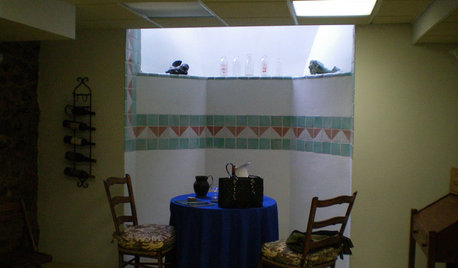
BASEMENTSBasement of the Week: High-End Problem Solving for a Show House
Dark and dated? Naturally. But this '70s-style basement had myriad other design issues too. See how the designer rose to the challenge
Full Story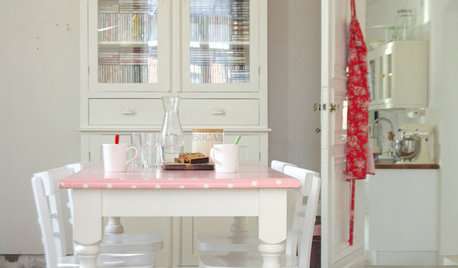
DECORATING GUIDESWake Up Tired Furniture With Paint, Paper and Fabric
Give ordinary pieces a new spin with crafty updates, like a fresh tabletop, decorated sideboard and wall-size pinboard
Full Story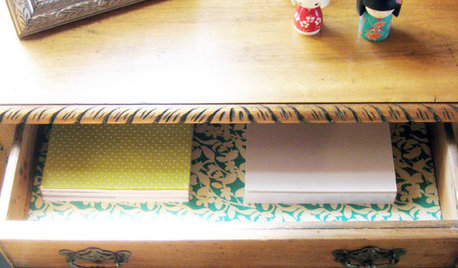
DECORATING GUIDES10 Ways to Reuse Wrapping Paper
Don't just toss your prettiest paper in the trash or recycling bin — gift wrap scraps can make wonderful home decor
Full Story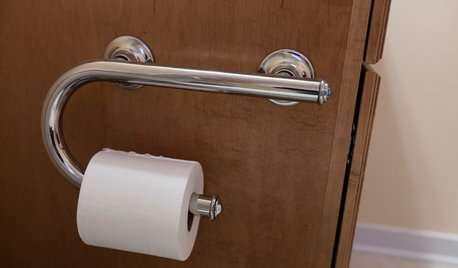
LIFEThe Absolute Right Way to Hang Toilet Paper. Maybe
Find out whether over or under is ahead in our poll and see some unusual roll hangers, shelves and nooks
Full Story
DECORATING GUIDESPaper Chase: Wallpaper Through the Ages to Today
Get on a decorating roll with a wall covering that's been around for centuries but comes in more exciting designs than ever
Full Story
DECORATING GUIDESTastemakers: Our Paper Life
Chris Porteous and Geoff Christou rework common cardboard into sturdy and clever furniture designs
Full StoryMore Discussions

nanajayne
msmeow
Related Professionals
Roswell Furniture & Accessories · Tahoe City Interior Designers & Decorators · Chesapeake Flooring Contractors · East Grand Rapids Flooring Contractors · Laguna Niguel Flooring Contractors · Monroe Flooring Contractors · Powder Springs Flooring Contractors · Tucson Flooring Contractors · Beaufort Furniture & Accessories · Greer Furniture & Accessories · Lebanon Furniture & Accessories · Queens Furniture & Accessories · Aliso Viejo Furniture & Accessories · Golden Glades Furniture & Accessories · Temple Terrace Furniture & Accessorieskarpet
calliope
nanajayne
vacuumfreakOriginal Author
Charise_Ann
littlehelen_gw