


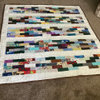
Need some applique help
grammyp
12 years ago
Sort by:Oldest
Comments (9)
Related Stories
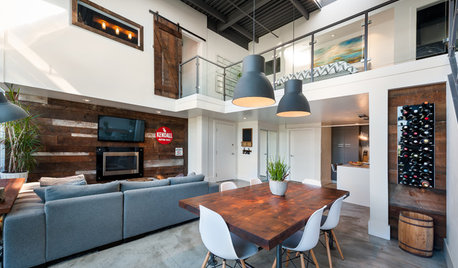
HOUZZ TOURSHouzz Tour: A Modern Loft Gets a Little Help From Some Friends
With DIY spirit and a talented network of designers and craftsmen, a family transforms their loft to prepare for a new arrival
Full Story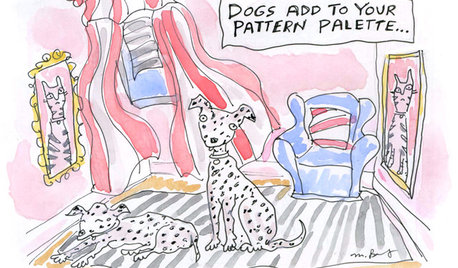
8 Ways Dogs Help You Design
Need to shake up a room, find a couch or go paperless? Here are some ideas to chew on
Full Story
GREEN DECORATING8 Questions to Help You See Through Green Hype
With the ecofriendly bandwagon picking up some dubious passengers, here's how to tell truly green products and services from the imposters
Full Story
MATERIALSRaw Materials Revealed: Brick, Block and Stone Help Homes Last
Learn about durable masonry essentials for houses and landscapes, and why some weighty-looking pieces are lighter than they look
Full Story
DECORATING GUIDESDownsizing Help: Color and Scale Ideas for Comfy Compact Spaces
White walls and bitsy furniture aren’t your only options for tight spaces. Let’s revisit some decorating ‘rules’
Full Story
DECLUTTERINGDownsizing Help: Choosing What Furniture to Leave Behind
What to take, what to buy, how to make your favorite furniture fit ... get some answers from a homeowner who scaled way down
Full Story
KIDS’ SPACESCould Your Home Help Your Kid Be an Olympian?
Looking to nurture a future sports star or just get your kid up and moving? Take some coaching from these homes
Full Story
FARMHOUSESHouzz Tour: Some Old Tricks for a New Atlanta Farmhouse
A ‘pretend story’ helped this builder create a new farmhouse that feels like it was added onto over several generations
Full Story
LIFEYou Said It: ‘Put It Back’ If It Won’t Help Your House, and More Wisdom
Highlights from the week include stopping clutter from getting past the door, fall planting ideas and a grandfather’s gift of love
Full StoryMore Discussions


bonica
jennifer_in_va
Related Professionals
Bridgeport Furniture & Accessories · Dallas Furniture & Accessories · Franklin Furniture & Accessories · Marietta Furniture & Accessories · Rock Hill Furniture & Accessories · Surprise Furniture & Accessories · Hoffman Estates Furniture & Accessories · New Providence Interior Designers & Decorators · Hibbing Flooring Contractors · Homestead Flooring Contractors · Santa Cruz Flooring Contractors · Denver Furniture & Accessories · Milwaukee Furniture & Accessories · Nixa Furniture & Accessories · Robbinsdale Furniture & Accessoriesteresa_nc7
lola99
magothyrivergirl
grammypOriginal Author
magothyrivergirl
grammypOriginal Author
magothyrivergirl