


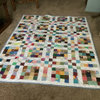
New Applique method SO easy, works GREAT
laurainsdca
17 years ago
Sort by:Oldest
Comments (36)
Related Stories
HOUSEKEEPINGGet Those Carpet Stains Out: Best Nontoxic Methods for Spot Cleaning
Banish blotches the safe way with pantry staples, to get your rugs looking as clean as the day they came home
Full Story
LIFE11 Easy Ways to Keep Your New Year’s Resolutions
Work smarter, not harder, to reach your goals — success is more about taking the right approach than about slogging your way there
Full Story
FURNITUREDesign Methods: Finishing Furniture and Fabric With Tea
Brooklyn designers create rustic-modern look with an old-fashioned brew
Full Story
HOW TO PHOTOGRAPH YOUR HOUSETake Great Home Photos the Easy Way — 5 Tips From a Pro
Improve your for-sale ad or just make beautiful memories with these simple strategies anyone can use
Full Story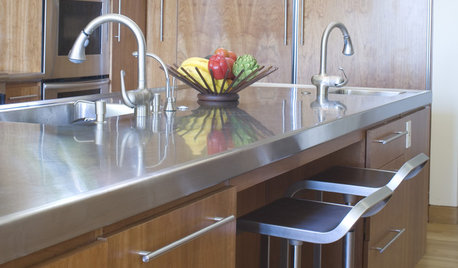
KITCHEN DESIGNDesign an Easy-Clean Kitchen
"You cook and I'll clean" might no longer be a fair trade with these ideas for low-maintenance kitchen countertops, cabinets and floors
Full Story
HOUSEKEEPINGThe Quick and Easy Way to Clean a Microwave
All you need is water and a couple of other natural ingredients to get your appliance sparkling and smelling fresh again
Full Story
GARDENING GUIDES10 Easy Edibles for First-Time Gardeners
Focus on these beginner-friendly vegetables, herbs, beans and salad greens to start a home farm with little fuss
Full Story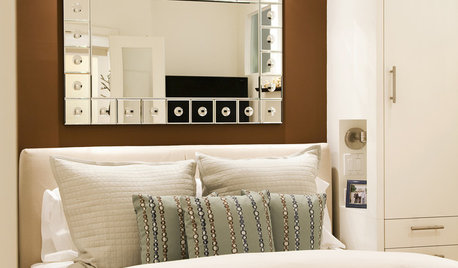
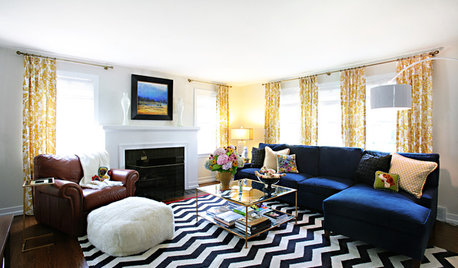
BEDROOMS10 Quick and Easy Ways to Dress Your Bed
How to make your bed: Change up your bedroom design style with what you already have
Full Story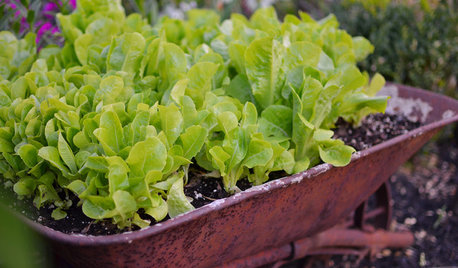
FARM YOUR YARD10 Easy Edibles to Grow in Containers
These herbs, vegetables and fruits are just as happy in a pot as they are in the ground
Full Story
MOST POPULAREasy Green: 23 Ways to Reduce Waste at Home
Pick from this plethora of earth-friendly ideas to send less to the landfill and keep more money in your pocket
Full Story
easystitches
kathi_mdgd
Related Professionals
Fargo Furniture & Accessories · Fallbrook Furniture & Accessories · Kansas City Furniture & Accessories · Ridgewood Furniture & Accessories · Ridgefield Park Interior Designers & Decorators · Washington Interior Designers & Decorators · Franklin Flooring Contractors · Lenexa Flooring Contractors · Limerick Flooring Contractors · Mesa Flooring Contractors · Plainfield Flooring Contractors · Turlock Flooring Contractors · Farmington Furniture & Accessories · Alpharetta Furniture & Accessories · Stamford Furniture & AccessorieslaurainsdcaOriginal Author
shirl_uk
hoerlel
bonica
acanuck
msmeow
bozogardener
msmeow
lola99
msmeow
laurainsdcaOriginal Author
quiltdiva
lola99
quiltdiva
lola99
laurainsdcaOriginal Author
hoerlel
bozogardener
quiltdiva
laurainsdcaOriginal Author
hoerlel
kathi_mdgd
laurainsdcaOriginal Author
msmeow
hayden2239
isamae
maryliz
laurainsdcaOriginal Author
TxMarti
laurainsdcaOriginal Author
maryliz
maryliz
maryliz
laurainsdcaOriginal Author