


building garapa deck
rjcrjc
13 years ago
Featured Answer
Sort by:Oldest
Comments (26)

john_hyatt
13 years agodeck.builder
13 years agoRelated Professionals
Franconia Decks, Patios & Outdoor Enclosures · Richmond Decks, Patios & Outdoor Enclosures · San Antonio Decks, Patios & Outdoor Enclosures · Hainesport Home Builders · Fargo Home Builders · Lakeland South Home Builders · Valley Stream Home Builders · Westwood Home Builders · Apple Valley Flooring Contractors · Boca Raton Flooring Contractors · East Grand Rapids Flooring Contractors · Homestead Flooring Contractors · Little Rock Flooring Contractors · South Lake Tahoe Flooring Contractors · East Brunswick Siding & Exteriorsrjcrjc
13 years agojohn_hyatt
13 years agorjcrjc
13 years agojohn_hyatt
13 years agodeck.builder
13 years agorjcrjc
13 years agojohn_hyatt
13 years agodeckman22
13 years agobrooklyndecks
13 years agodooer
13 years agojohn_hyatt
13 years agorjcrjc
13 years agotdaver
13 years agorjcrjc
13 years agorjcrjc
13 years agojohn_hyatt
13 years agorjcrjc
13 years agobrooklyndecks
13 years agorjcrjc
13 years agojohn_hyatt
13 years agorjcrjc
13 years agojohn_hyatt
13 years agorjcrjc
13 years ago
Related Stories
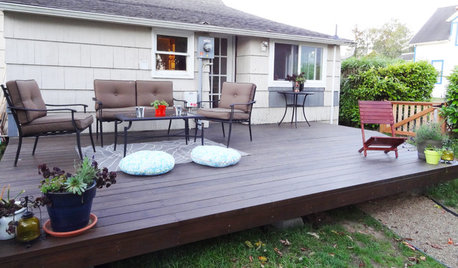
GARDENING AND LANDSCAPINGBuild a Beautiful Platform Deck in a Weekend
Create a polished outdoor space for entertaining by building a basic DIY platform deck in your own backyard
Full Story
GARDENING AND LANDSCAPINGContractor Tips: Build a Top-Notch Deck
Get an outdoor deck that fits your lifestyle and stands the test of time by keeping these 4 considerations in mind
Full Story
GREEN BUILDINGBuilding Green: The Paths, Beds and Decks That Define Your Landscape
You can make your outdoor area more sustainable by carefully designing your hardscape and selecting materials
Full Story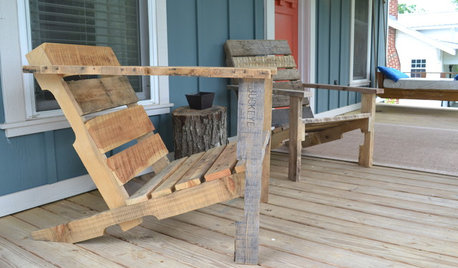
WOODWORKINGBuild Your Own Wooden Deck Chair From a Pallet — for $10!
Take the ecofriendly high road with a low-cost outdoor chair you make yourself
Full Story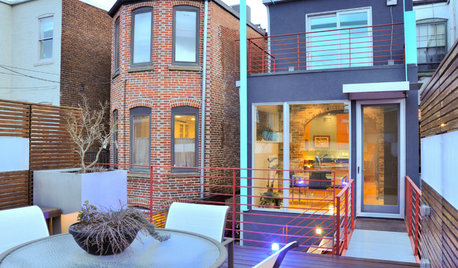
HOUZZ TOURSMy Houzz: Bridge Building Redefines a D.C. Row House
A new rooftop deck and elevated walkway give a Capitol Hill couple an enviable outdoor haven away from noise on the street
Full Story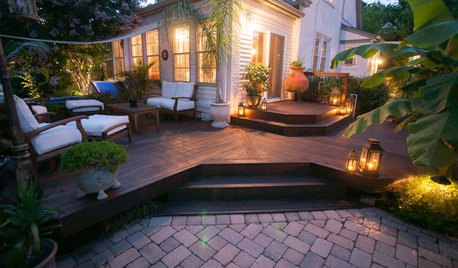
MOST POPULARWhat to Know About Adding a Deck
Want to increase your living space outside? Learn the requirements, costs and other considerations for building a deck
Full Story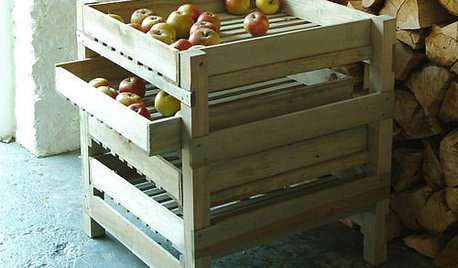
GARDENING AND LANDSCAPINGGuest Picks: The Autumn Deck
Build a fire and grab a blanket. There's still time to enjoy the crisp fall air outdoors!
Full Story
CONTRACTOR TIPSBuilding Permits: When a Permit Is Required and When It's Not
In this article, the first in a series exploring permit processes and requirements, learn why and when you might need one
Full Story
CONTRACTOR TIPSBuilding Permits: The Submittal Process
In part 2 of our series examining the building permit process, learn what to do and expect as you seek approval for your project
Full Story
REMODELING GUIDESSo You Want to Build: 7 Steps to Creating a New Home
Get the house you envision — and even enjoy the process — by following this architect's guide to building a new home
Full Story

weedyacres