


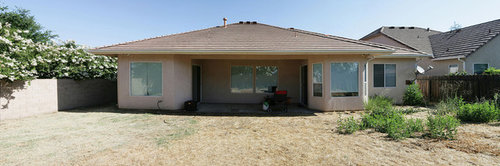
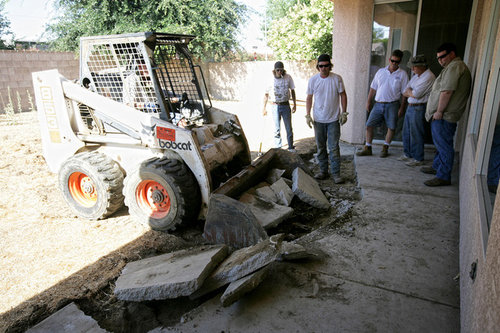
Cen Cali Pool Build
rice_rocket
13 years ago


Sort by:Oldest
Comments (44)
Related Stories
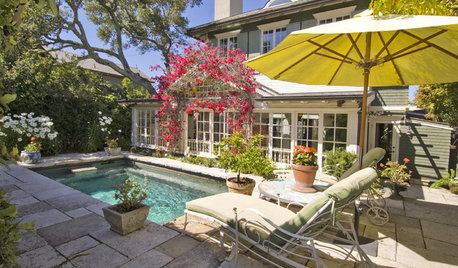
POOLS8 Ideas for Petite Pools
Modest in size but big on looks and function, pools like these offer a private swim space without requiring lots of room
Full Story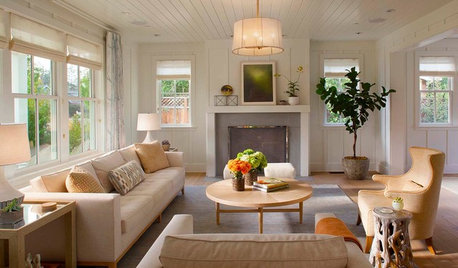
FARMHOUSESHouzz Tour: Farmhouse Style That Feels Metro, Not Retro
Classic forms get a contemporary twist in this airy and inviting Silicon Valley home
Full Story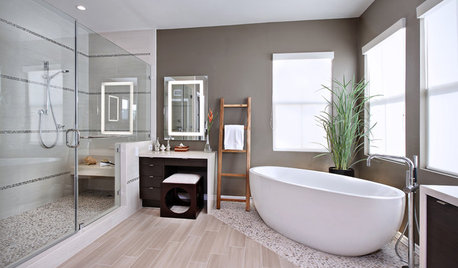
WORKING WITH PROSGo Beyond the Basics When Interviewing Architects
Before you invest all that money and time, make sure you and your architect are well matched beyond the obvious levels
Full StoryHOUZZ TOURSMy Houzz: Midcentury Modern Style Transforms a Vineyard Bungalow
Spectacular surroundings and iconic design inspiration meet in a major overhaul of a 1960s Ontario home
Full Story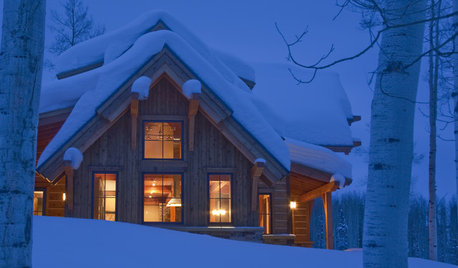
LIFEIs Cabin Fever Real? Share Your Story
Are snow piles across the U.S. leading to masses of irritability and boredom? We want to hear your experience
Full Story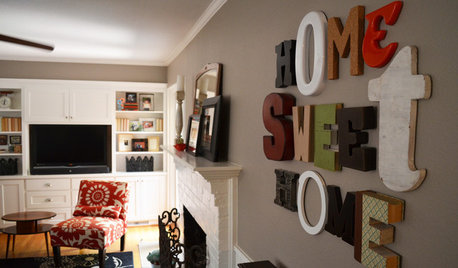
MOST POPULARWhen Does a House Become a Home?
Getting settled can take more than arranging all your stuff. Discover how to make a real connection with where you live
Full Story
PETSHouzz Call: Send in the Dogs
Have the greatest dog in the world? Share your best design photo featuring the dog you live or work with
Full Story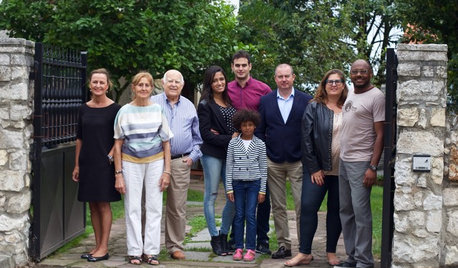
LIFEWorld of Design: See How 7 Families Live in Multigenerational Homes
What happens when three or more generations live within shouting distance of one another? More hugging than shouting, actually
Full Story
LIFEModern Manners for Conflict-Free Family Visits
Avoid thermostat wars, pet peeves and the great shower squeeze with these tips for having family as houseguests
Full Story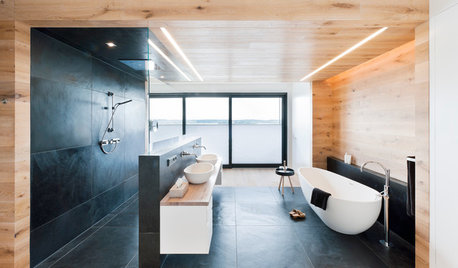
BATHROOM DESIGNDream Spaces: Spa-Worthy Showers to Refresh the Senses
In these fantasy baths, open designs let in natural light and views, and intriguing materials create drama
Full StoryMore Discussions

rice_rocketOriginal Author
gaylek
Related Professionals
Columbine Landscape Contractors · Dunwoody Landscape Contractors · La Verne Landscape Contractors · Mastic Beach Landscape Contractors · Nanuet Landscape Contractors · Red Oak Landscape Contractors · Vineyard Landscape Contractors · Waterford Landscape Contractors · Whittier Landscape Contractors · Clearfield Landscape Contractors · Cape Coral Decks, Patios & Outdoor Enclosures · Dayton Decks, Patios & Outdoor Enclosures · Los Alamitos Decks, Patios & Outdoor Enclosures · Medford Decks, Patios & Outdoor Enclosures · Redlands Decks, Patios & Outdoor Enclosuresrice_rocketOriginal Author
rice_rocketOriginal Author
rice_rocketOriginal Author
rice_rocketOriginal Author
rice_rocketOriginal Author
rice_rocketOriginal Author
rice_rocketOriginal Author
megankheaps
just-a-pb
rice_rocketOriginal Author
rice_rocketOriginal Author
rice_rocketOriginal Author
cakelady_2010
rice_rocketOriginal Author
rice_rocketOriginal Author
rice_rocketOriginal Author
peytonroad
rice_rocketOriginal Author
golfgeek
rice_rocketOriginal Author
jasonlmarsh
donnawb
rice_rocketOriginal Author
rice_rocketOriginal Author
rice_rocketOriginal Author
jasonlmarsh
rice_rocketOriginal Author
rice_rocketOriginal Author
jasonlmarsh
rice_rocketOriginal Author
brentr_gw
jasonlmarsh
rice_rocketOriginal Author
gaylek
jasonlmarsh
rice_rocketOriginal Author
rice_rocketOriginal Author
rice_rocketOriginal Author
poolguynj
rice_rocketOriginal Author
poolguynj
firstpoolforme