


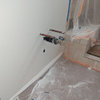
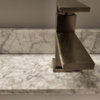
Dual sink with garbage disposal install
Nicole40
12 years ago


Related Stories
HOUSEKEEPINGHow to Fix a Stinky Garbage Disposal
No plumber’s fee or even a trip to the hardware store is required with these easy solutions
Full Story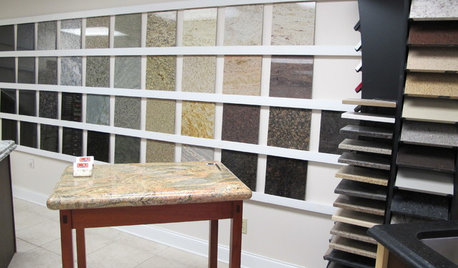
KITCHEN COUNTERTOPSWalk Through a Granite Countertop Installation — Showroom to Finish
Learn exactly what to expect during a granite installation and how to maximize your investment
Full Story
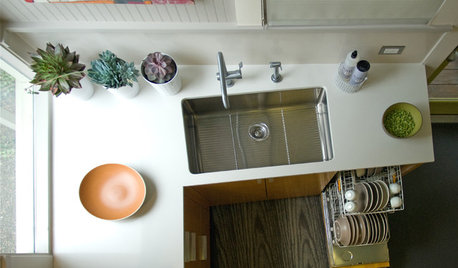
KITCHEN DESIGN8 Good Places for a Second Kitchen Sink
Divide and conquer cooking prep and cleanup by installing a second sink in just the right kitchen spot
Full StoryMOST POPULARHow to Choose the Right Kitchen Sink
Learn about basin configurations, sink shapes, materials and even accessories and specialty sinks
Full Story
KITCHEN DESIGN8 Kitchen Sink Materials to Consider
Learn the pros and cons of these common choices for kitchen sinks
Full StoryKITCHEN DESIGNThe Return of the High-Back Farmhouse Sink
See why this charming and practical sink style is at home in the kitchen and beyond
Full Story
KITCHEN DESIGNHow to Choose a Kitchen Sink Size
Bigger isn’t necessarily better. Here’s how to pick the right size sink for your kitchen, needs and budget
Full Story
KITCHEN DESIGN8 Ways to Configure Your Kitchen Sink
One sink or two? Single bowl or double? Determine which setup works best for you
Full Story
KITCHEN DESIGNKitchen Sinks: Fireclay Brims With Heavy-Duty Character
Cured at fiery temperatures, fireclay makes for farmhouse sinks that just say no to scratches and dents
Full Story
KITCHEN DESIGNQuick Project: Brighten the Space Under Your Kitchen Sink
Give yourself a lift with a refreshed place for your kitchen cleaning supplies
Full StoryMore Discussions
lazypup
weedmeister
Related Professionals
Springdale Handyman · Eagle Mountain Kitchen & Bathroom Remodelers · Boca Raton Kitchen & Bathroom Remodelers · Durham Kitchen & Bathroom Remodelers · Fremont Kitchen & Bathroom Remodelers · Kendale Lakes Kitchen & Bathroom Remodelers · Pueblo Kitchen & Bathroom Remodelers · Skokie Kitchen & Bathroom Remodelers · South Park Township Kitchen & Bathroom Remodelers · Sweetwater Kitchen & Bathroom Remodelers · Warren Kitchen & Bathroom Remodelers · York Kitchen & Bathroom Remodelers · Phillipsburg Kitchen & Bathroom Remodelers · Prairie Village Kitchen & Bathroom Remodelers · Hewitt Kitchen & Bath Fixtureslazypup