

1940's laundry tub faucet - repair or replace?
homebound
16 years ago
Sort by:Oldest
Comments (6)
Related Stories
HOUSEKEEPINGHow to Tackle Your Home To-Dos
Make quick work of minor repairs and replacements with this thorough, step-by-step approach
Full Story
MOST POPULARShould You Keep Your Tub?
There are reasons to have a bathtub, and plenty of reasons not to. Here’s how to decide if you should keep yours or pull the plug
Full Story
BATHROOM DESIGNA Crash Course in Bathroom Faucet Finishes
Learn the pros and cons of 9 popular faucet finishes
Full Story
BATHROOM DESIGNDreaming of a Spa Tub at Home? Read This Pro Advice First
Before you float away on visions of jets and bubbles and the steamiest water around, consider these very real spa tub issues
Full Story
BATHROOM DESIGNConvert Your Tub Space to a Shower — the Fixtures-Shopping Phase
Step 2 in swapping your tub for a sleek new shower: Determine your mechanical needs and buy quality fixtures
Full Story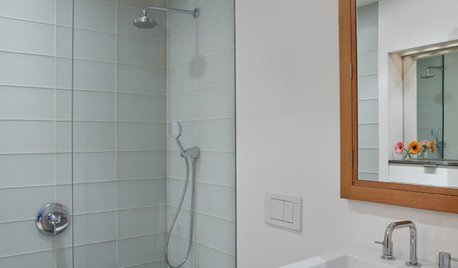
BATHROOM DESIGNConvert Your Tub Space to a Shower — the Planning Phase
Step 1 in swapping your tub for a sleek new shower: Get all the remodel details down on paper
Full Story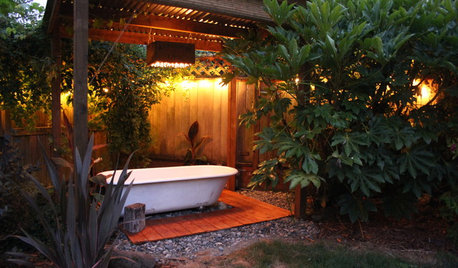
GARDENING AND LANDSCAPINGSee a Soothing Backyard Bathhouse Born From a Salvaged Tub
Creative thinking and DIY skills give a Portland couple a pergola-covered 'hot tub' under the stars
Full Story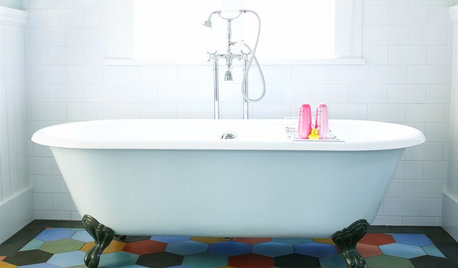
GREAT HOME PROJECTSHow to Get a Claw-Foot Tub for Your Bathroom
Here’s what to know about buying vintage or new — and how to refurbish a classic
Full Story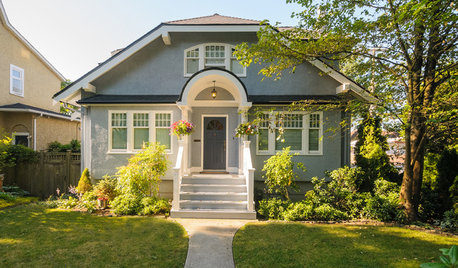
SELLING YOUR HOUSEFix It or Not? What to Know When Prepping Your Home for Sale
Find out whether a repair is worth making before you put your house on the market
Full Story
SMALL HOMESHouzz Tour: A Beach Cottage Gets Its Vibe Back
Historically accurate details restore the 1940s charm of a Laguna Beach home
Full Story
homeboundOriginal Author
dan_martyn
Related Professionals
Boise Plumbers · Chantilly Handyman · Feasterville Trevose Kitchen & Bathroom Remodelers · Minnetonka Mills Kitchen & Bathroom Remodelers · Cleveland Kitchen & Bathroom Remodelers · Deerfield Beach Kitchen & Bathroom Remodelers · Kuna Kitchen & Bathroom Remodelers · League City Kitchen & Bathroom Remodelers · Lynn Haven Kitchen & Bathroom Remodelers · Overland Park Kitchen & Bathroom Remodelers · Republic Kitchen & Bathroom Remodelers · Shawnee Kitchen & Bathroom Remodelers · Walnut Creek Kitchen & Bathroom Remodelers · Gibsonton Kitchen & Bathroom Remodelers · North Chicago Kitchen & Bathroom RemodelershomeboundOriginal Author
lazypup
homeboundOriginal Author
phyllisd47_hotmail_com