


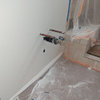
Removing shower faucet valve seat
AMRadiohead3885
11 years ago
Related Stories
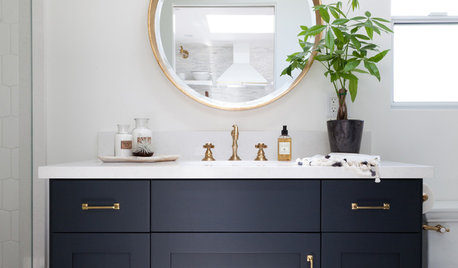
BATHROOM DESIGNA Crash Course in Bathroom Faucet Finishes
Learn the pros and cons of 9 popular faucet finishes
Full Story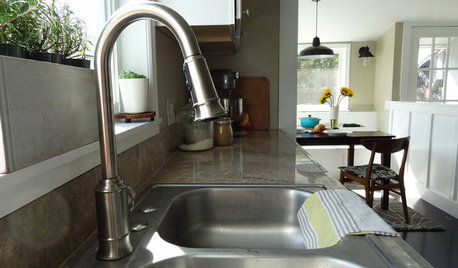
DIY PROJECTSHow to Replace Your Kitchen Faucet
Swap out an old faucet to give your kitchen a new look — it's a DIY project even a beginner can do
Full Story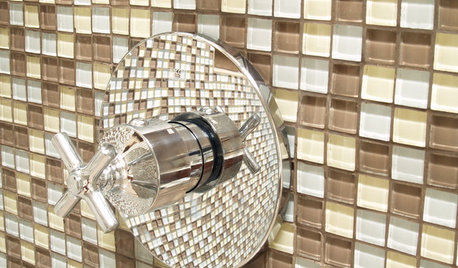
BATHROOM DESIGNConvert Your Tub Space to a Shower — the Fixtures-Shopping Phase
Step 2 in swapping your tub for a sleek new shower: Determine your mechanical needs and buy quality fixtures
Full Story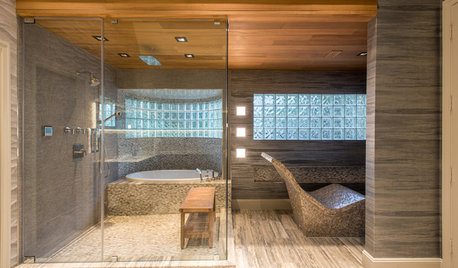
DREAM SPACESRoom of the Day: Dreaming Big Inspires an Ultimate Bath of Luxury
Talk about a dream space. This bathroom has a heated lounge seat, fireplace, TV, steam shower and more
Full Story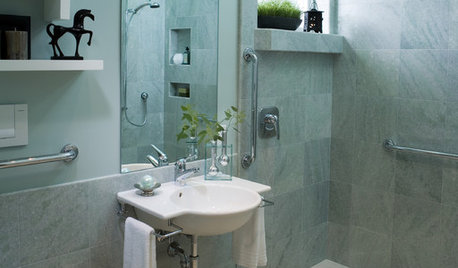
BATHROOM DESIGNHow to Design an Accessible Shower
Make aging in place safer and easier with universal design features in the shower and bathroom
Full Story
BATHROOM DESIGNConvert Your Tub Space to a Shower — the Planning Phase
Step 1 in swapping your tub for a sleek new shower: Get all the remodel details down on paper
Full Story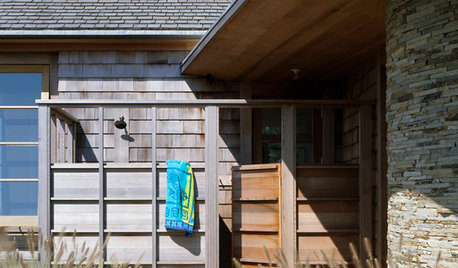
GREAT HOME PROJECTSHow to Add an Outdoor Shower
New project for a new year: Experience bathing in a whole new light with a shower in the fresh air
Full Story
BATHROOM DESIGNRoom of the Day: A Bathroom Remodel to Celebrate a 50th Anniversary
A Northern California couple removes obstructions to create a soothing, spa-like master bath
Full Story
BATHROOM DESIGNHow to Settle on a Shower Bench
We help a Houzz user ask all the right questions for designing a stylish, practical and safe shower bench
Full Story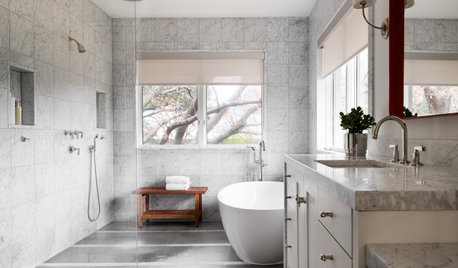
BATHROOM DESIGNDoorless Showers Open a World of Possibilities
Universal design and an open bathroom feel are just two benefits. Here’s how to make the most of these design darlings
Full StorySponsored
Central Ohio's Trusted Home Remodeler Specializing in Kitchens & Baths
More Discussions
lazypup
apatalano80
Related Professionals
Boise Plumbers · Vienna Handyman · Biloxi Kitchen & Bathroom Remodelers · Chicago Ridge Kitchen & Bathroom Remodelers · Elk Grove Village Kitchen & Bathroom Remodelers · Fairland Kitchen & Bathroom Remodelers · Idaho Falls Kitchen & Bathroom Remodelers · Martha Lake Kitchen & Bathroom Remodelers · Roselle Kitchen & Bathroom Remodelers · Shawnee Kitchen & Bathroom Remodelers · South Plainfield Kitchen & Bathroom Remodelers · Tempe Kitchen & Bathroom Remodelers · Terrell Kitchen & Bathroom Remodelers · Forest Hills Kitchen & Bathroom Remodelers · Paradise Kitchen & Bath FixturesJake The Wonderdog
klem1
Ed Waterman