


Plumbing leak
p3arljam
11 years ago

Sort by:Oldest
Comments (21)
Related Stories
WORKING WITH PROSHow to Work With a Plumber
Follow these guidelines, and your plumbing job will flow as smoothly as water through clean pipes
Full Story
REMODELING GUIDES7 Bad Things Your Home May Be Hiding
What you don't know about your home could cost you during a remodel. Here's what to plan for
Full Story
REMODELING GUIDES8 Remodeling Costs That Might Surprise You
Plan for these potential budget busters to keep a remodeling tab from escalating out of control
Full Story
DECORATING GUIDESA Mobile Home Gets a Bohemian-Chic Makeover
Designer infuses world traveler’s guesthouse with tribal textiles, Moroccan tiles and kilim rugs
Full Story
BASEMENTSA Raw Washington Basement Gets Serenity Now
Neutral tones and custom storage infuse a family's newly finished basement with a restful air
Full Story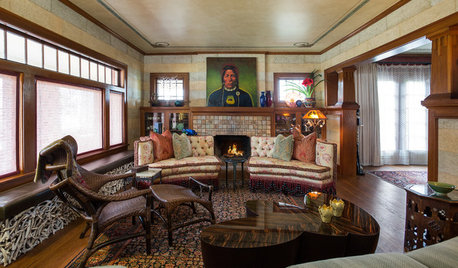
LIVING ROOMSRoom of the Day: An Artisan Renaissance
An Arts and Crafts living room in Oklahoma City gets restored to past glory
Full Story
LIFEThe Moving-Day Survival Kit: Lifesaving Items and Niceties
Gather these must-haves in advance for a smooth move and more comfortable first days in your new home
Full Story

ARCHITECTUREKnow Your House: Learn the Lingo of Rooftops
Knowing the language of rooftop design will help you through your next repair or remodel project
Full Story
BATHROOM DESIGNHow to Install a Toilet in an Hour
Putting a new commode in a bathroom or powder room yourself saves plumber fees, and it's less scary than you might expect
Full Story
homebound
Confire
Related Professionals
Hillcrest Heights Handyman · North New Hyde Park Handyman · Hopewell Kitchen & Bathroom Remodelers · Avondale Kitchen & Bathroom Remodelers · Camarillo Kitchen & Bathroom Remodelers · Dearborn Kitchen & Bathroom Remodelers · Franconia Kitchen & Bathroom Remodelers · Kettering Kitchen & Bathroom Remodelers · League City Kitchen & Bathroom Remodelers · Linton Hall Kitchen & Bathroom Remodelers · Lisle Kitchen & Bathroom Remodelers · Morgan Hill Kitchen & Bathroom Remodelers · Park Ridge Kitchen & Bathroom Remodelers · Port Angeles Kitchen & Bathroom Remodelers · Portage Kitchen & Bathroom Remodelershomebound
lazypup
p3arljamOriginal Author
Confire
lazypup
Confire
lazypup
Confire
lazypup
homebound
Confire
p3arljamOriginal Author
p3arljamOriginal Author
homebound
p3arljamOriginal Author
p3arljamOriginal Author
homebound
lazypup
p3arljamOriginal Author