


What is Best Technique for Soldering Close To Wall
chipster_2007
11 years ago
Sort by:Oldest
Comments (7)
Related Stories
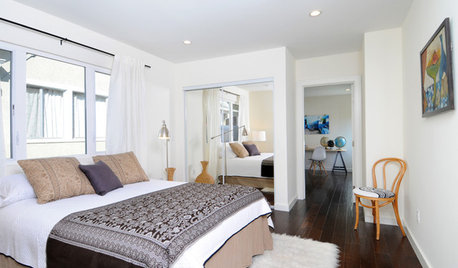
SELLING YOUR HOUSEHome Staging to Sell: The Latest Techniques That Really Work
Get up to speed on the best ways to appeal to potential buyers through accessories, furniture, colors and more
Full Story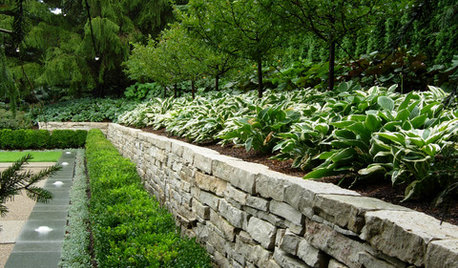
LANDSCAPE DESIGNGarden Walls: Dry-Stacked Stone Walls Keep Their Place in the Garden
See an ancient building technique that’s held stone walls together without mortar for centuries
Full Story
ARTBring In a View Like You’ve Never Imagined
See how art photographers turn a plain white wall into a magical window with a centuries-old camera technique — and how you could try it too
Full Story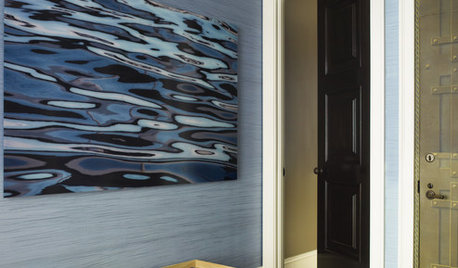
DECORATING GUIDESStripe It Rich With a Strié Finish
Let the striations of this traditional technique bring luxurious depth and richness to your walls, finishes and upholstery fabrics
Full Story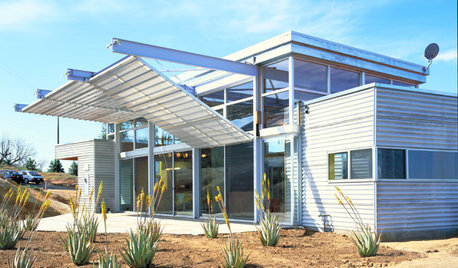
ARCHITECTUREDesign Workshop: Kinetic Architecture
Industrial techniques achieve the sublime in these 5 examples of mechanical walls that move
Full Story
HOUZZ TOURSHouzz Tour: A Home Full of History and Surprise
Minnesota designer remodels a historic residence using traditional styles and techniques
Full Story
STORAGEHidden in Plain Sight: 10 Cleverly Closeted Home Spaces
Tuck your home office, wine collection or even your entire kitchen behind closed doors for all of the function and none of the clutter
Full Story
ARCHITECTURE6 Shed-Inspired Homes Down Under
These contemporary Australian homes are influenced by the rural shed vernacular, which maintains close ties to the land
Full Story
ARCHITECTUREWorld of Design: 10 Homes That Lap Up the Landscape Around Them
As building techniques develop, architects all over the globe are finding new ways — and new places — to integrate houses with nature
Full Story
Sales Secrets for Interior Designers
Pro to pro: Learn 3 proven techniques to please clients and increase revenues, developed by a designer with 40 years of success
Full StoryMore Discussions
mike_kaiser_gw
homebound
Related Professionals
Feasterville Trevose Kitchen & Bathroom Remodelers · Bellevue Kitchen & Bathroom Remodelers · Camarillo Kitchen & Bathroom Remodelers · Centerville Kitchen & Bathroom Remodelers · Glen Allen Kitchen & Bathroom Remodelers · Lisle Kitchen & Bathroom Remodelers · Londonderry Kitchen & Bathroom Remodelers · Mooresville Kitchen & Bathroom Remodelers · Pearl City Kitchen & Bathroom Remodelers · Shawnee Kitchen & Bathroom Remodelers · South Lake Tahoe Kitchen & Bathroom Remodelers · Tuckahoe Kitchen & Bathroom Remodelers · Turlock Kitchen & Bathroom Remodelers · Plant City Kitchen & Bathroom Remodelers · Westminster Kitchen & Bathroom Remodelersrandy427
angie_diy
chipster_2007Original Author
lazypup
chipster_2007Original Author