


Converting Copper to CPVC for a tub / shower
hedda
15 years ago
Sort by:Oldest
Comment (1)
Related Stories
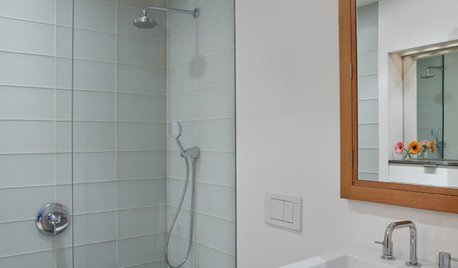
BATHROOM DESIGNConvert Your Tub Space to a Shower — the Planning Phase
Step 1 in swapping your tub for a sleek new shower: Get all the remodel details down on paper
Full Story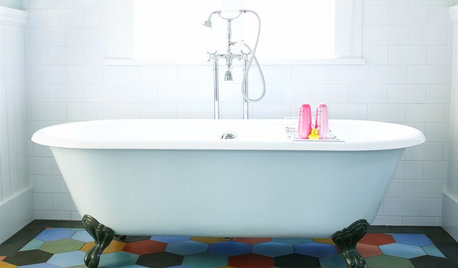
GREAT HOME PROJECTSHow to Get a Claw-Foot Tub for Your Bathroom
Here’s what to know about buying vintage or new — and how to refurbish a classic
Full Story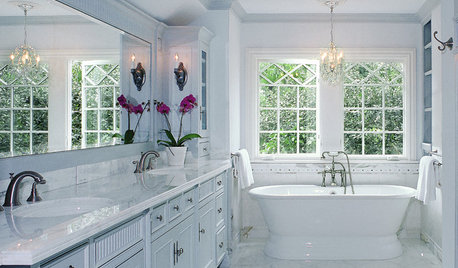
BATHROOM DESIGNPedestal Tubs Have Style Bases Covered
Blending old-fashioned elegance with spa-style pampering, pedestal tubs are a practical alternative to claw-foot and standard models
Full Story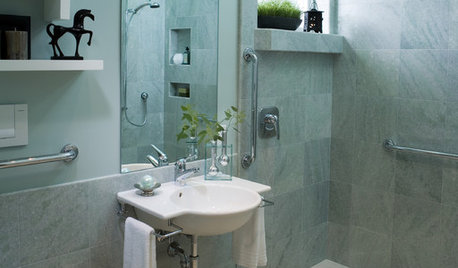
BATHROOM DESIGNHow to Design an Accessible Shower
Make aging in place safer and easier with universal design features in the shower and bathroom
Full Story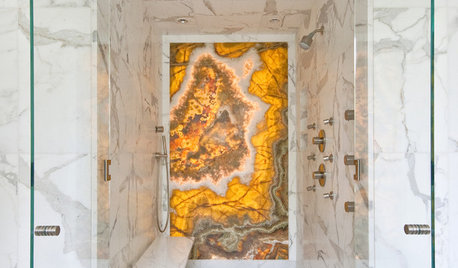
BATHROOM DESIGNHow to Build a Better Shower Curb
Work with your contractors and installers to ensure a safe, stylish curb that keeps the water where it belongs
Full Story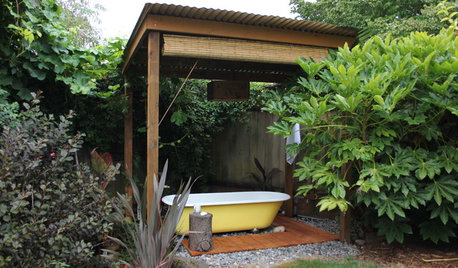
GARDENING AND LANDSCAPINGWhy Is There a Bathtub in the Backyard?
Nope, it's not waiting for bulk trash pickup. These days outdoor tubs are serving soakers, beer drinkers and even the fishes
Full Story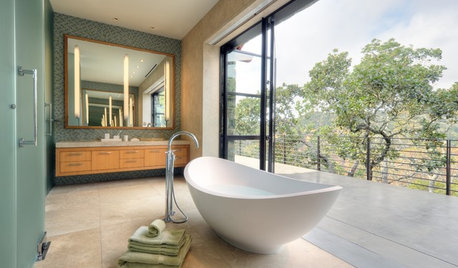
BATHROOM DESIGNDream Spaces: 14 Fabulous Indoor-Outdoor Bathrooms
Disappearing walls put these baths in Mother Nature’s lap, counting tranquil views and fresh air as the best luxuries of all
Full Story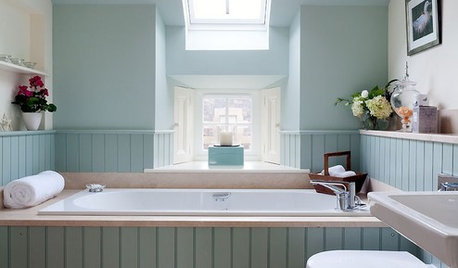
SMALL SPACES10 Tips for Chic Little Bathrooms
Get more visual appeal and storage in less space, following the lead of these stylish compact bathrooms
Full Story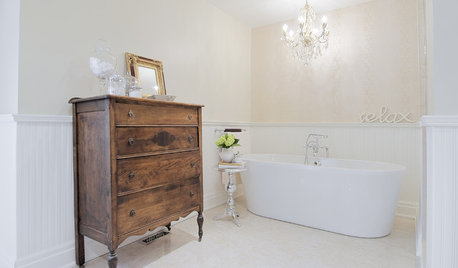
BATHROOM DESIGN10 Living Room Touches to Bring to the Bath
Go ahead, borrow those bookshelves. Unexpected elements can boost interest and comfort in your bathroom
Full Story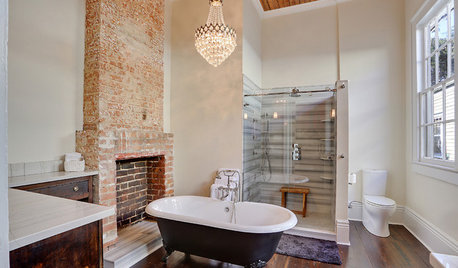
BATHROOM DESIGNRoom of the Day: Revising History in a New Orleans Bath
Original features mix with modern and vintage touches for a bathroom with surprising and beautiful character
Full StoryMore Discussions

lazypup
Related Professionals
Arlington Handyman · Springdale Handyman · Fullerton Kitchen & Bathroom Remodelers · Cloverly Kitchen & Bathroom Remodelers · Avondale Kitchen & Bathroom Remodelers · Beaverton Kitchen & Bathroom Remodelers · Bellevue Kitchen & Bathroom Remodelers · Bethel Park Kitchen & Bathroom Remodelers · Crestline Kitchen & Bathroom Remodelers · Idaho Falls Kitchen & Bathroom Remodelers · Idaho Falls Kitchen & Bathroom Remodelers · Newberg Kitchen & Bathroom Remodelers · Portage Kitchen & Bathroom Remodelers · Sun Valley Kitchen & Bathroom Remodelers · Prairie Village Kitchen & Bathroom Remodelers