


Drain and vent plumbing for addition
matt_m
15 years ago
Sort by:Oldest
Comments (4)
Related Stories
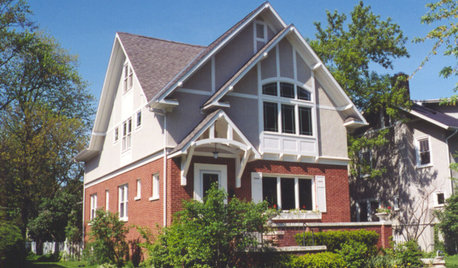
REMODELING GUIDESMovin’ On Up: What to Consider With a Second-Story Addition
Learn how an extra story will change your house and its systems to avoid headaches and extra costs down the road
Full Story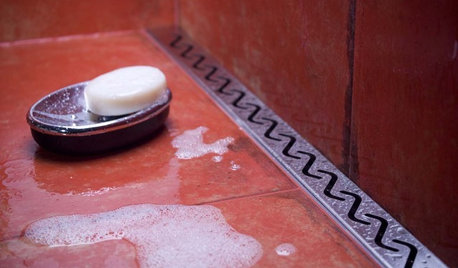
BATHROOM DESIGNHow to Choose the Best Drain for Your Shower
Don't settle for a cheap fix when you can pick a shower drain that suits your style preferences and renovation codes alike
Full Story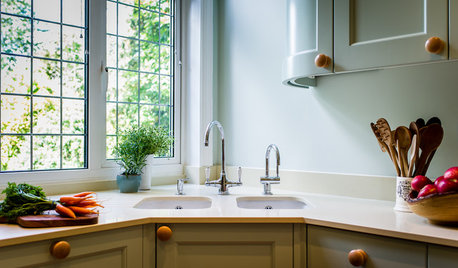
BATHROOM DESIGN6 Plumbing Hacks for Pocket-Size Properties
These tricks of the trade will help you create function and form in matchbox-size bathrooms, laundry rooms and kitchens
Full Story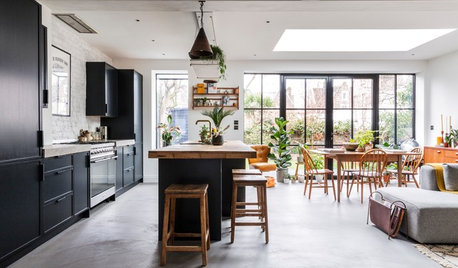
HOMES AROUND THE WORLDHouzz Tour: An Airy Addition Gives an 1890s Home New Attitude
By adding on to his Victorian home, a London designer gains space for texture, heirlooms and a dose of minimalist style
Full Story
BUDGET DECORATING15 Ways to Ready a Summer Home on the Cheap
Set up a comfy getaway where stress goes down the drain, without sending wads of cash along with it
Full Story
BASEMENTSTricky Basement Bathroom? Cool Design Opportunity!
Have some fun with your bathroom design while getting all the venting, privacy and storage you need
Full Story
LANDSCAPE DESIGNThese Clever Landscape Designs Rise to the Challenge
See how drain pipes, awkwardly shaped lots, rock faces and other elements are skillfully worked into great designs
Full Story
LAUNDRY ROOMS8 Ways to Make the Most of Your Laundry Room
These super-practical laundry room additions can help lighten your load
Full Story
KITCHEN DESIGNA Cook’s 6 Tips for Buying Kitchen Appliances
An avid home chef answers tricky questions about choosing the right oven, stovetop, vent hood and more
Full Story
BATHROOM DESIGNThe No-Threshold Shower: Accessibility With Style
Go curbless between main bath and shower for an elegant addition to any home
Full StoryMore Discussions

serviceplumberman
kevin1900
Related Professionals
Hopewell Kitchen & Bathroom Remodelers · Forest Hill Kitchen & Bathroom Remodelers · Minnetonka Mills Kitchen & Bathroom Remodelers · Allouez Kitchen & Bathroom Remodelers · Bloomingdale Kitchen & Bathroom Remodelers · Dearborn Kitchen & Bathroom Remodelers · Fort Myers Kitchen & Bathroom Remodelers · Franconia Kitchen & Bathroom Remodelers · Garden Grove Kitchen & Bathroom Remodelers · Glen Allen Kitchen & Bathroom Remodelers · Hunters Creek Kitchen & Bathroom Remodelers · Islip Kitchen & Bathroom Remodelers · Niles Kitchen & Bathroom Remodelers · Vancouver Kitchen & Bathroom Remodelers · Forest Hills Kitchen & Bathroom Remodelersserviceplumberman
lazypup