


How to transition from cast iron to ABS pics
orourke
14 years ago
Sort by:Oldest
Comments (21)
Related Stories
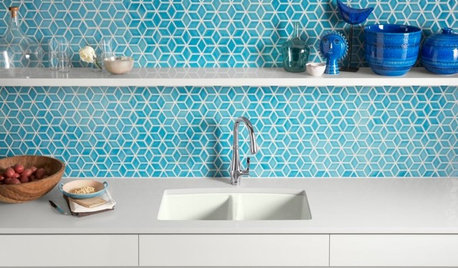
KITCHEN DESIGNKitchen Sinks: Enameled Cast Iron for Attractive Durability
Strong, shiny and sustainable, an enameled cast iron sink can bring character to your kitchen
Full Story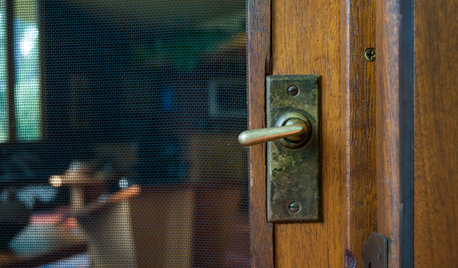
REMODELING GUIDESOriginal Home Details: What to Keep, What to Cast Off
Renovate an older home without regrets with this insight on the details worth preserving
Full Story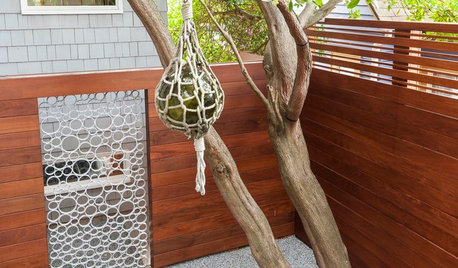
FENCES AND GATESA Designer Uses PVC Pipe to Cast a Modern Garden Gate
Landscape designer Scot Eckley walks us through the process of creating a custom aluminum ring gate
Full Story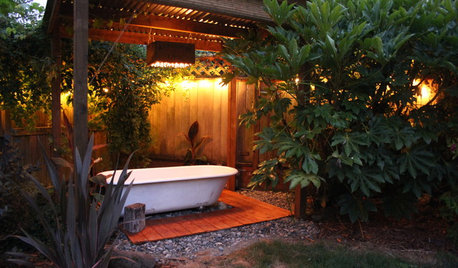
GARDENING AND LANDSCAPINGSee a Soothing Backyard Bathhouse Born From a Salvaged Tub
Creative thinking and DIY skills give a Portland couple a pergola-covered 'hot tub' under the stars
Full Story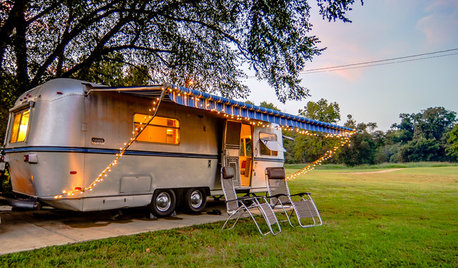
VINTAGE STYLEGet Away From It All in a Glamper
A glammed-up camper can transport you to a happy place, whether in your yard or on the highway
Full Story
DECORATING GUIDES6 Lessons in Scale From Well-Designed Bathrooms
See how to mix shapes and sizes for an interesting and balanced bathroom design
Full Story
TRADITIONAL HOMESHouzz Tour: Historic Coastal Home Is Rescued From Neglect
A designer lavishes TLC on a splendid Normandy revival house in Laguna Beach, embracing its original style in the renovation
Full Story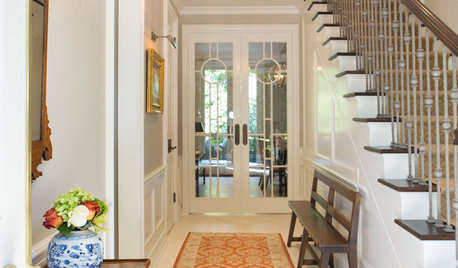
DECORATING GUIDESHouzz Tour: Traditional Meets Transitional in a Townhouse
A Southern California couple downsizes, and their designer helps them push past traditional boundaries
Full Story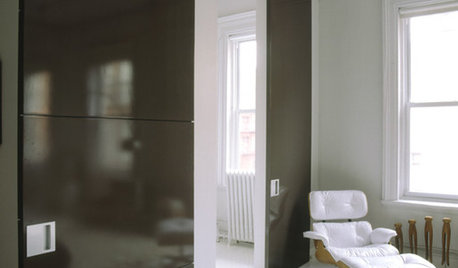
REMODELING GUIDESSliding Doors: Transition in High Style
Clever Sliding Doors Save Space, Hide Clutter and Amp Up Your Design
Full Story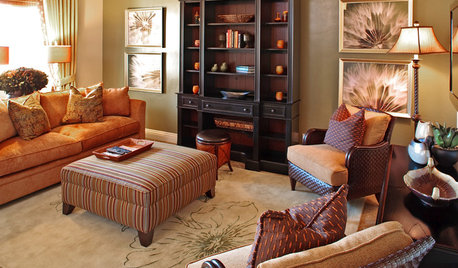


lazypup
hendricus
Related Professionals
Franklin Plumbers · East Tulare County Kitchen & Bathroom Remodelers · Apex Kitchen & Bathroom Remodelers · Camarillo Kitchen & Bathroom Remodelers · Crestline Kitchen & Bathroom Remodelers · Creve Coeur Kitchen & Bathroom Remodelers · Ewa Beach Kitchen & Bathroom Remodelers · Kendale Lakes Kitchen & Bathroom Remodelers · Lincoln Kitchen & Bathroom Remodelers · Los Alamitos Kitchen & Bathroom Remodelers · Lynn Haven Kitchen & Bathroom Remodelers · Lyons Kitchen & Bathroom Remodelers · Rancho Palos Verdes Kitchen & Bathroom Remodelers · Shawnee Kitchen & Bathroom Remodelers · Terrell Kitchen & Bathroom Remodelersjakethewonderdog
orourkeOriginal Author
lazypup
jakethewonderdog
orourkeOriginal Author
orourkeOriginal Author
hendricus
jakethewonderdog
orourkeOriginal Author
jakethewonderdog
orourkeOriginal Author
lazypup
orourkeOriginal Author
orourkeOriginal Author
jake2007
orourkeOriginal Author
lazypup
orourkeOriginal Author
orourkeOriginal Author