


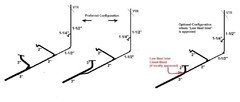
Toilet - Does It Need to Be End Branch
dw85745
11 years ago
Featured Answer
Sort by:Oldest
Comments (9)

dw85745
11 years agoRelated Professionals
Milford Plumbers · Adelphi Kitchen & Bathroom Remodelers · Grain Valley Kitchen & Bathroom Remodelers · Fullerton Kitchen & Bathroom Remodelers · 20781 Kitchen & Bathroom Remodelers · Cocoa Beach Kitchen & Bathroom Remodelers · Emeryville Kitchen & Bathroom Remodelers · Ewa Beach Kitchen & Bathroom Remodelers · Gilbert Kitchen & Bathroom Remodelers · Lakeside Kitchen & Bathroom Remodelers · Pearl City Kitchen & Bathroom Remodelers · Pico Rivera Kitchen & Bathroom Remodelers · Port Angeles Kitchen & Bathroom Remodelers · Santa Fe Kitchen & Bathroom Remodelers · Sun Valley Kitchen & Bathroom Remodelerslazypup
11 years agodw85745
11 years agolazypup
11 years agodw85745
11 years agodw85745
11 years agozannej
8 years ago
Vith
8 years agolast modified: 8 years ago
Related Stories

INSIDE HOUZZHow Much Does a Remodel Cost, and How Long Does It Take?
The 2016 Houzz & Home survey asked 120,000 Houzzers about their renovation projects. Here’s what they said
Full Story
REMODELING GUIDESBathroom Workbook: How Much Does a Bathroom Remodel Cost?
Learn what features to expect for $3,000 to $100,000-plus, to help you plan your bathroom remodel
Full Story
FUN HOUZZ10 Truly Irritating Things Your Partner Does in the Kitchen
Dirty dishes, food scraps in the sink — will the madness ever stop?
Full Story
BATHROOM DESIGNHow to Hide the Toilet
If you don’t want your toilet to be the main feature of your bathroom, here’s how to let it take a backseat in your bath’s decor
Full Story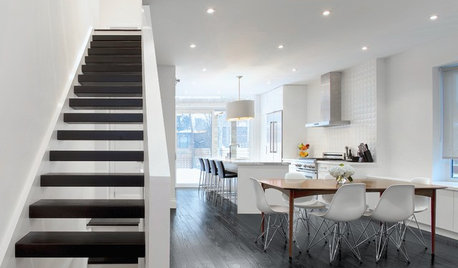
HOUZZ TOURSMy Houzz: High End Meets Budget Friendly in Toronto
Splurging selectively and saving elsewhere, a Canadian family gets a posh-looking home that matches their vision
Full Story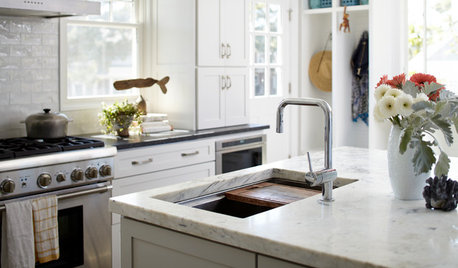
KITCHEN DESIGNKitchen of the Week: Double Trouble and a Happy Ending
Burst pipes result in back-to-back kitchen renovations. The second time around, this interior designer gets her kitchen just right
Full Story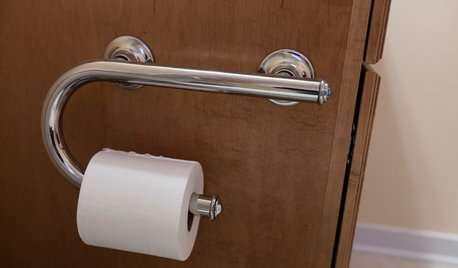
LIFEThe Absolute Right Way to Hang Toilet Paper. Maybe
Find out whether over or under is ahead in our poll and see some unusual roll hangers, shelves and nooks
Full Story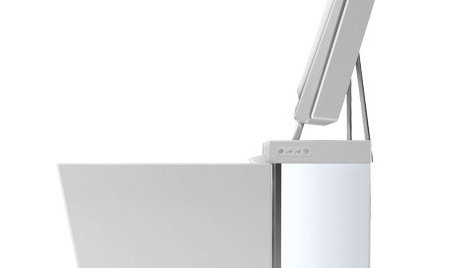
HOME TECHMeet the New Super Toilets
With features you never knew you needed, these toilets may make it hard to go back to standard commodes
Full Story
BATHROOM DESIGNHow to Choose the Right Toilet
Style, seat height, flushing options, color choice and more will help you shop for the right toilet for you
Full Story
BATHROOM DESIGNBath Remodeling: So, Where to Put the Toilet?
There's a lot to consider: paneling, baseboards, shower door. Before you install the toilet, get situated with these tips
Full StoryMore Discussions

lazypup