


fiberglass vs acrylic
dizzy8
16 years ago
Featured Answer
Sort by:Oldest
Comments (11)

formulaross
16 years agolast modified: 9 years agobob_cville
16 years agolast modified: 9 years agoRelated Professionals
Millbury Handyman · University City Kitchen & Bathroom Remodelers · Minnetonka Mills Kitchen & Bathroom Remodelers · Brentwood Kitchen & Bathroom Remodelers · Chicago Ridge Kitchen & Bathroom Remodelers · Eureka Kitchen & Bathroom Remodelers · Manassas Kitchen & Bathroom Remodelers · Martha Lake Kitchen & Bathroom Remodelers · Panama City Kitchen & Bathroom Remodelers · Park Ridge Kitchen & Bathroom Remodelers · South Park Township Kitchen & Bathroom Remodelers · West Palm Beach Kitchen & Bathroom Remodelers · South Jordan Kitchen & Bathroom Remodelers · Cave Spring Kitchen & Bathroom Remodelers · Glenn Heights Kitchen & Bathroom Remodelersmaine_cheryl_zn5
16 years agolast modified: 9 years agodizzy8
16 years agolast modified: 9 years agolazypup
16 years agolast modified: 9 years agodizzy8
16 years agolast modified: 9 years agodizzy8
16 years agolast modified: 9 years agolazypup
16 years agolast modified: 9 years agodizzy8
16 years agolast modified: 9 years agodizzy8
16 years agolast modified: 9 years ago
Related Stories
BATHROOM DESIGN7 Reasons Why Your Shower Floor Squeaks
No one wants to deal with a squeaky fiberglass shower floor. Here's what might be happening and how to fix it
Full Story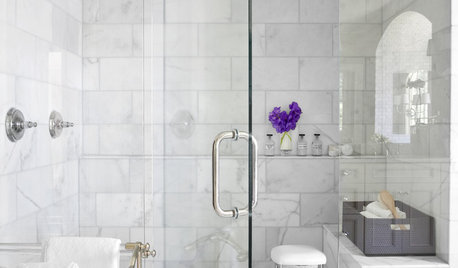
REMODELING GUIDESWhy Marble Might Be Wrong for Your Bathroom
You love its beauty and instant high-quality appeal, but bathroom marble has its drawbacks. Here's what to know before you buy
Full Story
HOUSEKEEPINGThe Quick and Easy Way to Clean a Microwave
All you need is water and a couple of other natural ingredients to get your appliance sparkling and smelling fresh again
Full Story
REMODELING GUIDESBathroom Workbook: How Much Does a Bathroom Remodel Cost?
Learn what features to expect for $3,000 to $100,000-plus, to help you plan your bathroom remodel
Full Story
SHOWERSConvert Your Tub Space Into a Shower — Choosing Accessories
Step 5 in swapping your tub for a sleek new shower: Pick the right niches, benches and bars for the best showering experience
Full Story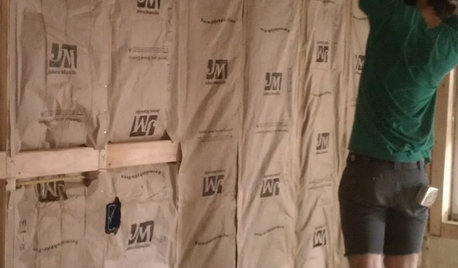
REMODELING GUIDESCool Your House (and Costs) With the Right Insulation
Insulation offers one of the best paybacks on your investment in your house. Here are some types to discuss with your contractor
Full Story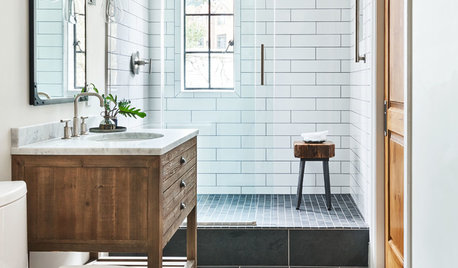
BATHROOM WORKBOOK12 Ways to Get a Luxe Bathroom Look for Less
Your budget bathroom can have a high-end feel with the right tile, stone, vanity and accessories
Full Story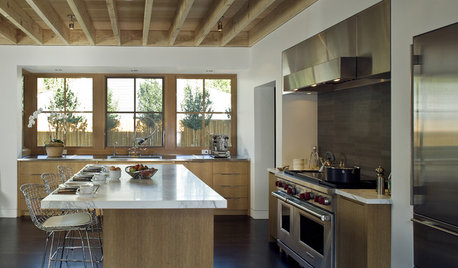
MATERIALSAn Architect Shares His Go-To Materials
Aluminum doors, porcelain tiles, polished concrete. Here are the features and finishes this professional returns to time and again
Full Story
REMODELING GUIDESTop 10 Tips for Choosing Shower Tile
Slip resistance, curves and even the mineral content of your water all affect which tile is best for your shower
Full Story
BATHROOM DESIGNKey Measurements to Make the Most of Your Bathroom
Fit everything comfortably in a small or medium-size bath by knowing standard dimensions for fixtures and clearances
Full Story
lazypup