


Help! Add water line for garden hose before water softener
milkyj
12 years ago
Sort by:Oldest
Comments (13)
Related Stories
GARDENING GUIDESEdible Gardening Essentials: Tips for Traditional Hand Watering
Save the expense and hassle of a complicated garden system with a simple watering can or inexpensive hose add-ons
Full Story
GARDENING GUIDESGreat Design Plant: Anemone Canadensis Adds Pizzazz to Water’s Edges
Plant Canadian anemone along pond, lake or stream edges for a splash of white flowers in late spring
Full Story
GREEN BUILDINGJust Add Water: Rain Barrel Magic
Take your rainwater storage from practical to beautiful with a new breed of design-friendly rain barrels
Full Story
SAVING WATER11 Ways to Save Water at Home
Whether you live in a drought-stricken area or just want to help preserve a precious resource, here are things you can do to use less water
Full Story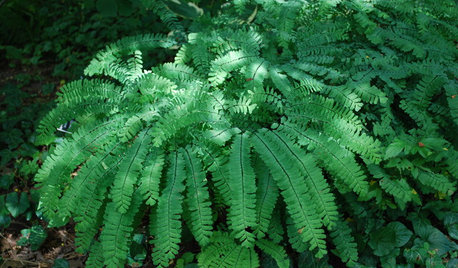
GARDENING GUIDESGreat Design Plant: Northern Maidenhair Fern Softens Shade Gardens
Stir up some romance in dark corners with the billowy fronds of native Adiantum pedatum
Full Story
CONTAINER GARDENSContainer Garden Basics: How and When to Water Potted Plants
Confused about soil moisture, the best time to water and what watering device to use? This guide can help
Full Story
GREAT HOME PROJECTSHow to Add a Solar Water Heater
Lower energy bills without a major renovation by putting the sun to work heating your home’s water
Full Story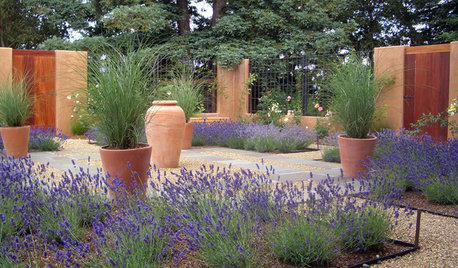
SAVING WATERXeriscape Gardens: How to Get a Beautiful Landscape With Less Water
Conserve water and make gardening much easier with the xeriscape approach’s 7 principles
Full Story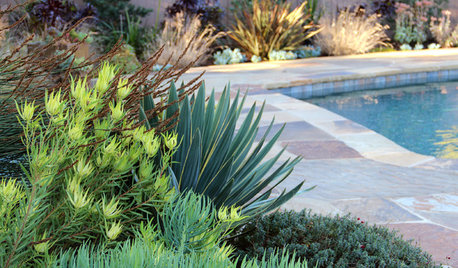
PLANTING IDEAS7 Stunning Plant Combinations for Low-Water Gardens
Find inspiration in these beautiful drought-tolerant companion plantings
Full Story
GARDENING GUIDESEssential Watering Tips for Your Edible Garden
To give your edible plants just what they need, check out these guidelines for how, when and how much to water
Full Story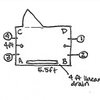
lazypup
milkyjOriginal Author
Related Professionals
Hillcrest Heights Handyman · Avondale Kitchen & Bathroom Remodelers · Bellevue Kitchen & Bathroom Remodelers · Brentwood Kitchen & Bathroom Remodelers · Elk Grove Kitchen & Bathroom Remodelers · Linton Hall Kitchen & Bathroom Remodelers · Lisle Kitchen & Bathroom Remodelers · Oklahoma City Kitchen & Bathroom Remodelers · Rochester Kitchen & Bathroom Remodelers · Shawnee Kitchen & Bathroom Remodelers · South Lake Tahoe Kitchen & Bathroom Remodelers · Southampton Kitchen & Bathroom Remodelers · Tuckahoe Kitchen & Bathroom Remodelers · West Palm Beach Kitchen & Bathroom Remodelers · Hawthorne Kitchen & Bathroom Remodelersandy_c
milkyjOriginal Author
woodbutcher_ca
lazypup
milkyjOriginal Author
lazypup
milkyjOriginal Author
weedmeister
Matt Albrecht
Matt Albrecht
Stax