


drain assembly leaking in bathroom sinks
suzieca
13 years ago
Related Stories
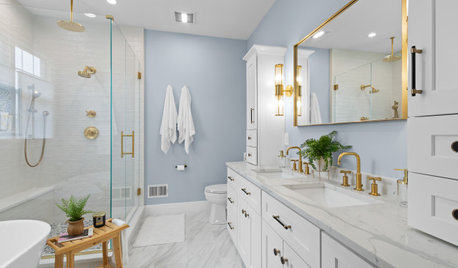
BATHROOM DESIGNHow to Choose the Right Bathroom Sink
Learn the differences among eight styles of bathroom sinks, and find the perfect one for your space
Full Story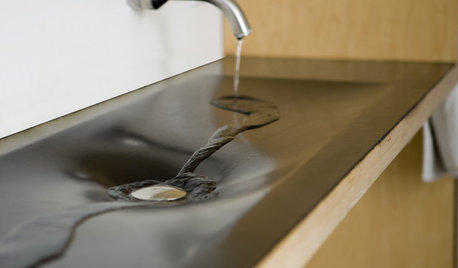
BATHROOM DESIGNGreen and Clean: Ecofriendly Bathroom Sinks
Sinks crafted from recycled rubber, glass and more make for showstopping bathroom features and are more affordable than ever
Full Story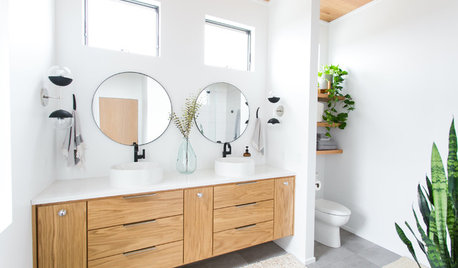
BATHROOM DESIGNThe Right Height for Your Bathroom Sinks, Mirrors and More
Upgrading your bathroom? Here’s how to place all your main features for the most comfortable, personalized fit
Full Story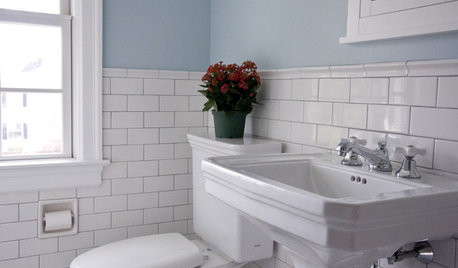
BATHROOM DESIGNRoom of the Day: Renovation Retains a 1920s Bath’s Vintage Charm
A ceiling leak spurs this family to stop patching and go for the gut
Full Story
BATHROOM DESIGNWhich Bathroom Vanity Will Work for You?
Vanities can be smart centerpieces and offer tons of storage. See which design would best suit your bathroom
Full Story
BATHROOM DESIGNA Crash Course in Bathroom Faucet Finishes
Learn the pros and cons of 9 popular faucet finishes
Full Story
MOST POPULARHow to Choose the Right Kitchen Sink
Learn about basin configurations, sink shapes, materials and even accessories and specialty sinks
Full Story
BATHROOM DESIGNDesign an Easy-Clean Bathroom
These ingenious strategies and sleek designs for the sink, tub, shower and toilet help your bathroom practically clean itself
Full Story
KITCHEN DESIGNKitchen Sinks: Fireclay Brims With Heavy-Duty Character
Cured at fiery temperatures, fireclay makes for farmhouse sinks that just say no to scratches and dents
Full Story
BATHROOM WORKBOOK5 Ways With a 5-by-8-Foot Bathroom
Look to these bathroom makeovers to learn about budgets, special features, splurges, bargains and more
Full StoryMore Discussions
randy427
homebound
Related Professionals
Fish Hawk Handyman · Forest Hill Kitchen & Bathroom Remodelers · Bloomingdale Kitchen & Bathroom Remodelers · Bremerton Kitchen & Bathroom Remodelers · Chandler Kitchen & Bathroom Remodelers · Folsom Kitchen & Bathroom Remodelers · Hanover Township Kitchen & Bathroom Remodelers · Hoffman Estates Kitchen & Bathroom Remodelers · Las Vegas Kitchen & Bathroom Remodelers · Placerville Kitchen & Bathroom Remodelers · South Plainfield Kitchen & Bathroom Remodelers · Superior Kitchen & Bathroom Remodelers · Warren Kitchen & Bathroom Remodelers · Phillipsburg Kitchen & Bathroom Remodelers · Cave Spring Kitchen & Bathroom RemodelerssuziecaOriginal Author
weedmeister
suziecaOriginal Author
weedmeister
lazypup
davidro1