


3-D CARDS How to
minnie_tx
18 years ago
Related Stories

COFFEE WITH AN ARCHITECTAn Architect's Calling Cards: Part 2
In the battle against social awkwardness, an intrepid architect calls upon ... what else? His design skills
Full Story
FUN HOUZZBinge on the Design of ‘House of Cards’
Pull up a seat to Netflix’s addictive political drama for sets and fashions rife with intrigue
Full Story
HOLIDAYS7 Ways to Shoot a Great Holiday Card Photo at Home
Make this year's holiday card stand out from the crowd with your home as the backdrop and these tips from the pros
Full Story
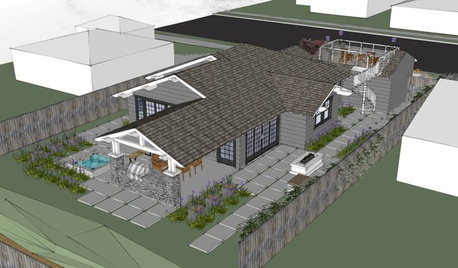
WORKING WITH AN ARCHITECTWho Needs 3D Design? 5 Reasons You Do
Whether you're remodeling or building new, 3D renderings can help you save money and get exactly what you want on your home project
Full Story
COFFEE WITH AN ARCHITECTAn Architect's Calling Cards
The next time you run into a tongue-tied architect hanging out solo in a corner, one of these handouts may help
Full Story
COFFEE WITH AN ARCHITECTFlash Cards for Common Architectural Terms
Architect takes a stab at the language of design
Full Story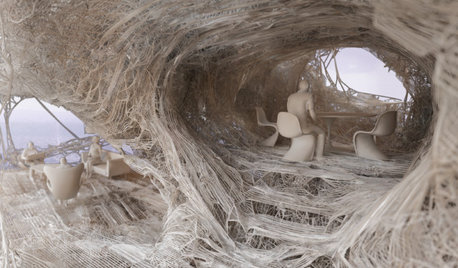
ARCHITECTUREDiscover the Intriguing Possibilities for 3D Printing for Architecture
Would you live in a home made of printed plastic? With 3D printing, the options push architecture's limits
Full Story
ARCHITECTUREWhat the Future Holds for 3D Printing in Architecture and Design
Designers worldwide are creating 3D-printed buildings, furnishings and materials. Will we be seeing this trend in our homes?
Full Story
TASTEMAKERS3D Printing Takes Furnishings to New Heights at ICFF 2013
See how three-dimensional printing, laser cutting and other innovative technologies are changing the face of furnishings
Full StorySponsored
trudymom
trudymom
Related Discussions
3 D Christmas cards
Q
Maybe cut your 'credit' card interest cost by 1/3 ... or more???
Q
3 D renderings.. how important?
Q
HELP: How to use my rooms? (3D model incl)
Q
minnie_txOriginal Author
DianePA
minnie_txOriginal Author
Red_Confetti