


How do you get that perfect straight line?
minx649
16 years ago
Related Stories

BEDROOMSGet in Line With Bedroom Stripes
Add punch, drama or even just a subtle sense of space to your bedroom with striped walls. These 9 ideas will get you started
Full Story
REMODELING GUIDESStyle Update: Tile Gets in Line
Install Your Tile in a 'Stacked Bond' Grid for an Clean, Modern Look
Full Story
DECORATING GUIDESSet the Right Mood With the Right Lines
Soothe with curves or go straight-up efficient. Learn the effects of lines in rooms to get the feeing you’re after
Full Story
GARDENING AND LANDSCAPINGWorld of Design: 11 Balconies Straight Out of a Postcard
Pull up a chair and discover how people in Spain, Japan, Russia, Britain and elsewhere use and love their private lookouts
Full Story
LIVING ROOMSNew This Week: 3 Sunrooms Straight Out of Our Dreams
Heated floors, comfy furniture and walls of windows make these recently uploaded sunrooms the places of our sun-drenched fantasies
Full Story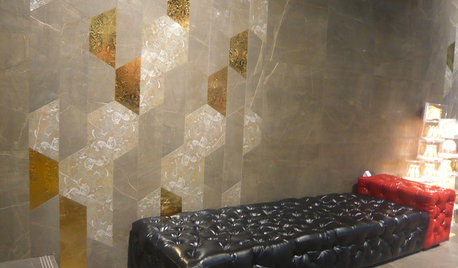
REMODELING GUIDESStraight From Spain: Amazing New Trends in Tile
Innovative Shapes, Patterns, and Textures Take Tile Beyond Kitchen and Bath
Full Story
HOUZZ TOURSHouzz Tour: An Ecofriendly Family Home Gets in Line
Without any curved lines but with a wealth of energy-efficient features, this remodeled home in Northern California has plenty of appeal
Full Story
DECORATING GUIDESHow to Paint Perfect Wall Stripes
Draw the line on lackluster walls with crisply painted stripes. Here's the secret to getting them right
Full Story
ARCHITECTUREGet a Perfectly Built Home the First Time Around
Yes, you can have a new build you’ll love right off the bat. Consider learning about yourself a bonus
Full Story


info_saveonpainting_ca
info_saveonpainting_ca
Related Professionals
Waggaman Paint & Wall Coverings · Portsmouth Painters · Brick Painters · Dorchester Painters · Hanover Park Painters · Helena Painters · Oakdale Painters · Port Angeles Painters · Ripon Painters · Spring Valley Painters · Vashon Painters · West Jordan Painters · Brea Cabinets & Cabinetry · Lodi Flooring Contractors · Miami Flooring Contractorsinfo_saveonpainting_ca
celticmoon
minx649Original Author
paintguy22
minx649Original Author
Michael
jy_md
annzgw
paintguy22
bluestarrgallery
loomis
brutuses
goosenlulu
paintguy22
bamasue
paintguy22
brutuses
wendypow
moonshadow
annzgw
minx649Original Author
annzgw
bamasue
lmhall2000
msrose
paintguy22
shaun_
steve-va
littleriverbb
weed_cutter
mrscoolguy80
graywings123
Just_Beth
noelj07
lynxe
sprayncoat
janroze
Shearer Painting
Shearer Painting
Shearer Painting