


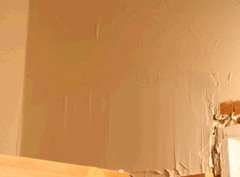
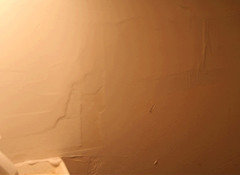
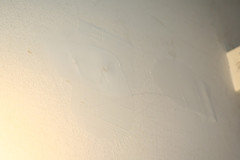
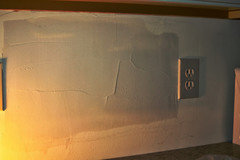
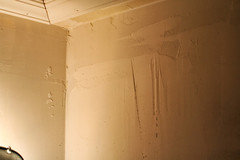
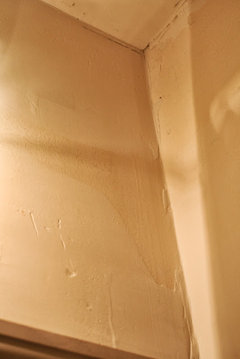
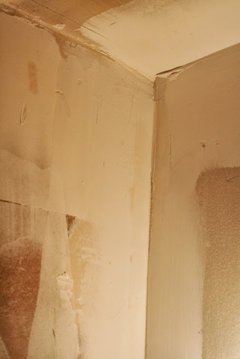
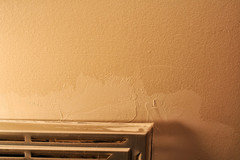
Sanding Joint Compound
Vertise
10 years ago
Featured Answer
Sort by:Oldest
Comments (21)

paintguy22
10 years agoRelated Professionals
Berkley Painters · Burien Painters · East Islip Painters · Elizabeth Painters · Hammond Painters · Hercules Painters · Klahanie Painters · Alton Cabinets & Cabinetry · Cartersville Flooring Contractors · Fort Pierce Flooring Contractors · Hudson Flooring Contractors · Jacksonville Flooring Contractors · Pittsburgh Flooring Contractors · Skokie Flooring Contractors · Whitman Flooring ContractorsVertise
10 years agosombreuil_mongrel
10 years agopaintguy22
10 years agoVertise
10 years ago PRO
PROChristopher Nelson Wallcovering and Painting
10 years ago- PRO
Christopher Nelson Wallcovering and Painting
10 years ago Vertise
10 years agogracie01 zone5 SW of Chicago
10 years agoVertise
10 years agopaintguy22
10 years agoVertise
10 years ago
Pines Everywhere
10 years agopaintguy22
10 years agosombreuil_mongrel
10 years agoVertise
10 years ago- PRO
Christopher Nelson Wallcovering and Painting
10 years ago Vertise
10 years agoVertise
10 years ago
Faron79
10 years ago


Related Stories
MOST POPULAR6 Kitchen Flooring Materials to Boost Your Cooking Comfort
Give your joints a break while you're standing at the stove, with these resilient and beautiful materials for kitchen floors
Full Story
GARDENING AND LANDSCAPINGPatio Pavers Go Green in Between
Kind to the environment and easy on the eyes, pavers with moss or other foliage in the joints create a charming permeable hardscape
Full Story
CRAFTSDIY Project: Home Improvement Store Pop Art
Turn Drywall Mud and Paint Into a Minimalist Conversation Piece
Full Story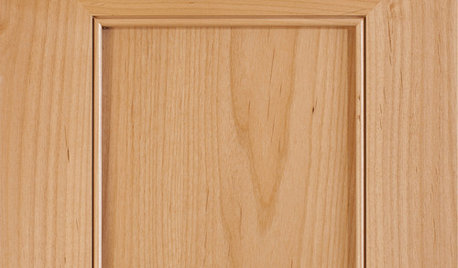
DESIGN DICTIONARYMiter
A miter cuts right to the point with beveled edges on moldings, cabinet doors and more
Full Story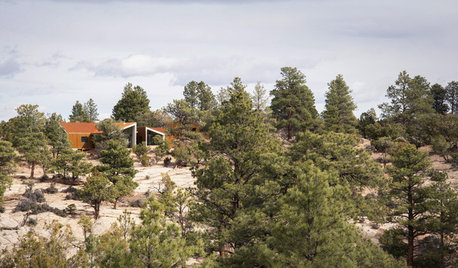
HOUZZ TOURSHouzz Tour: Red Rock Desert Views in a Utah Wilderness Retreat
A couple’s vacation home, studio-garage and guesthouse sit easily on their 40-acre site near a national park
Full Story
REMODELING GUIDESContractor Tips: How to Install Tile
Before you pick up a single tile, pull from these tips for expert results
Full Story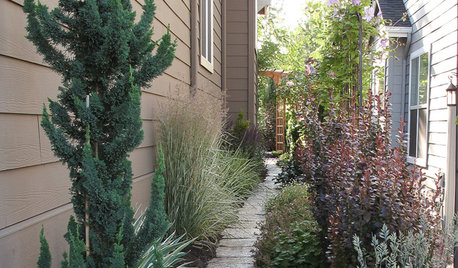
SIDE YARD IDEASNarrow Trees for Tight Garden Spaces
Boost interest in a side yard or another space-challenged area with the fragrance and color of these columnar trees
Full Story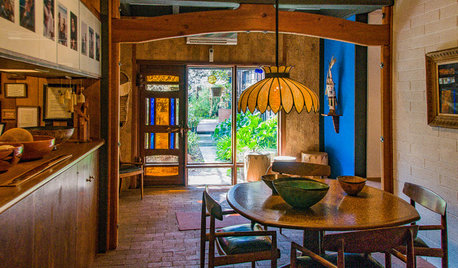
EVENTSSee Where America's Most Celebrated Furniture Maker Lived and Worked
Walk with us through the Southern California home and studio of Sam Maloof as events honoring his centennial kick off
Full Story
DECORATING GUIDES9 Ways to Boost Your All-White Color Scheme
Grays, seafoam, metal, wood and more help embolden a white-on-white look so it doesn't leave you cold
Full Story
DIY PROJECTSPocket Hole Joinery, the Beginning Woodworker's Best Friend
Make a wide range of sturdy wooden pieces with just this little bit of know-how
Full StoryMore Discussions


Pines Everywhere