


Primer over joint compound results and update
nap101
10 years ago
Sort by:Oldest
Comments (5)
Related Stories
COLORSpeed-Dial Color Selection to Get the Best Result
You’ve belabored your color decisions and are still stuck. Here is how to evaluate your space and make choices that are right for you
Full Story
REMODELING GUIDESHouzz Survey Results: Remodeling Likely to Trump Selling in 2014
Most homeowners say they’re staying put for now, and investing in features to help them live better and love their homes more
Full Story
KITCHEN CABINETSColorful Ways to Make Over Your Kitchen Cabinetry
Try these inspiring color updates to spice up your kitchen a little — or a lot
Full StoryBEFORE AND AFTERSGray Cabinets Update a Texas Kitchen
Julie Shannon spent 3 years planning her kitchen update, choosing a gray palette and finding the materials for a transitional style
Full Story
BUDGET DECORATINGBudget Decorator: 15 Ways to Update Your Kitchen on a Dime
Give your kitchen a dashing revamp without putting a big hole in your wallet
Full Story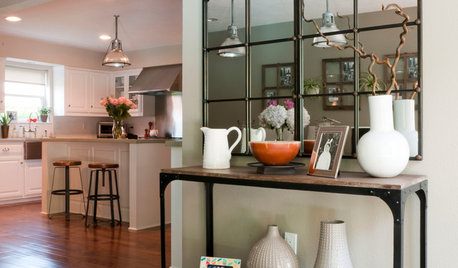
HOUZZ TOURSMy Houzz: Elegant DIY Updates for a 1970s Dallas Home
Patiently mastering remodeling skills project by project, a couple transforms their interiors from outdated to truly special
Full Story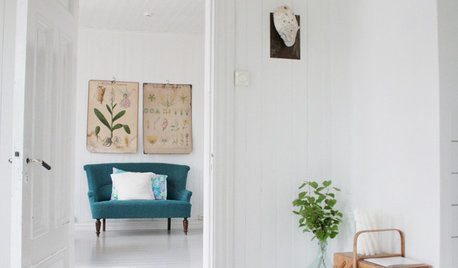
FLOORSDIY: Paint Your Floor for a Fresh Update
Sleek white paint, black gloss or rustic checks can be welcome alternatives to that old, worn-out carpet
Full Story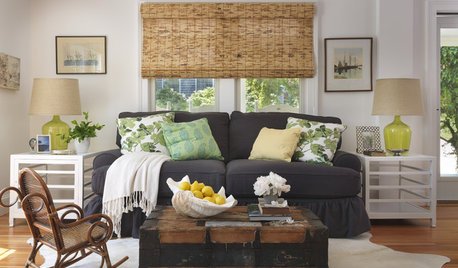
DECORATING GUIDESHow to Decorate When You're Starting Out or Starting Over
No need to feel overwhelmed. Our step-by-step decorating guide can help you put together a home look you'll love
Full Story
KITCHEN DESIGNKitchen of the Week: Making Over a Rental for About $1,500
Fresh paint, new hardware, added storage, rugs and unexpected touches breathe new life into a Los Angeles apartment’s kitchen
Full Story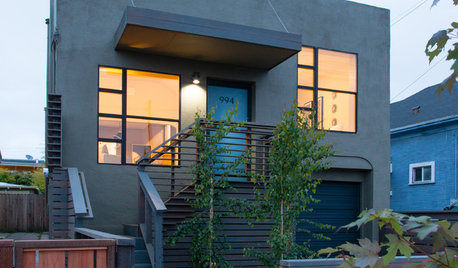
HOUZZ TOURSHouzz Tour: Visit a Modern Update in Oakland
See how a "hacked together" home became an urban neighborhood jewel
Full Story

nap101Original Author
Christopher Nelson Wallcovering and Painting
Related Professionals
Easton Painters · Encinitas Painters · Ferndale Painters · Fridley Painters · Galveston Painters · Rockville Painters · Trussville Painters · Berwick Painters · South Euclid Painters · North Massapequa Cabinets & Cabinetry · Tinton Falls Cabinets & Cabinetry · Atascocita Cabinets & Cabinetry · Ahwatukee Flooring Contractors · Bossier City Flooring Contractors · River Edge Flooring ContractorsPines Everywhere
nap101Original Author
Pines Everywhere